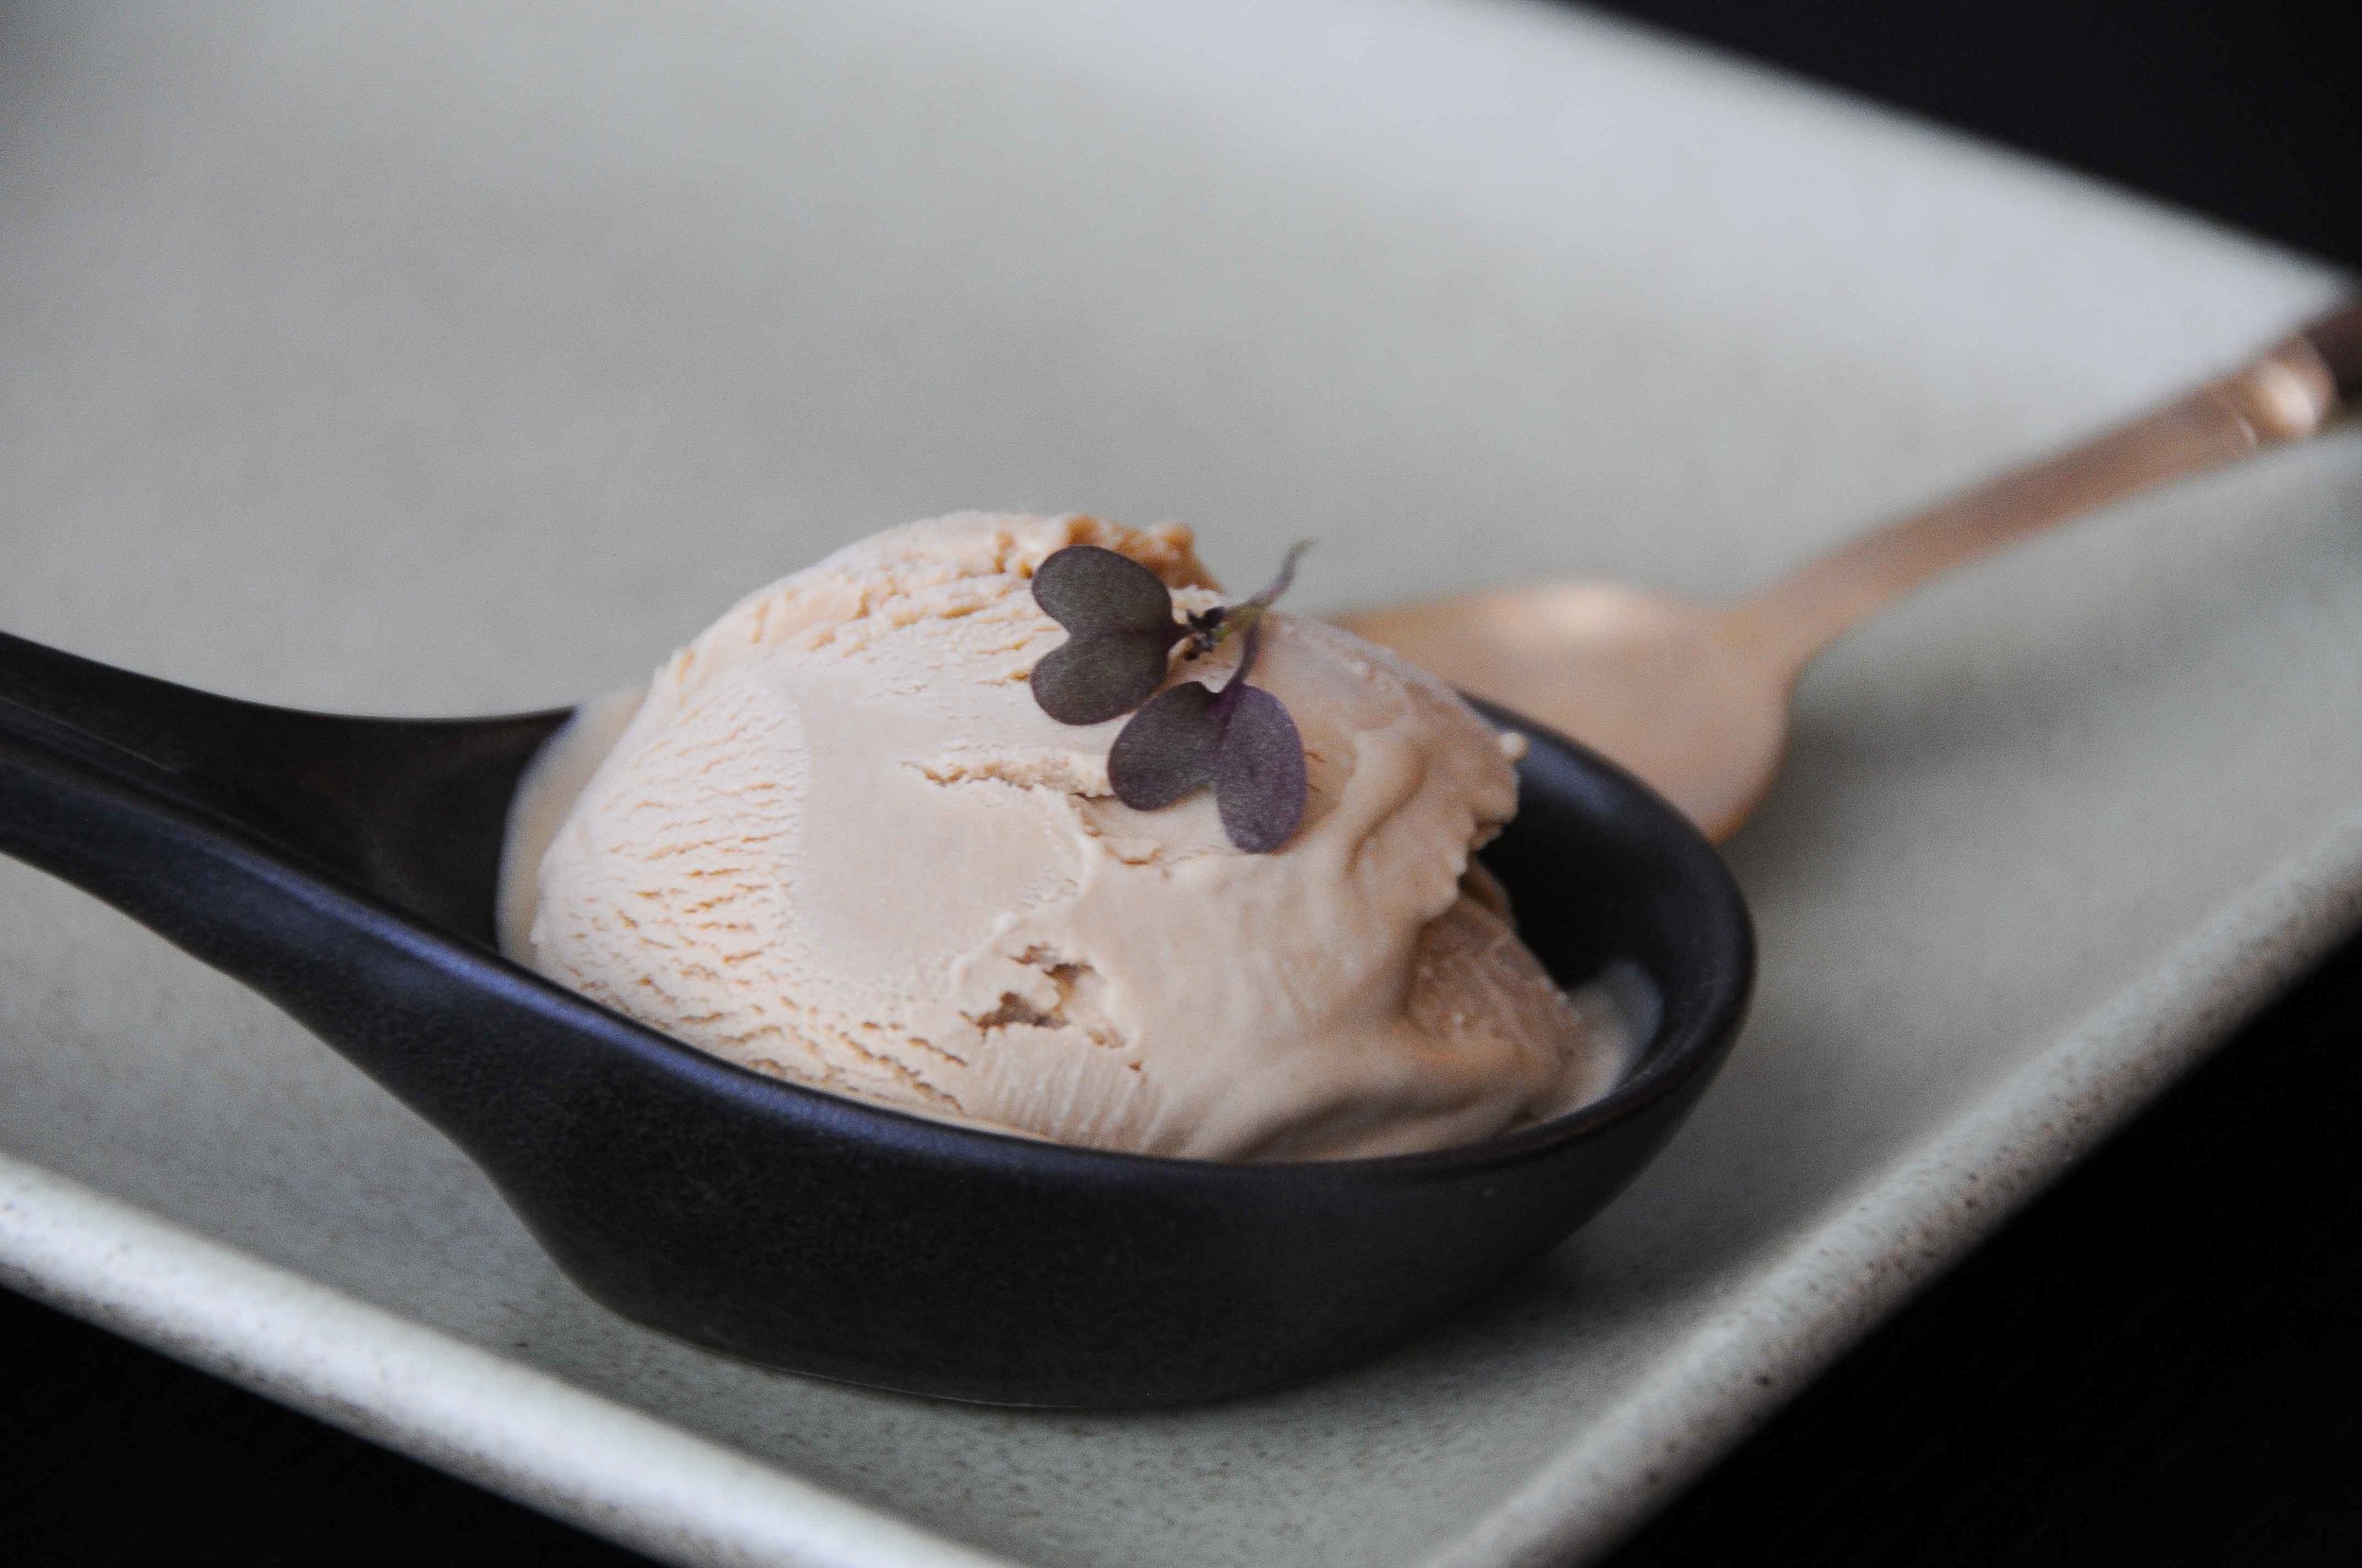
Earl Grey Ice Cream

Green tea is the ice cream that people tend to associate with Japan. Not Earl Grey. But my very last, and perhaps very best meal in Tokyo, eaten at the famous ‘No Fish, No Life’ restaurant in Shibuya, finished with a little teacup containing one large and very creamy scoop of the stuff and I thought it a minor revelation. Helpfully, this also eliminates the need to then order a tea. So it’s actually convenient. Cost effective even! And, after two greedy helpings of the most sublime fatty tuna I have ever tasted, a little cost effectiveness was called for on this particular occasion…
Matcha powder, the high quality green tea ingredient required to make green tea ice cream is, on the other hand, not so attractively priced (as I discovered while contemplating a tiny tin of the stuff at Narita airport with only 2,000yen left in my possession). Not a lot of money, but enough to buy a tiny tin of tea one would have thought? So it’s a combination of skint-ness, and a selfish preference for Earl Grey, that brings you this recipe as opposed to one for green tea ice cream instead!

INGREDIENTS
(Serves 4)
- 125ml whole milk
- 250ml cream
- 75g caster sugar
- ¼ cup earl grey tea leaves
- ½ teaspoon vanilla essence
- 3 medium egg yolks
Infuse the milk and half the cream with the tealeaves by combining in a saucepan placed over medium heat. Stir in the sugar and continue to mix until it is completely dissolved. Remove from the heat just as bubbles begin to form at the edge of the liquid - take care not to actually let the mixture boil.
Now cover with a lid and place aside to sit at room temperature for an hour.
After an hour, the liquid will have darkened a little as the tealeaves have continued to infuse. Remove the leaves by straining through a fine mesh sieve, before returning the mixture to the saucepan and placing back over a low-medium heat. Also add the remaining 125ml of cream to the saucepan at this point.
Meanwhile whisk the egg yolks together with the vanilla essence in a large bowl.
When the cream mixture is once again beginning to bubble (but again, not quite boiling), remove from the heat and pour very slowly into the bowl containing the whisked eggs yolks. Whisk the yolk mixture vigorously as you add the warm cream in order to temper the eggs. This will ensure that the mixture does not split.
Once you have poured all of the warm cream into the bowl with the egg yolks, pour the whole mixture back into the saucepan and place again over a low-medium heat.
Stir continuously until the mixture thickens into a custard. This can take a fairly long time – up to about ten minutes – but keep on mixing. It will get there! You’ll know you have the right consistency when the custard can coat the back of a spoon.
When you’ve reached this point, remove from the heat, but continue to whisk for a further three minutes to ensure that the custard cools and does not continue to cook.
Now, pour into an airtight container and leave to cool at room temperature for half an hour. Cover and place into the fridge to chill for a few hours, or overnight.
When you are ready to churn the ice cream, follow the instructions on your ice cream maker. Churning times vary depending on the type and model of your machine. My ice cream maker will churn the small amount of ice cream stipulated by this recipe in 20-25 minutes.
Once churned, scrape into a freezer-proof, airtight container, and freeze for a minimum of 3 hours before serving. Homemade ice cream can last in the freezer for a while – up to a week or so – but I find it is best eaten quite fresh. Besides, surely something has gone wrong if any ice cream manages to remain untouched in your freezer that long!