We didn’t make it to Vis on our first trip to Croatia. That had been the plan, but roaring winds and thundery skies kept us and our little boat locked in harbour on another island for three days straight. There, we drank endless coffees and peered hopefully up at the sky, but a break in the weather never did come, and so, on the last day, we pushed off for the mainland into the crashing waves, leaving Vis unexplored in the distance and watching it go – a diminishing dark speck over the stern horizon, appearing and disappearing as we crested up and careened down stacks of sea. Salt-crusted and shivering we arrived back at the dock in Split harbour, our impressions of the islands as dark as the skies…‘But you’ll be back,’ said the old Croatian captain who came over to help us tie on our lines, ‘you must come back, go to Vis, and try the lamb under the bell…’
And so we did, the very next summer, buoyed by intrigue and a more clement tide into the large circular harbour of Vis, and safely onto a mooring on the town quay. Disembarking, we took the captain’s scrap of information everywhere, asking everyone we could find – ‘where is this ‘lamb under the bell’?’ ‘what is lamb under the bell!?’’ – until finally someone came forth with a name – ‘go up to Žena Glava’ they said, (which one of the more linguistically talented amongst us identified as translating roughly to ‘the woman’s head’).
Through the rocky island interior, past fields of vines, and wartime airstrips, we finally arrived, taxi shuddering from the climb, atop the highest peak on Vis – the Žena Glava. And there, through a low wooden gate, was a tiny terrace with a long open brick oven along its edge – inside, a line of downturned ‘bells,’ each one topped with a pile of smouldering embers.
After four hours slowly baking away, heated by the embers, the brick, and the covering cast iron ‘bell,’ the coals are brushed off, bell removed, and a rustic dish of perfectly melting lamb, crisp potatoes, sweet onions, and roasted tomatoes is transported directly from brick oven to table. Shared amongst everyone, and accompanied by a huge jug of red wine and homemade herbal liquors, ‘lamb under the bell’ has kept us coming back to Vis, every year in fact, for eight years running now, which, I’d hazard to guess, is more visits than even the salty the old captain could ever have prophesised or recommended! (Though, by now, we’ve learned to call the dish it by its Croatian name – ‘Peka’ – a piece of information that, while it might have saved us some trouble initially, might also have diminished a good deal of the early intrigue).
But peka is not the only specialty on Vis. Closed to tourists until 1989, the island was designated a strategic military base under the Yugoslavian government – which, in culinary terms, has meant that the traditional self-reliant cuisine of the region has been largely preserved against outside influences. Or, more simply, that what still gets eaten on the island is what can be fished, farmed, picked, or foraged off it.
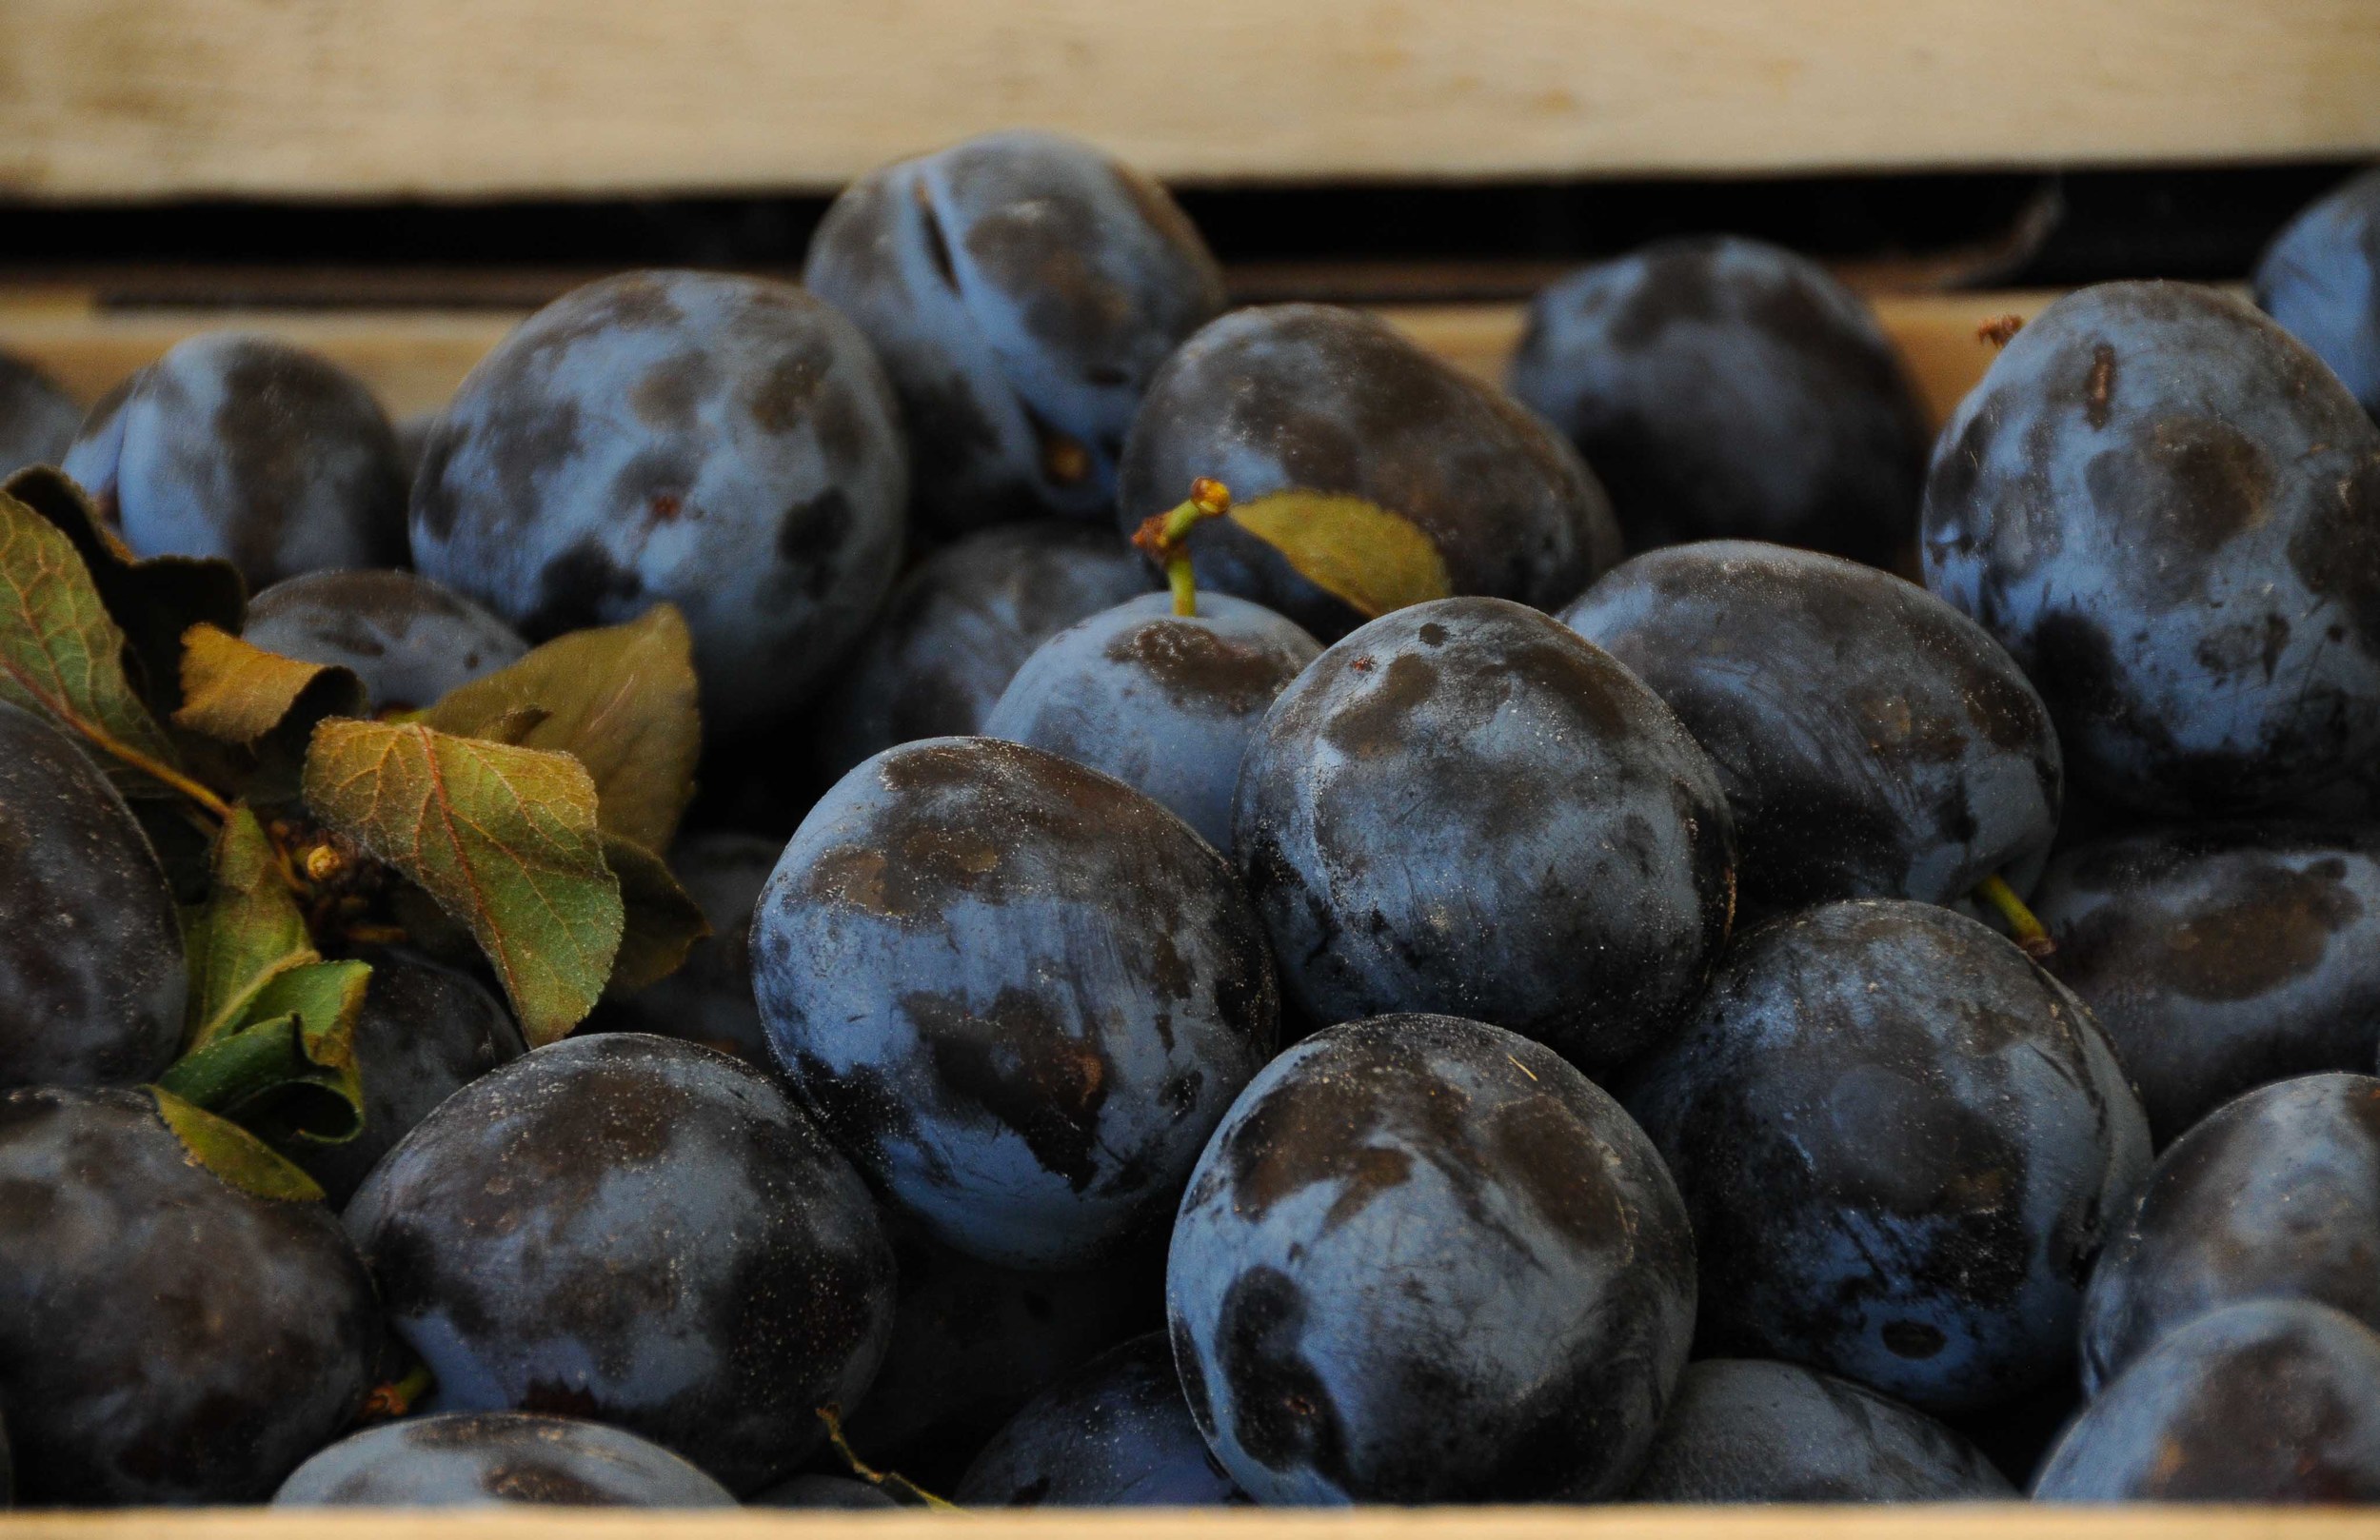
So, lamb from the hilly interior, strong Bugava wine, grown on the flinty terraces, anchovies surface-netted after a new moon, capers foraged from crevice-growing creepers, wild hillside herbs, samphire from the rocky shores, and fruit trees in abudance, growing freely along on the road-side, ripe for pilfering…
Inspired by this culinary self-reliance, the following ‘recipes’ are not really recipes as such, but more a set of operating instructions that you might like to follow next time you’re on an island in summer time and find a free abundance of something delicious, whether it's sea urchins, sardines, capers, samphire, or figs.
If you are keen to try lamb cooked under a bell on the other hand, I can only recommend embarking on your own quest to reach Vis, finding an intrepid taxi driver, and asking to be taken to the woman’s head… it simply would not be worth trying to recreate it anywhere else.
Sea urchins
My sea urchin fishing skills took a major leap forward this year. It’s only the female sea urchins, of course, that produce the edible orange roe, but how to tell a male sea urchin from a female? Previous attempts have seen me cruelly and indiscriminately plucking urchins from the rocks, only to cut them open and find nothing inside – my apologies needlessly killed male urchins, I’m genuinely sorry.
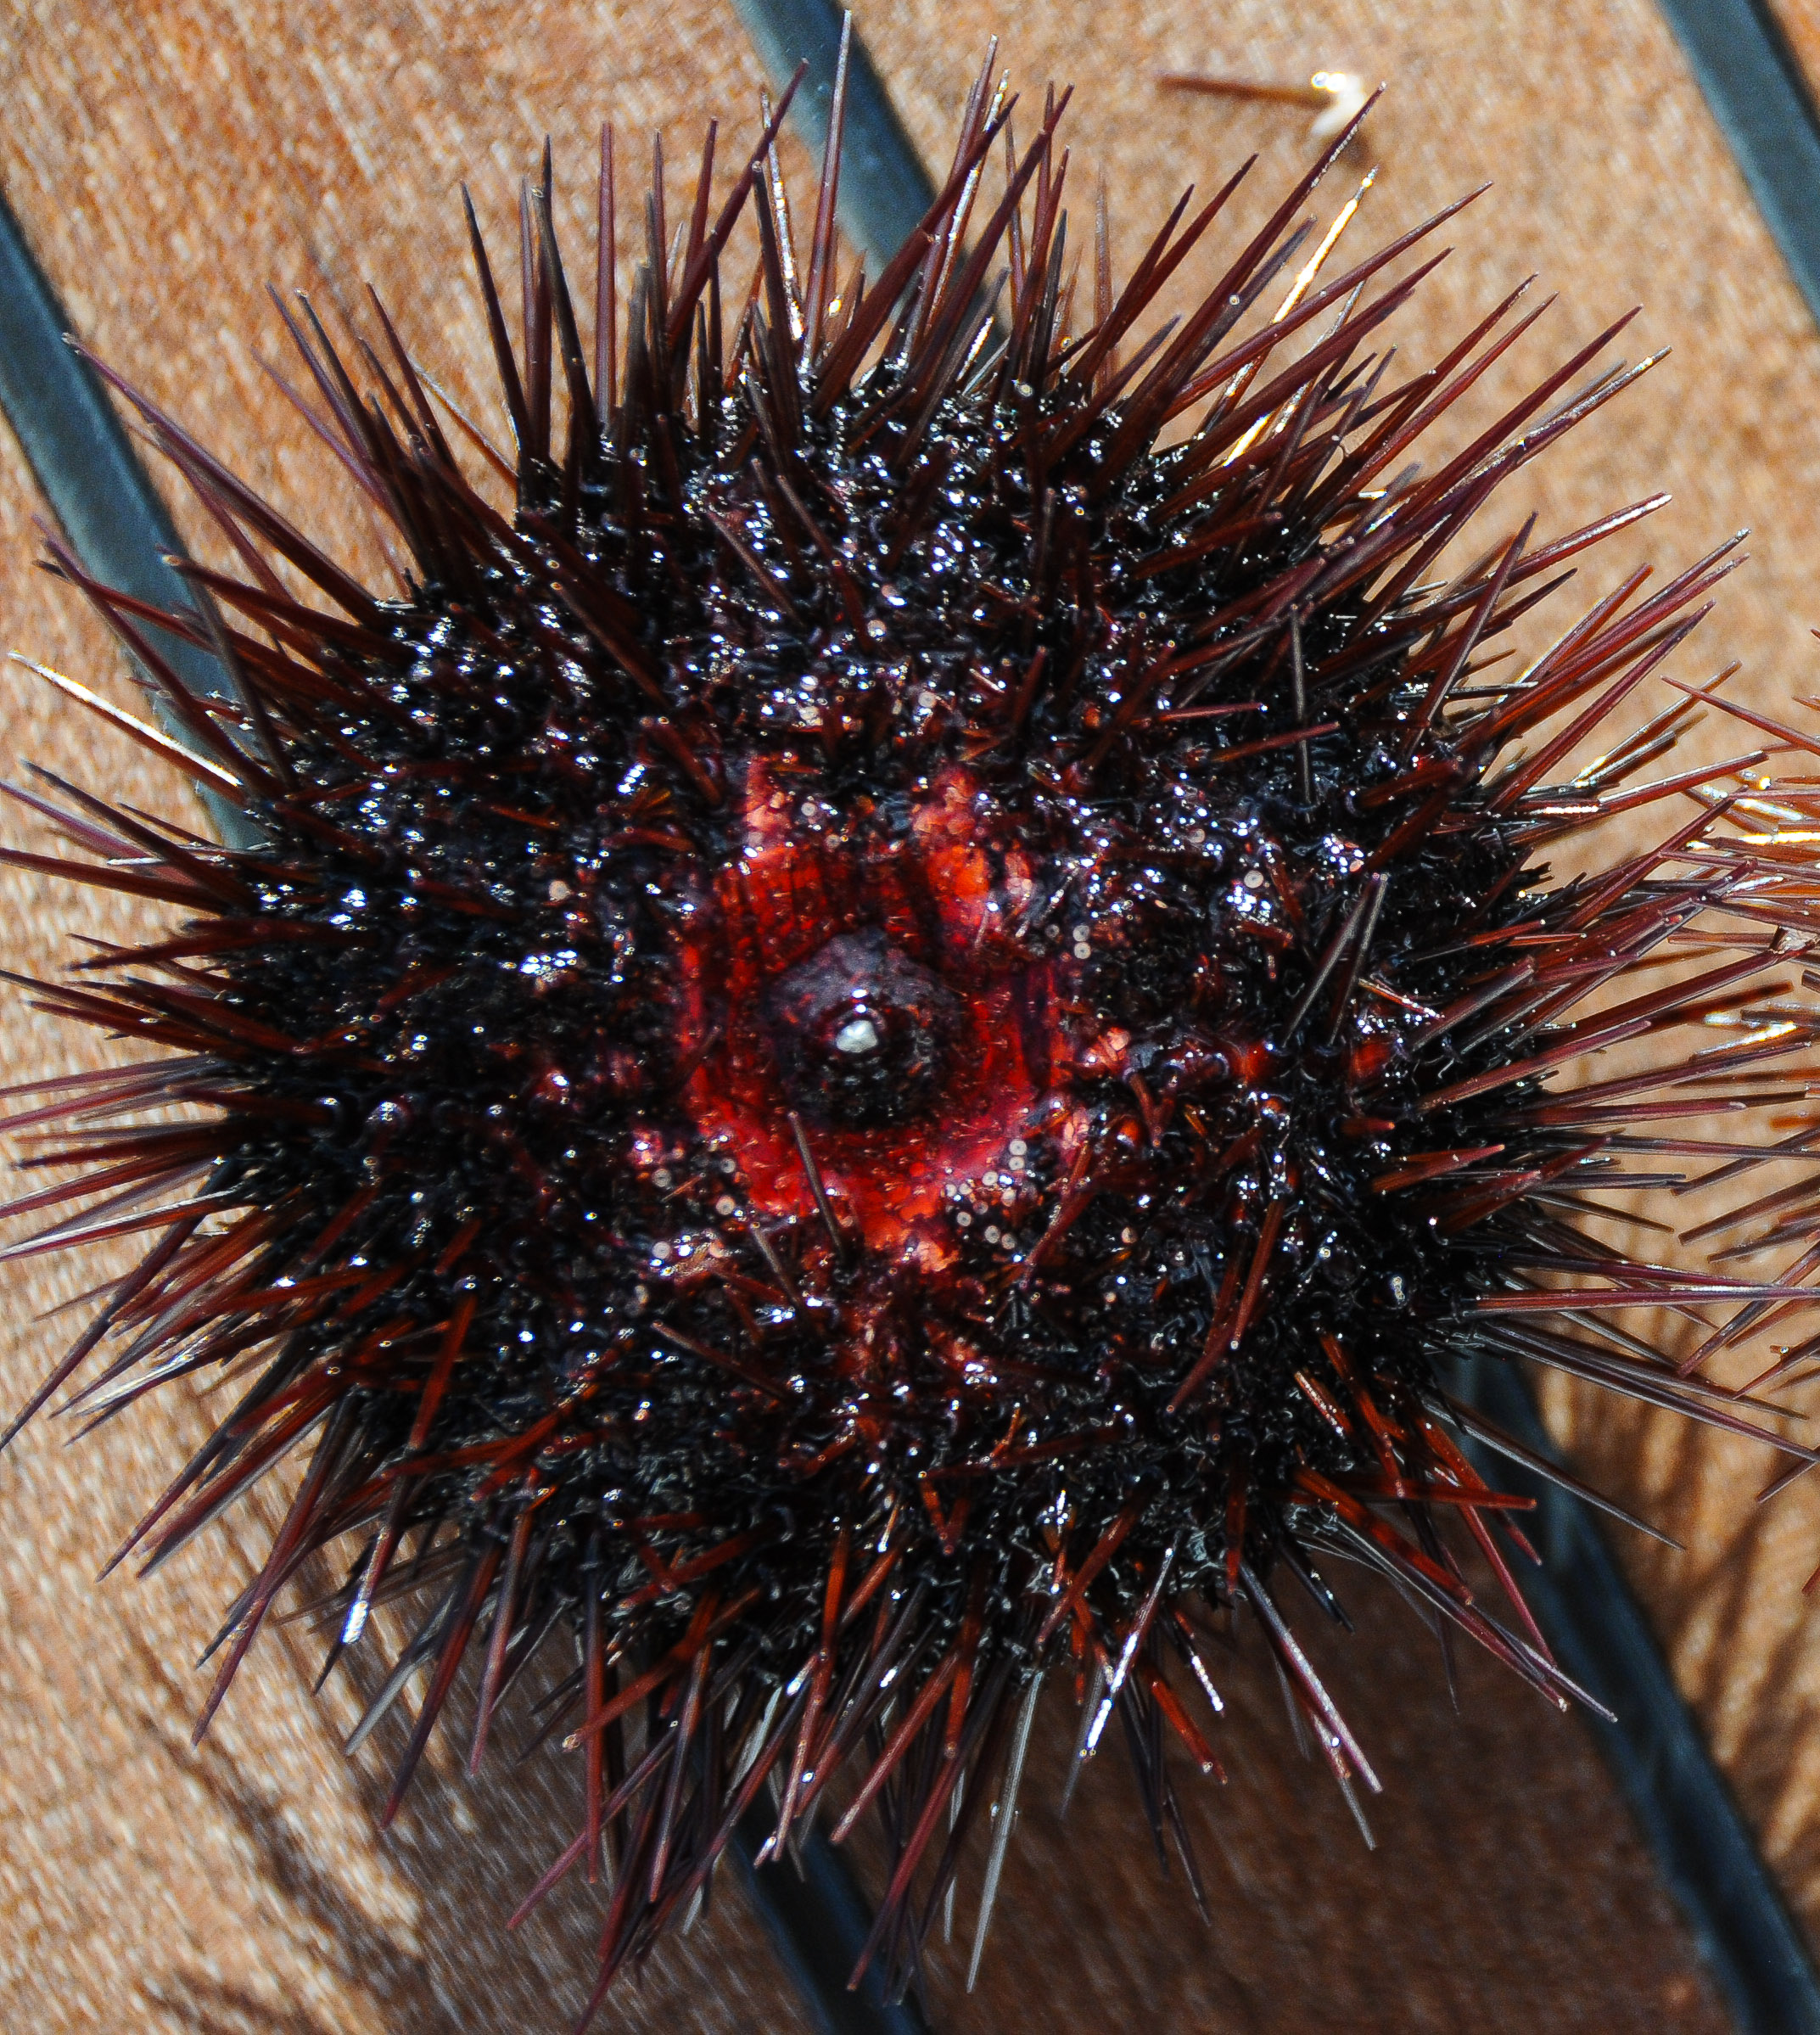
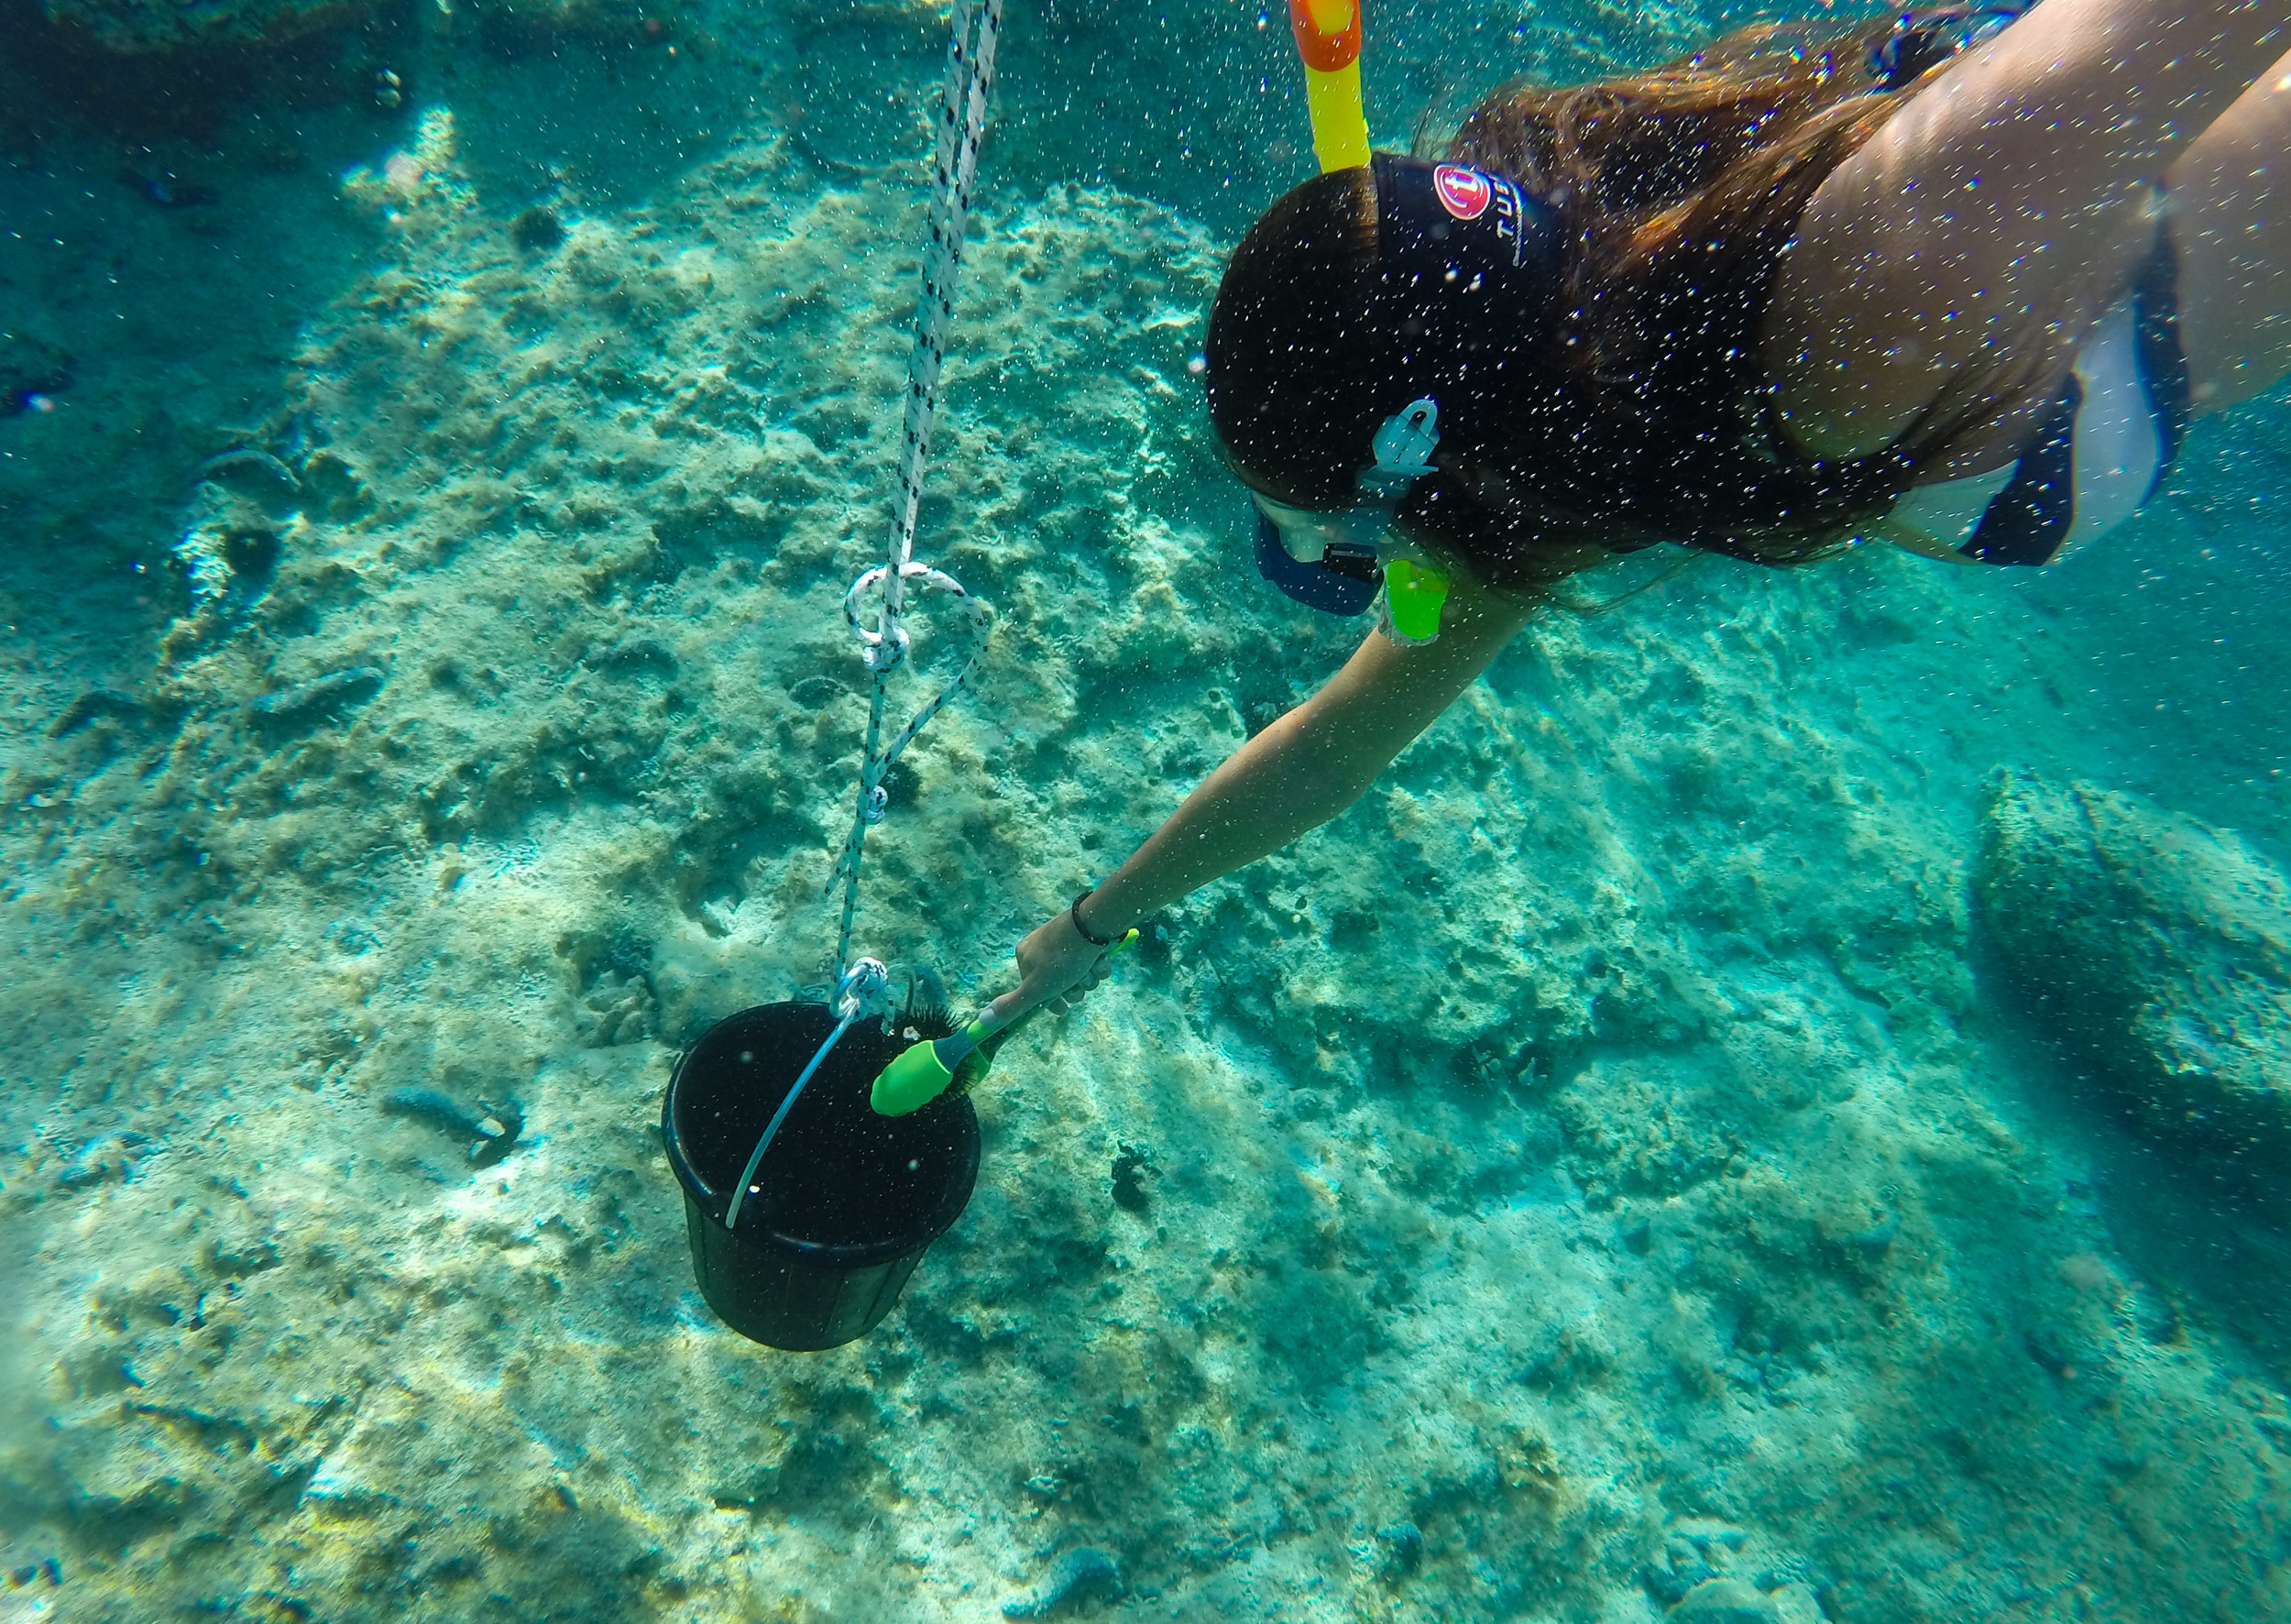
This year though, snorkelling along, I observed a diver plucking his way across the masses of spiky urchins that carpet the rocks in the shallows, and carefully collecting only some of them. ‘What’s the secret?’ I swam over to ask and he said that the male urchins are ink-black, and, while the females are black too, these have a glimmer of magenta to them, especially visible around the mouths – so, if in doubt, turn the urchin over to have a look!
Urchin fishing is an easy sport, (slow moving as they are!), and is easily accessorised using a mask and snorkel, a pair of metal salad tongs, a bucket, and some kitchen scissors. Dive down with the salad tongs in-hand, find some purple-ish urchins, dislodge them from the rocks using the tongs, then swim them back to a sea-water filled bucket (and then double inspect for magenta-colouring once you’ve surfaced in order to minimise feelings of guilt!) A wrongly identified urchin can just be popped back underwater, onto some rocks, no harm done to him.
Seasonal variability does factor into whether or not a female urchin will contain roe, but in my experience, June through to mid-August is pretty reliable for Mediterranean sea urchins.
To prepare, cut them open by inserting a scissor tip into the mouth and then snipping around in a wide circle to open the shell. Inside there will be columns of orange roe, and between these little sacs of filtered sand. To remove the sand, wash the shell gently in seawater – the sacs will break and wash away while the roe will remain attached to the shell.
As for eating, a pointed teaspoon is my implement of choice! I always intend to make sea urchin spaghetti, but it is too tempting to just eat the urchins right there on the rocks. I am yet manage to make it back to a kitchen with any...
Capers
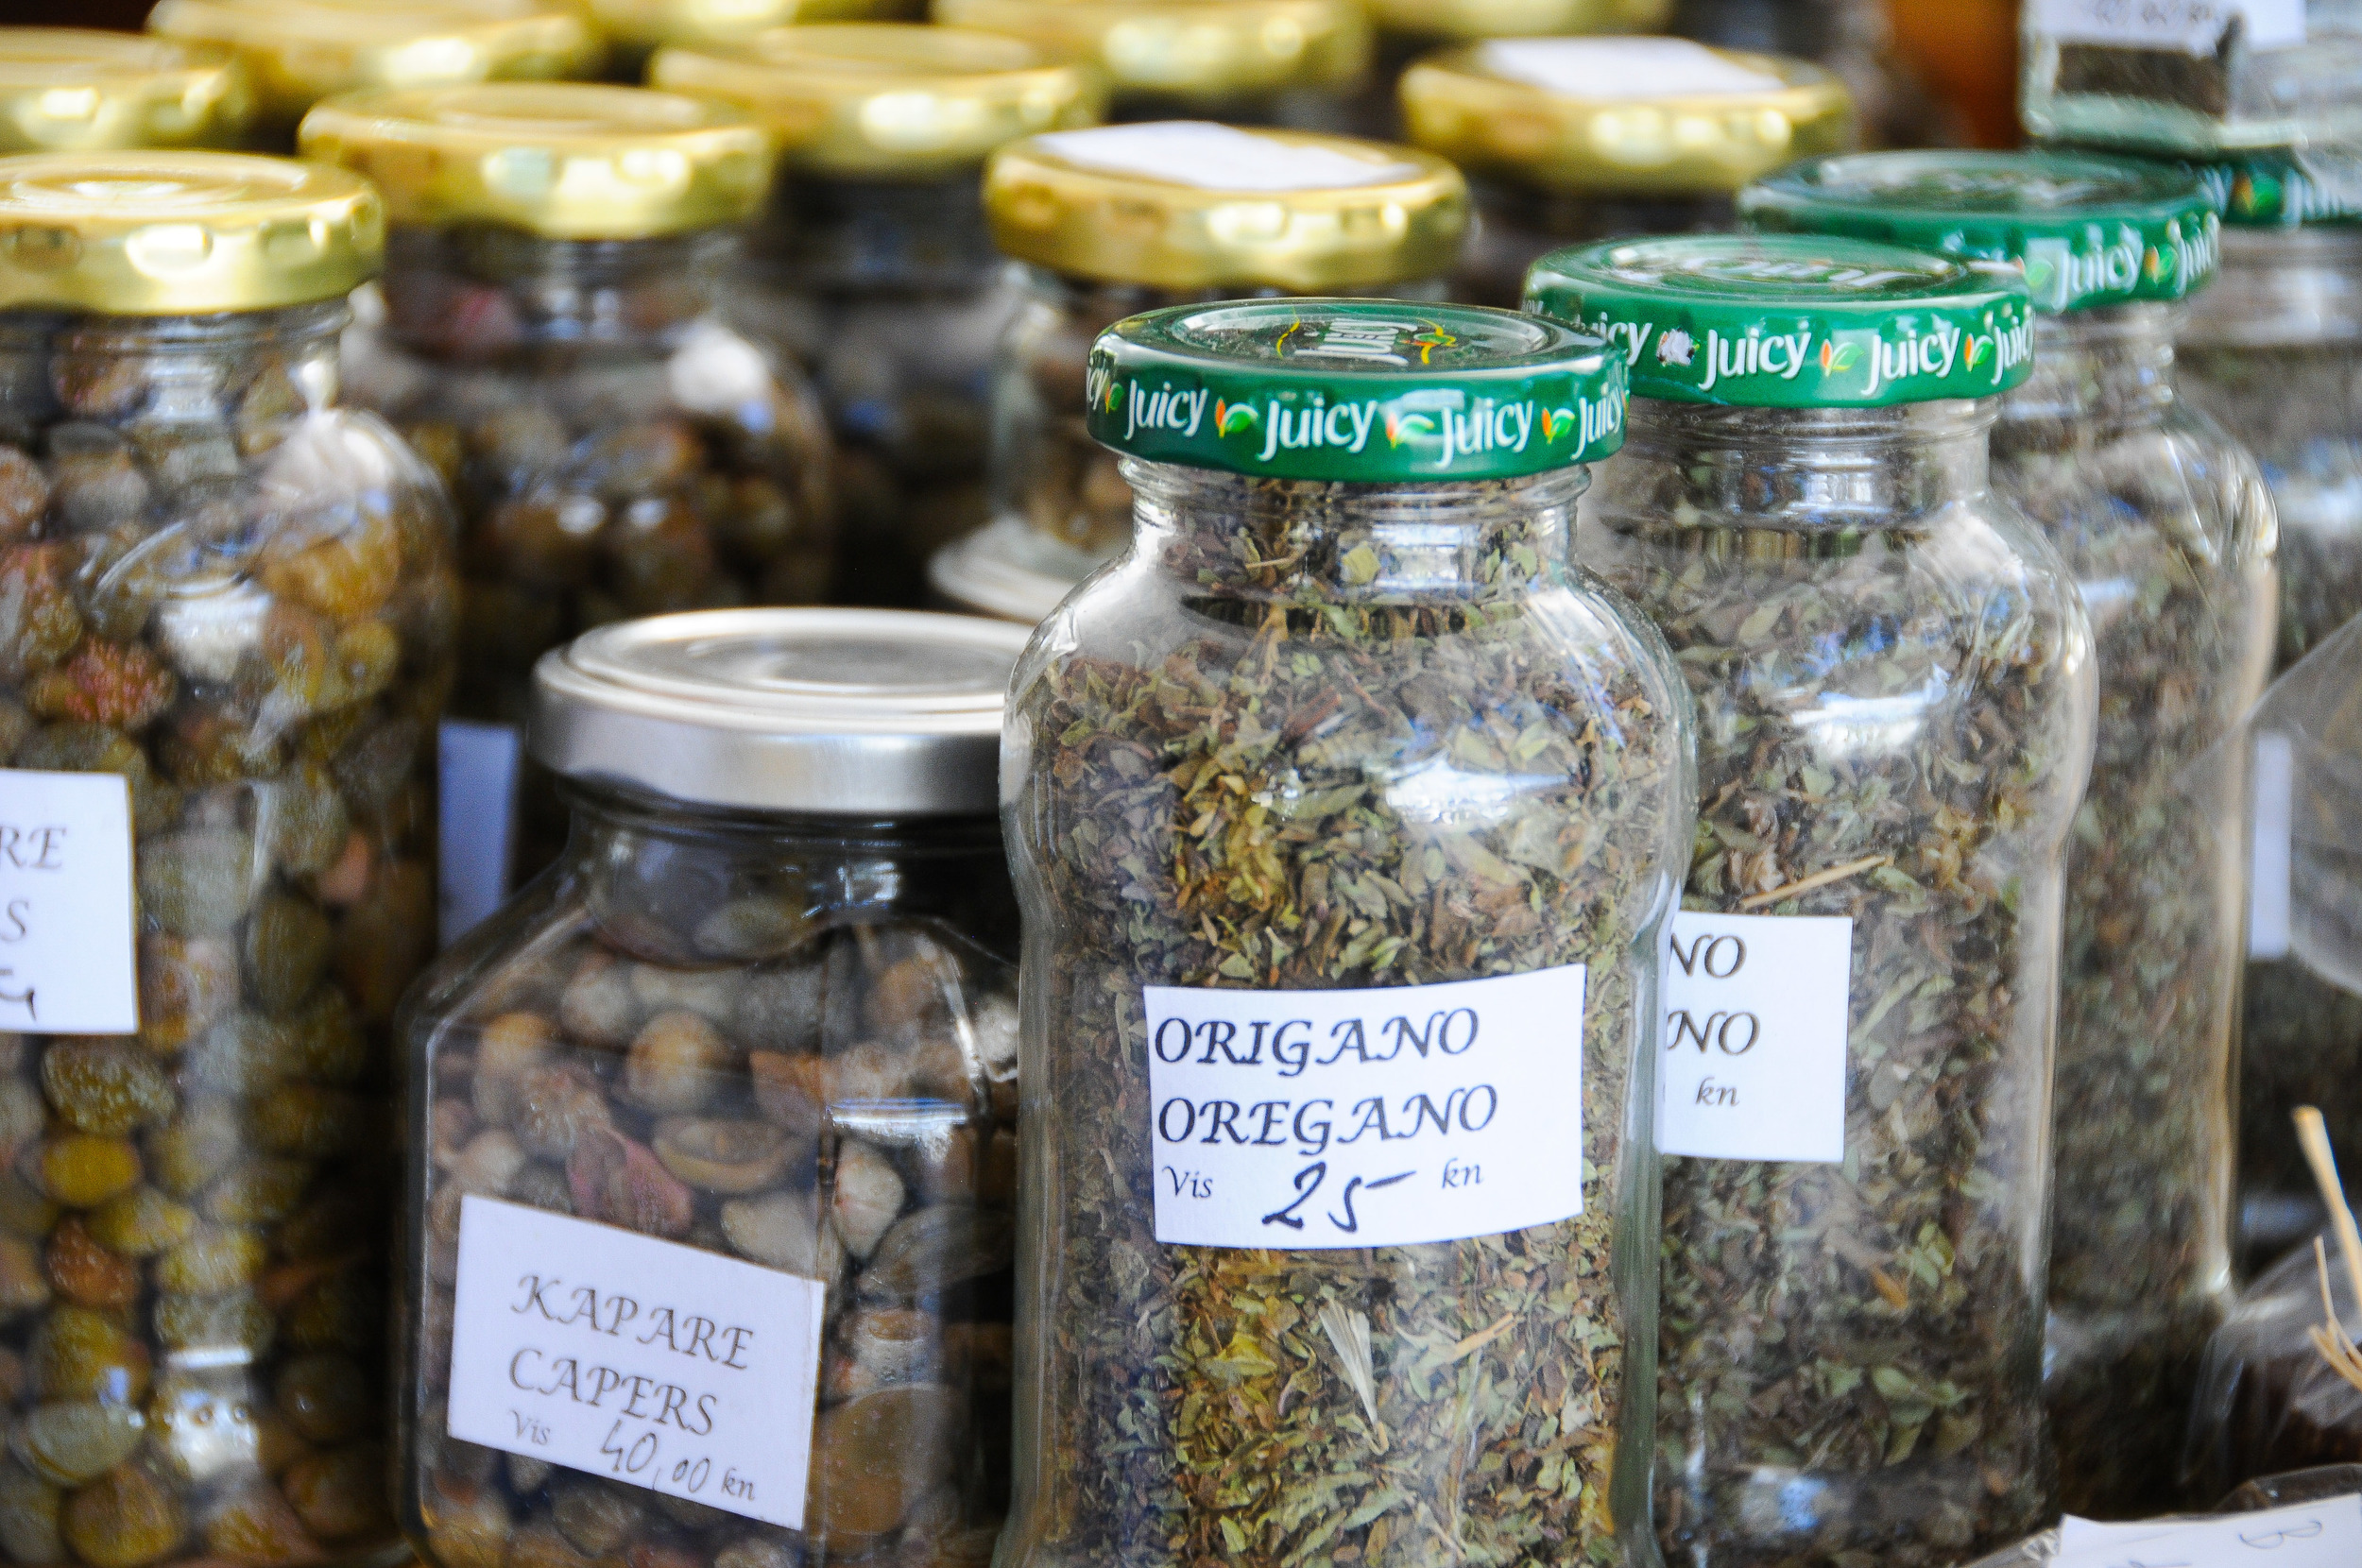
Caper vines grow wild throughout most of the Mediterranean. If you have ever looked up to notice a round-leafed vine tumbling down from an impossibly tiny crack between the stones of a building, there is a fair chance that it’s actually a caper bush (Capperis spinosa) that you’ve been admiring. The capers themselves are the flower buds of the vine, before they have opened into bloom. Elongated and larger caper-berries on the other hand are what becomes of the flower after it has died – so either way, find a caper bush, readily identifiable by the purple and white flowers themselves, and get picking – make sure to wear a pair of gardening gloves though as the vines are very spiky!
Capers can’t be eaten raw as they are full of mustard oil, which has a bitter, astringent flavour. They are made palatable by soaking in water for anywhere between 3-6 days, and then pickled in vinegar or packed under salt in order to preserve. The following instructions are for vinegar pickling… I like this better as typically I am not organised enough to remember to pre-soak salted capers prior to cooking with them! If you are, and would prefer to pack in salt, omit the vinegar and store the capers (post-soaking procedure) in a jar between layers of sea salt.
Ingredients
(Makes a small jar)
- 125g freshly foraged capers
- ½ cup of white wine or sherry vinegar
- ½ cup of water
- 1 tablespoon of sea salt
You’ll also need, some gardening gloves, a pair of scissors, and a small glass jar.
First, find a caper bush to pilfer – preferably one growing at ground level, so that ladder-balancing is not required! Using a pair of scissors, snip the small buds off the bush into a sieve or colander, avoiding any larger ones that have begun to open, or look like they may be about to.
Back at home, sort through the capers, discarding any leaves, grit or other debris that might be mixed in, then cover in water and leave to soak for three days.
After three days, taste one of the capers, if it is still unbearably bitter, continue to soak for up to a further two days. Make sure to change the soaking water once every day – the water you discard will contain the bitterness drawn from the capers.
When ready to bottle, sterilise a jar by gently boiling this (along with its lid) in a large pot of water for 10 minutes. Remove the jar and lid using a pair of tongs to a clean tea towel.
Next, prepare a brine for the capers by mixing together the vinegar, water, and salt. Drain the capers from their soaking water (discarding this), then add them to the brine. Stir to combine, then pour capers and brine into the sterilised jar, making sure that the brine completely covers the capers. Seal with the lid, and store for at least 3 days before using. If, after three days, the taste is still a little strong for your liking, leave the jar another week, and try again. The flavours should have mellowed sufficiently after this time and the capers will be ready to eat.
Once opened, the jar should be stored in the fridge, and capers consumed within one month.
Rock Samphire
Ingredients
- Freshly picked rock samphire
- Wine or sherry vinegar
You’ll also need a small glass jar.
Known as Motar in the Dalmatian dialect spoken on Vis, rock samphire grows in little pale green clumps between rocks along the shoreline and has a robust texture and slightly pine-y flavour. It’s easy to harvest, just find a plant that is yet to flower and pick the smaller stems and tips either by hand or with a pair of scissors. Give these a quick rinse in the sea, then boil in a mixture of water and vinegar (approx. 70% water to 30% vinegar) for around 10-15 minutes, until tender. Once cooked, drain in a colander and immediately plunge into an ice bath – this will ensure that the samphire retains its vibrant colour and doesn’t over-cook.
Next, prepare a brine of half water, half vinegar. Drain the samphire and pack tightly into a sterilised glass jar (see above for sterilisation method). Pour the pickling brine into the jar, making sure it completely covers the samphire, then seal with a lid and store in a cool, dark place for 3 days to a week before eating.
Once opened, store in the fridge, and consume within one month.
Salty Sea Salad
The pickled capers and rock samphire from the recipes above are combined with anchovies to make this delicious salty salad – it's kind of sea-side Dalmatia on a plate. Of course, on Vis, they preserve their own anchovies, but I am going to let that one slide here. Six weeks of curing fish in a bucket under a heavy set of weights was more than my apartment could be expected to reasonably withstand… and I am guessing that it’s maybe more than yours might either!
Ingredients
(Serves four as a light starter)
- 12 anchovy filets under oil – get the best quality ones available. Jar is by far preferably to tinned in my experience
- Small handful of pickled rock samphire
- 3 tablespoons of pickled capers
- ¼ wedge of a red onion – finely sliced
- Small squeeze of lemon + an extra wedge of lemon to garnish
- A generous drizzle of extra virgin olive oil
- Crunchy bread to serve
Lay the anchovies out on a large serving plate interspersed with the pickled samphire, capers, and finely sliced red onion. Squeeze over a little lemon and then liberally drizzle over some good olive oil. Unless you are an extreme salt junky, you shouldn’t need to season! Garnish with a wedge of lemon, and serve with some crusty white bread.
Hib
Hib is a ‘cake’ of dried figs, herbs, and brandy native to Vis. It's typically made at the end of summer, when the glut of island figs are laid out in the sun to dry. These are then ground together with some walnuts, herbs, and brandy, formed into small discs, and set out to dry again. Traditionally, hib would have been wrapped in cloth and taken by workers to eat in the fields, for the rest of us it works well as a more flavourful substitute for quince and is particularly good with hard sheep’s cheese.
If you want to dry your own figs, collect the ripest ones you can find (these are usually the ones that have already fallen to the ground, so no need to feel to guilty if you are scavenging someone else’s tree), and slice in half. Lay out on a wire rack between two layers of light cheesecloth and allow to dry in hot sun for 3 days.
It is also possible to dry figs in the oven on an extremely low temperature – 50-60°C for approximately 12 hours depending on the size of your figs. If your oven does not have such a low setting, or if you don’t want to leave it on continuously, best to wait for a stretch of sunny days. Otherwise, store-bought dried figs will work also perfectly well in this recipe!
Ingredients
(Makes one disc of Hib)
- 300g dried figs
- 40g shelled walnuts
- 1½ teaspoons of dried fennel seeds
- A few drops of brandy
- 1 dried bay leaf
- A few leaves of dried rosemary
Toast the walnuts in a dry pan over medium heat for 4 minutes, taking care to move these around so that they don’t burn. When toasted, remove to a chopping board and cut into small pieces.
Briefly toast the fennel seeds in the same pan until they release their aroma – around 1-2 minutes. Now crush lightly in a mortar and pestle to break the seeds up a little.
Next, roughly chop the dried figs, then grind these, along with the chopped walnuts, and lightly crushed fennel seeds, by hand in a large mortar and pestle, or in a food processor.
The ground fig mixture will begin to resemble a dough after some grinding. At this point, turn it out onto a clean bench top, add a few drops of brandy to bring the mixture together, and knead until it is possible to form a small cake or patty shape.
Next, leave the hib to dry in the sun for 10 days – a small domed cover made from fly screen or cheesecloth is useful for keeping off insects.
After ten days, the dried hib can be wrapped in baking paper, along with the bay leaf and dried rosemary. Store like this in a cupboard, or eat straight away. It’s especially delicious with Manchego cheese, or the Croatian equivalent, Trapist cheese from the Island of Pag.


