I’ve seen more snow this year I think than ever before. Not just on the ground (though there has been a lot of that), but snow actually falling, great white wafts of the stuff thickening and brightening the air. Unluckily, this has not resulted in my having become snowed-in at any stage – which I’ve always thought sounds like quite a lot of fun. Instead, for the most part, it seems as though I’ve been in a car during most of these incredible snow falls, either driving or as a passenger, and that experience has led me to conclude a few things…
First, while it might seem unnecessarily expensive to choose the ‘winter tyre’ option when completing an online hire car booking from the distant and snow-free safety of your desert home, when faced with trying to get that same car out of a carpark that has not been cleared of 48 hours of continuous snow fall, you’ll think differently. Especially when a whole hotel breakfast room worth of people are corralled by the friendly hotel owner to help push you out of the drift you’ve gotten stuck in. Moreso even, when one of these helpers is wearing an authentic alpine felt hat complete with feathers in the band, and doing the all heavy work with a huge snow shovel. ‘How funny that this little girl has dared to venture up here in this tiny bald tyre-d rental,’ he can only be thinking – and, of course, he’d be right.
But I did not quite learn my winter tyre lesson immediately, there was a half way house first – snow chains – a slightly less extortionately priced alternative. Snow chains, however, come with the tricky question – when is the right time to put on snow chains? By the time you are thinking, ‘we really need to put on those snow chains,’ it’s usually too late. By then it’s dark, and very cold, and after all, you are almost there. So you don’t put on the chains. Then you slip a little, and slide on the ice, but not a lot, and you think it again. But snow chains are fiddly, and besides, there is nowhere convenient-looking on the side of the road to stop. The answer therefore, to the eternal when-to-fit-the-snow-chains question can only ever be: ‘after a very long and dangerous skid on a hairpin turn.’
We did make it to where we were going in the end, albeit a little late, a little grumpy, and more than a little sullied by our dealings with the underside of the car. All the more reason though to be delighted by the greeting that awaited – delicious warm pot-a-feu, chilled champagne, some wonderful friends, and, most importantly, cheese! Is there anything cheese can’t fix?
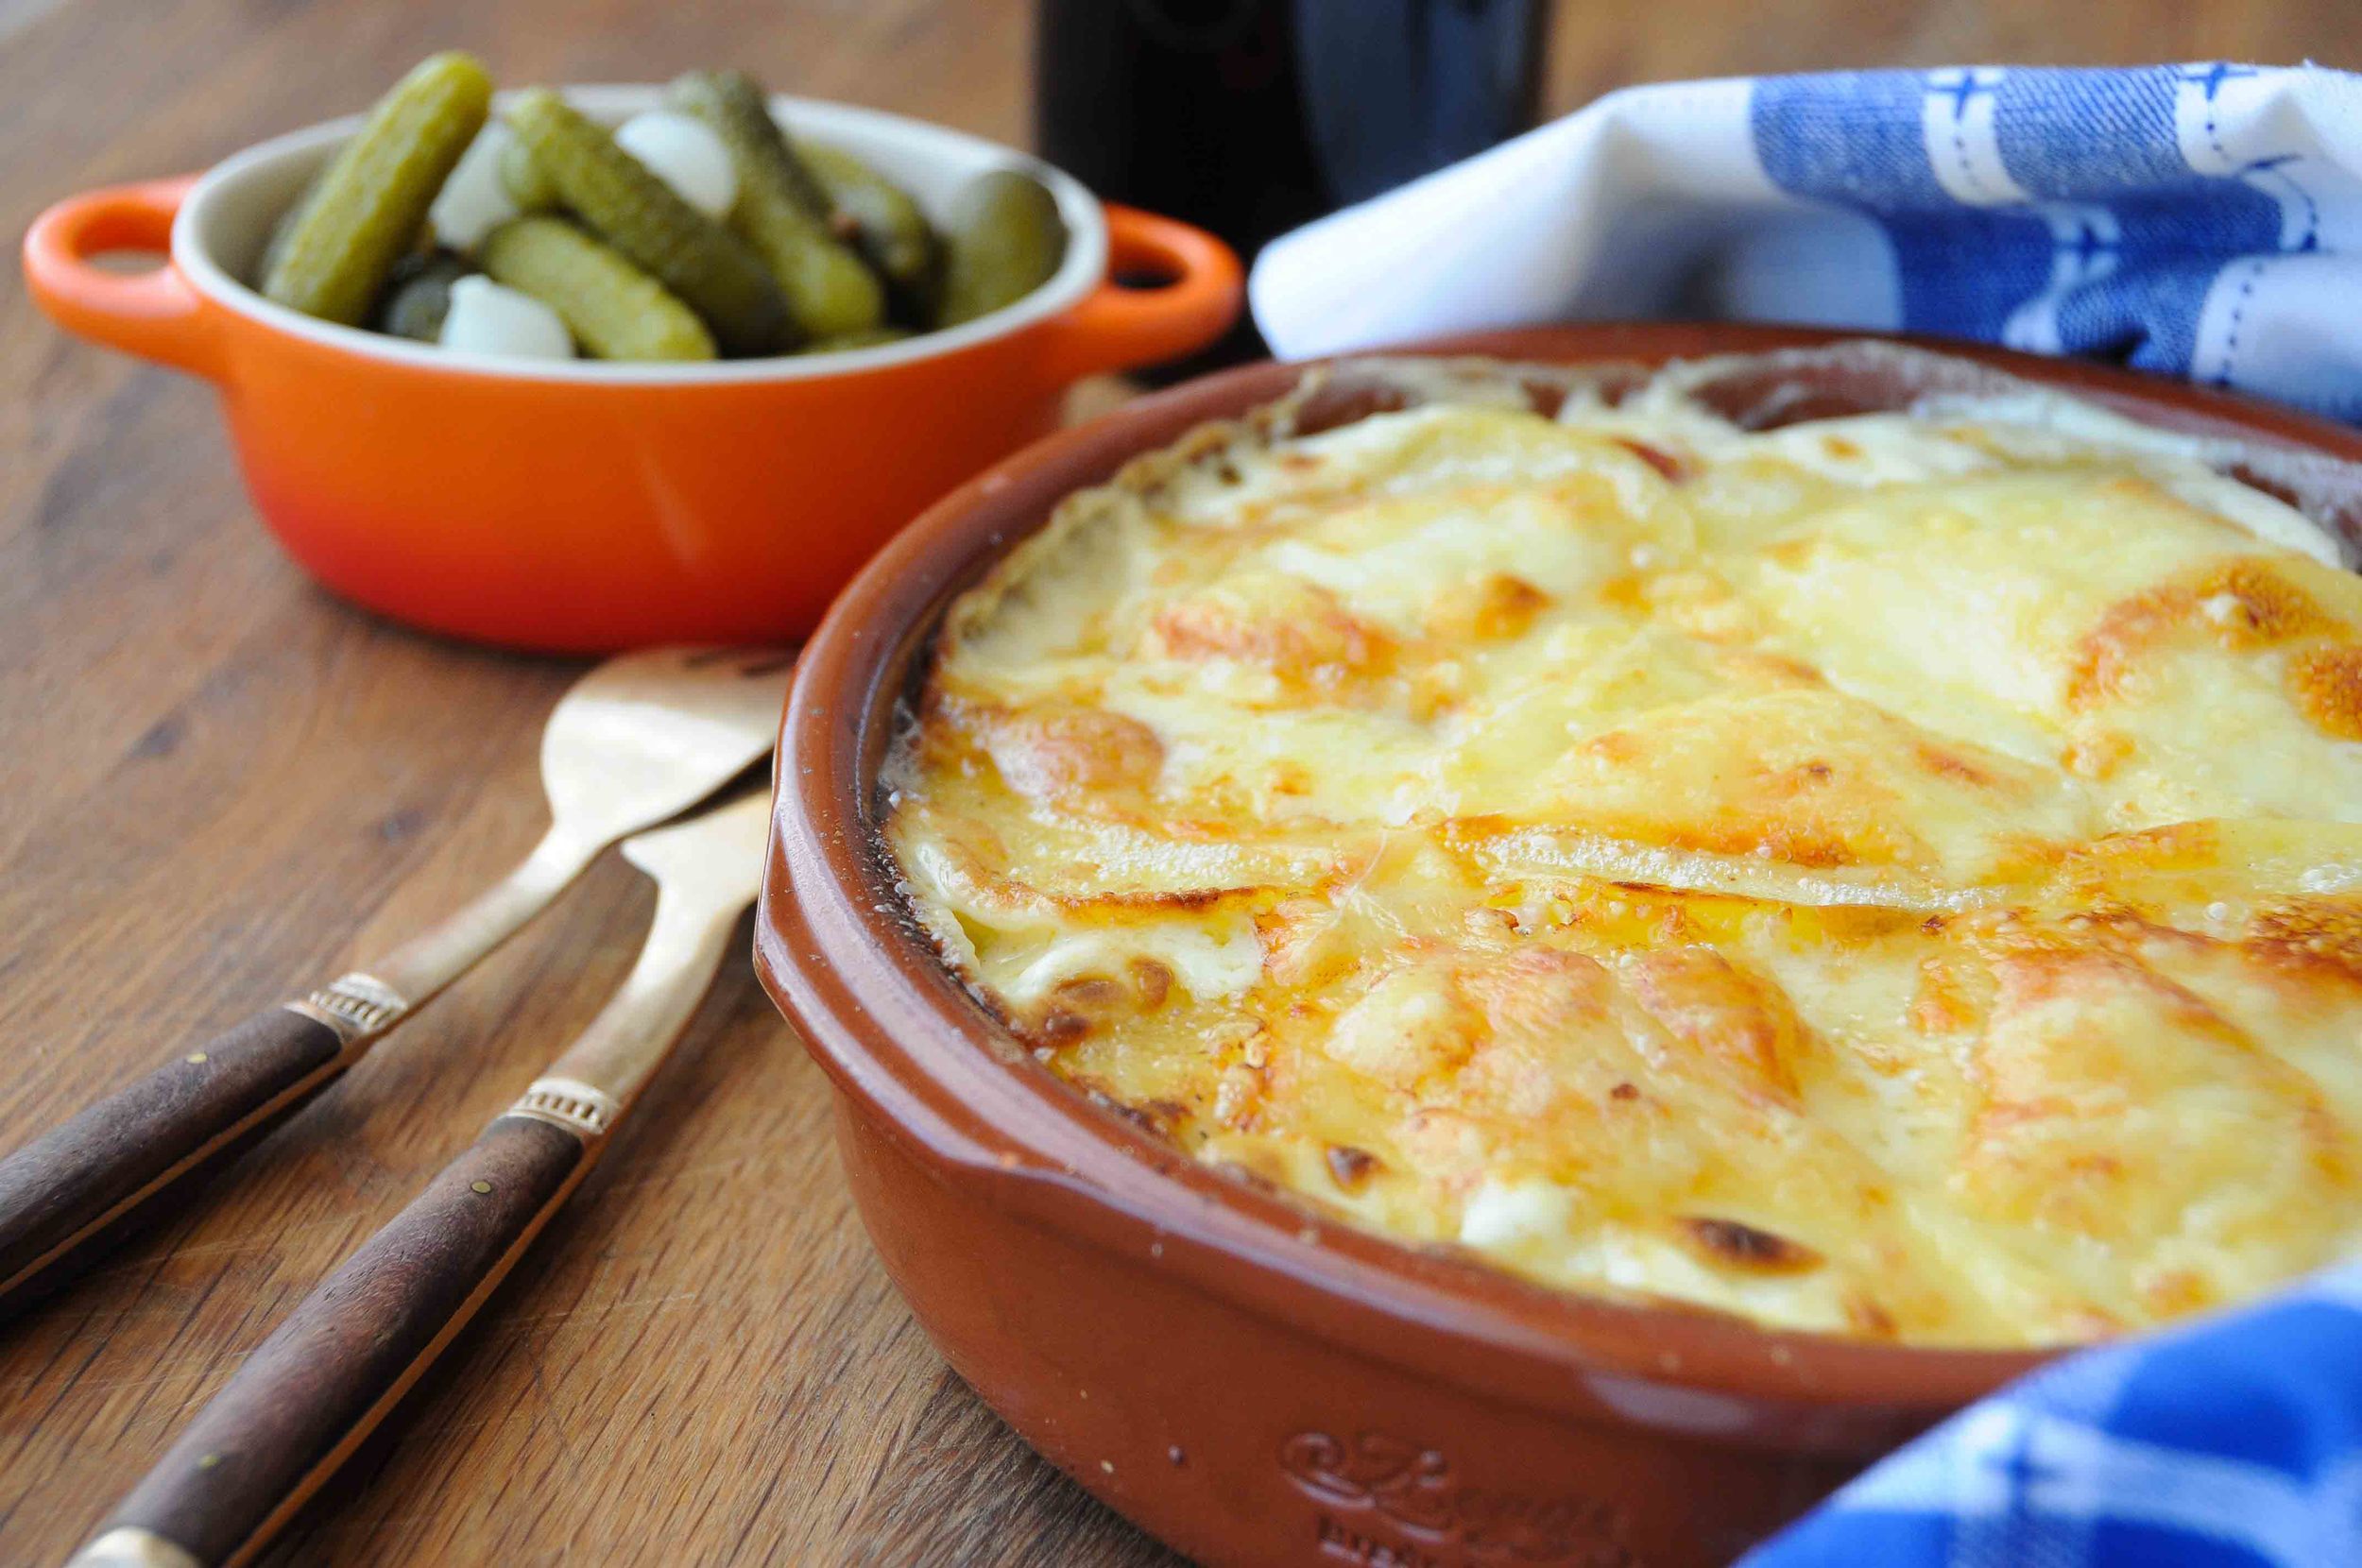
Tartiflette Savoie
Fortunately there is no shortage of cheese in the Haute Savoie. All the best alpine dishes seem either to include it heavily, or exist of it solely in various stages of melt. Because I am supposed to provide recipes here, and not just instructions on how to melt cheese, I’ve chosen to make Tartiflette. It’s not healthy, but it is very traditionally Savoyard, and very delicious. Besides, if you’ve used up all your energy dealing with snow chains, I think it’s ok to indulge.
Ingredients
(Serves 4)
- 30g butter
- 1.2kg baking potatoes
- 2 small brown onions
- 250g bacon rashers
- 2 cloves garlic
- 125ml white wine
- 250ml pouring (single) cream
- 450g (approx. 1 round) Reblochon cheese
- Salt & freshly ground pepper
- Cornichons and pickled onions to serve
Preheat the oven to 200°C.
Peel the potatoes and then boil for 10 minutes in a large pot of slightly salted water. Drain and put aside until they are cool enough to handle, then slice into thin rounds.
Slice the peeled onions thinly, and chop the bacon into 2cm lardons. Heat the butter in a large frying pan and fry the onions and bacon over medium heat. After 5 minutes, add the crushed garlic, and stir to ensure that it does not stick or burn. Turn the heat up slightly beneath the pan, and then de-glaze with the white wine. Cook for a further minute or two in order to allow the wine to evaporate off, before removing from the heat.
Layer the potatoes in a large oven-proof dish. Topping with a little salt (though keep in mind that the bacon may already be quite salty), some black pepper, and a layer of the onion and bacon mixture. Continue to layer in this manner until you reach the top of the dish. Finish with a layer of potatoes and then carefully pour the cream evenly across the top. Thickly slice the Reblochon into rounds and place these on the top of the tartiflette.
Cook in the preheated oven for 20-25 minutes until brown and deliciously bubbly on top. If the top is not crisping to your liking, finish it under a hot grill.
Serve hot with cornichons and a green salad.
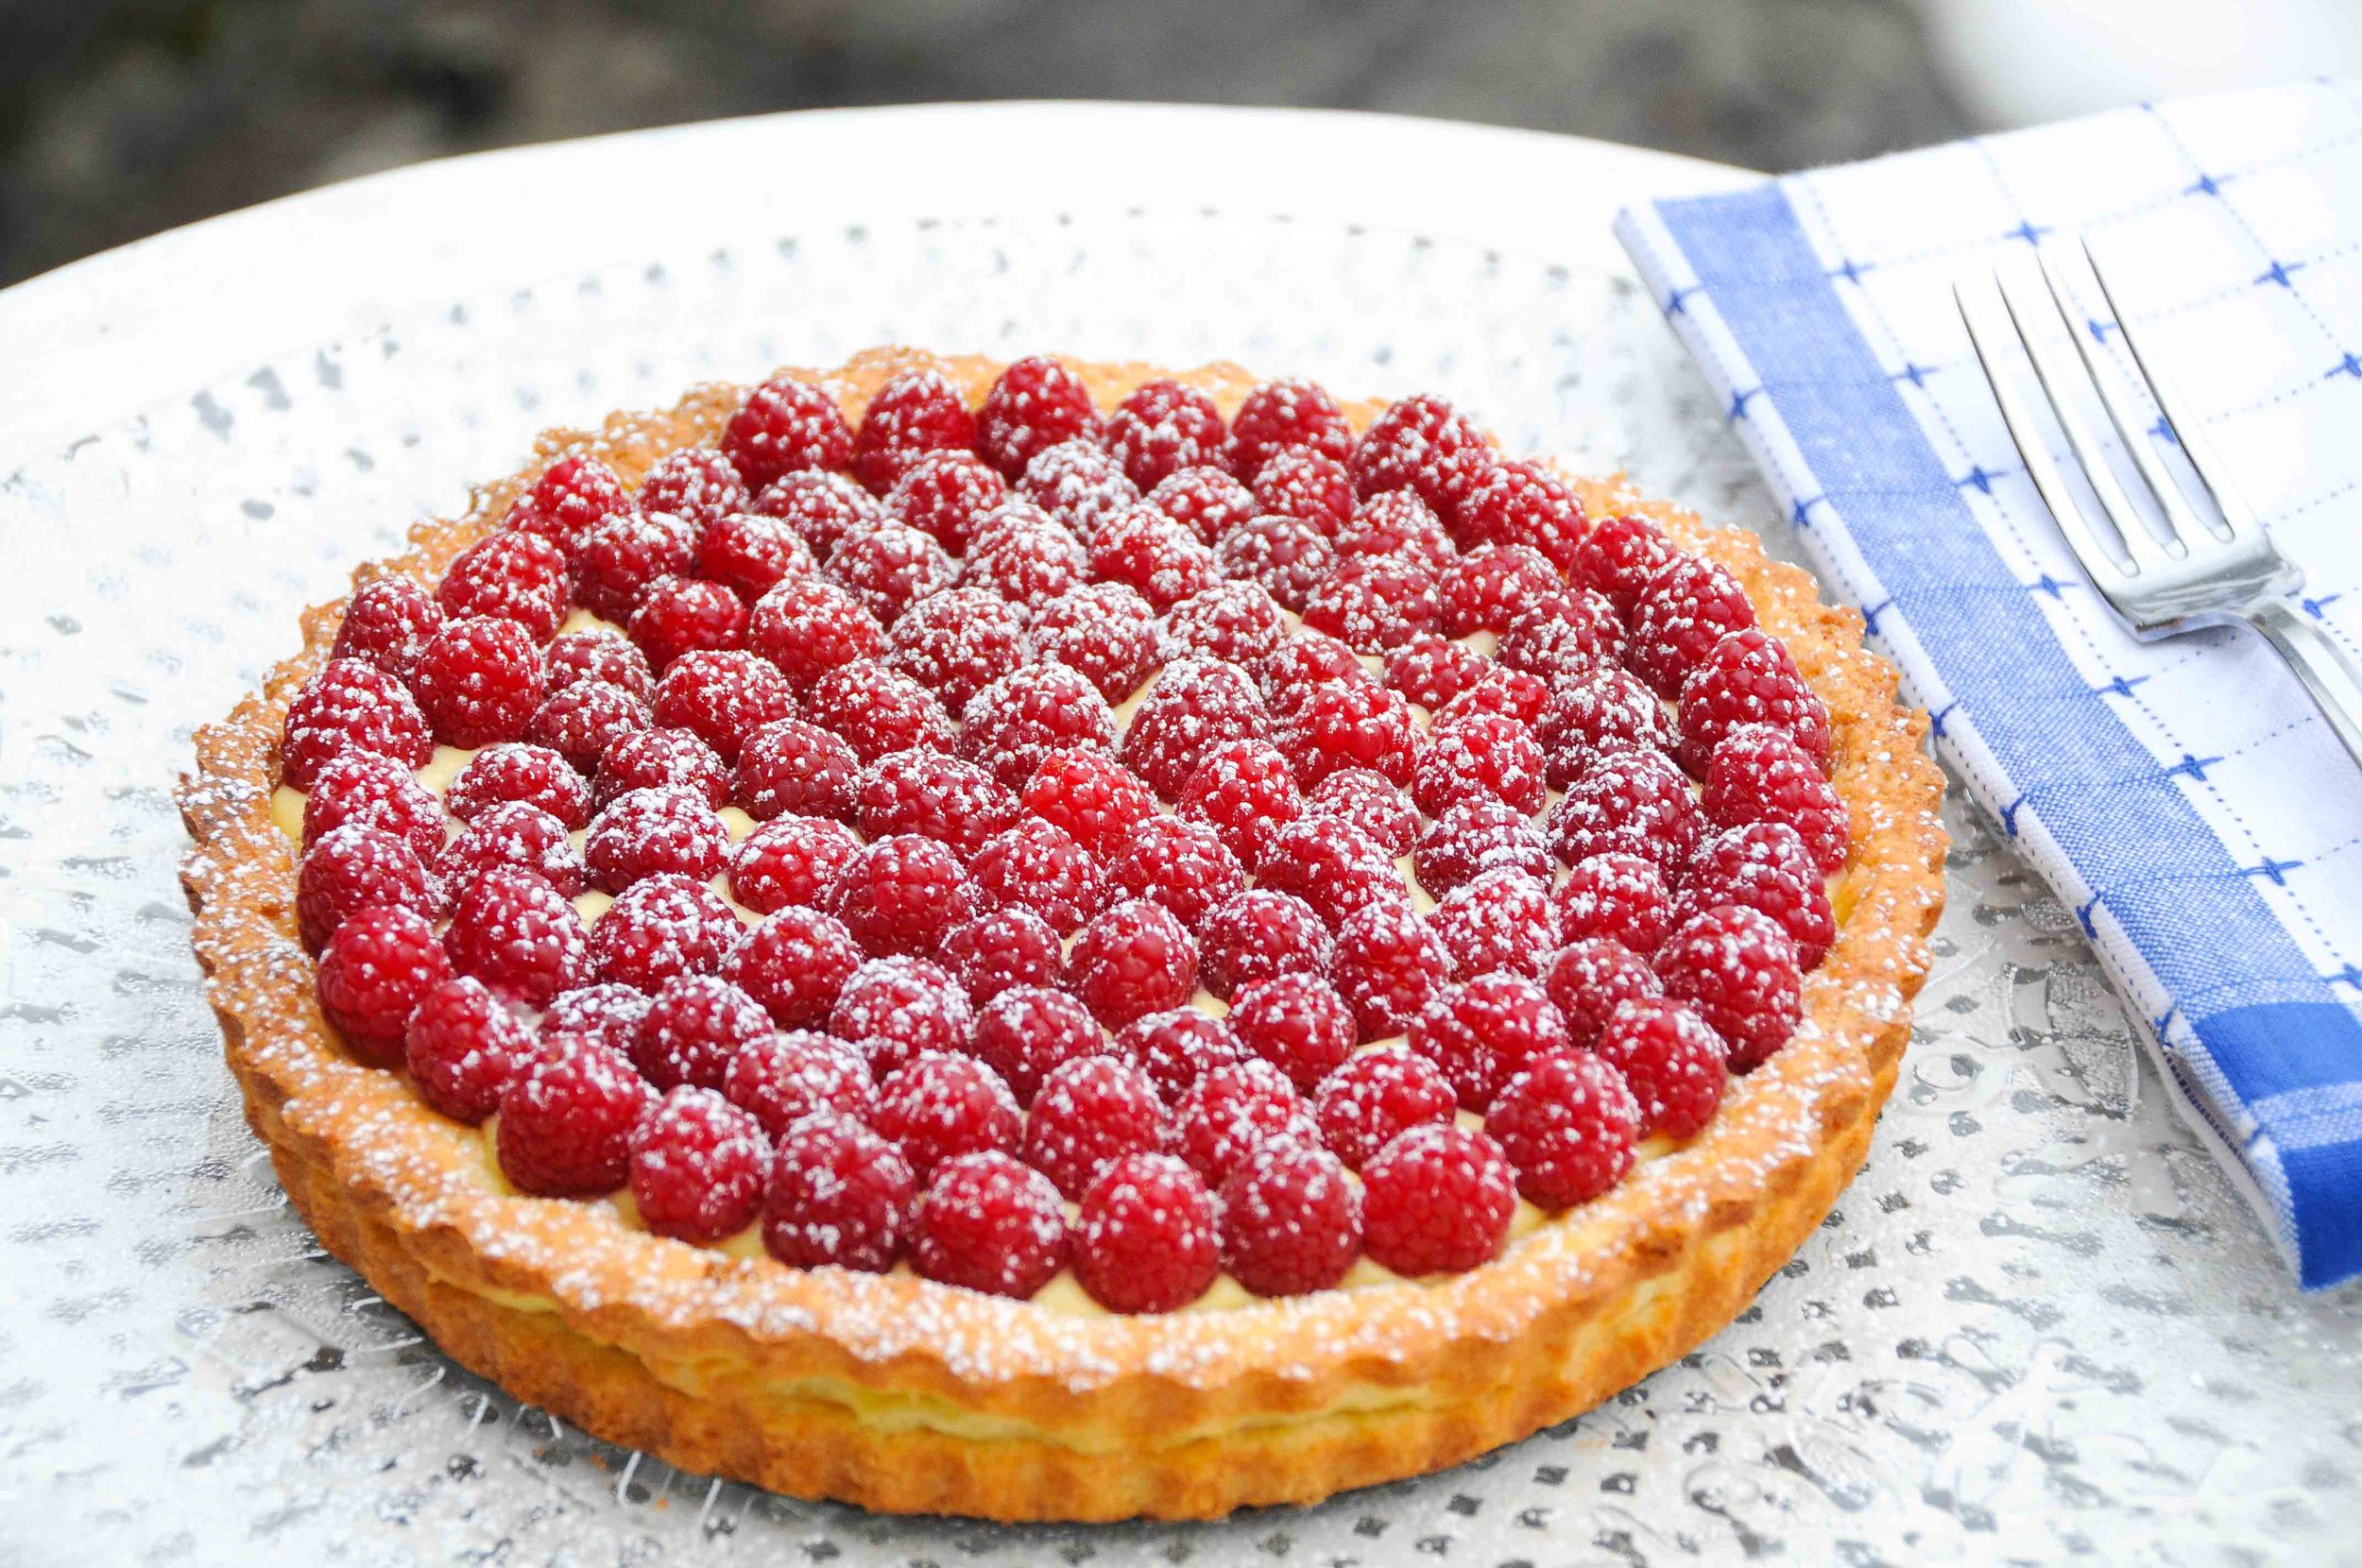
Tarte aux Framboise
Raspberry tart is perhaps not the first thing you might associate with the Haute Savoie, but there’s an on-slope restaurant at Les Arcs that makes the best raspberry tart I’ve ever tasted. The first time we visited on this trip, they’d run out – sacré bleu (!) – so, back at the chalet I made the below version from memory. Two days later, we re-visited earlier in the lunch service, and ate the real thing. It was then I realised that my memory had been very much mistaken, and that the ‘real’ version had no crème patissiere at all. Just short crust pastry and a ton of raspberries. Either way is very delicious however, so you choose.
Ingredients
(Serves 6)
Pâte Sucrée
- 200g plain flour
- 50g almond meal
- 25g caster sugar
- 1 heaped tablespoon icing sugar
- 125g butter (+ a little extra for greasing) – chopped into 2cm cubes
- 1 egg (whole)
- 1 egg (separated into yolk and white)
Crème Patissiere
- 500ml whole milk
- 2 teaspoons vanilla extract
- 75g caster sugar
- 4 large egg yolks
- 70g plain flour
Filling
- 375g fresh raspberries
- Icing sugar to dust (optional)
For this recipe you will need a 22cm flan tin with a removable base.
It is also helpful to have some ceramic baking beans, though rice, lentils, or any other dried pulses will also suffice for the purposes of blind baking.
The pastry and crème patissiere both require some time chilling in the fridge so remember to factor this into your timings.
-----
To make the pate sucrée, place the plain flour, almond meal, butter, icing sugar and caster sugar into a large mixing bowl. Crumb the mixture using your hands (in the same way that you would to make a crumble topping) until you have a fine crumb texture.
In a separate small bowl, whisk together the whole egg and the yolk from the separated egg. Introduce this to the fine crumb mixture using the blade of a knife to mix. If the mixture does not come together at this stage, and is still on the crumbly side, add a little bit of the reserved egg white, and mix again.
Once you have achieved a pastry dough texture, bring the mixture together gently with your hands, and flatten, again by hand, to a thickness of approximately 2cm. Now wrap the pastry in a large sheet of greaseproof paper and refrigerate for a minimum of 2 hours.
At the same time, thoroughly grease the flan tin with butter, making sure to also coat carefully inside the fluted grooves on the side. Place the tin in the refrigerator alongside the pastry dough, ready to use later.
To prepare the crème patissiere, cream together the egg yolks and sugar in a mixing bowl. Once this mixture is pale in colour and fluffy in texture, add the flour, and whisk to incorporate.
In a medium saucepan, heat the milk together with the vanilla essence until it is steaming profusely, but not boiling (i.e. until it is just below boiling point). Remove from the heat, and then carefully pour ⅓ of the milk into the bowl containing the egg, sugar, and flour mixture. Whisk vigorously in order to temper the eggs, before pouring the mixture back into the saucepan containing the rest of the milk. Whisk continuously and vigorously at this point to prevent the eggs from curdling.
Now, return the pan to a low heat and continue to whisk until the crème thickens considerably. This can take upwards of ten minutes – the formation of big, lava-style bubbles are an indicator that you are nearing the correct consistency. But be careful at this point as the mixture can rapidly become too hot.
As soon as the crème is thick enough, remove it from the heat, and continue to stir for a further 2 minutes. Then pour into a clean bowl, cover tightly with cling film, and leave to cool completely in the fridge.
When you are ready to bake, pre-heat the oven to 180°C.
Remove the pastry from the fridge and, using a rolling pin lightly dusted with flour, roll the pastry out carefully on the greaseproof paper. Roll slowly, turning the paper 90° after each roll to ensure that you get an even round shape. Aim to roll the dough to a size around 6cm in diameter larger than the base of the flan tin (so that the pastry will easily reach up the sides).
Once you have rolled the pastry out to a sufficient size, pick up the edges of the greaseproof paper and very carefully invert the pastry into the chilled flan tin. Remove the greaseproof paper backing and carefully work the pastry into the edges of the tin, and up the sides, taking care that it does not tear on the fluted edges of the tin. Lastly, trim any over-hanging excess pastry using a sharp knife.
Prepare the pastry case for blind baking by pricking all over with a fork. Now line with a fresh sheet of greaseproof paper and pour a layer of ceramic baking beans over the paper, ensuring that these cover the entire base.
Blind bake in the pre-heated oven for 15 minutes. After this time, remove the baking beans and paper before returning the pastry case to the oven to bake for a further 5 minutes.
Remove from the oven when lightly golden, then put aside to cool before filling.
To assemble, pour the chilled crème patissiere into the pastry case, spreading it with a rubber spatula. The crème should stop 1cm below the edge of the case.
To prepare the raspberries, carefully pick through to remove any dried leaves, but refrain from washing as this will soak the raspberries and ruin their texture.
Arrange the raspberries in concentric circles atop the crème patissiere, starting in the centre and working out until the whole surface is covered.
Finally, dust with a light coating of icing sugar (if so desired) and stand back and admire your handiwork!
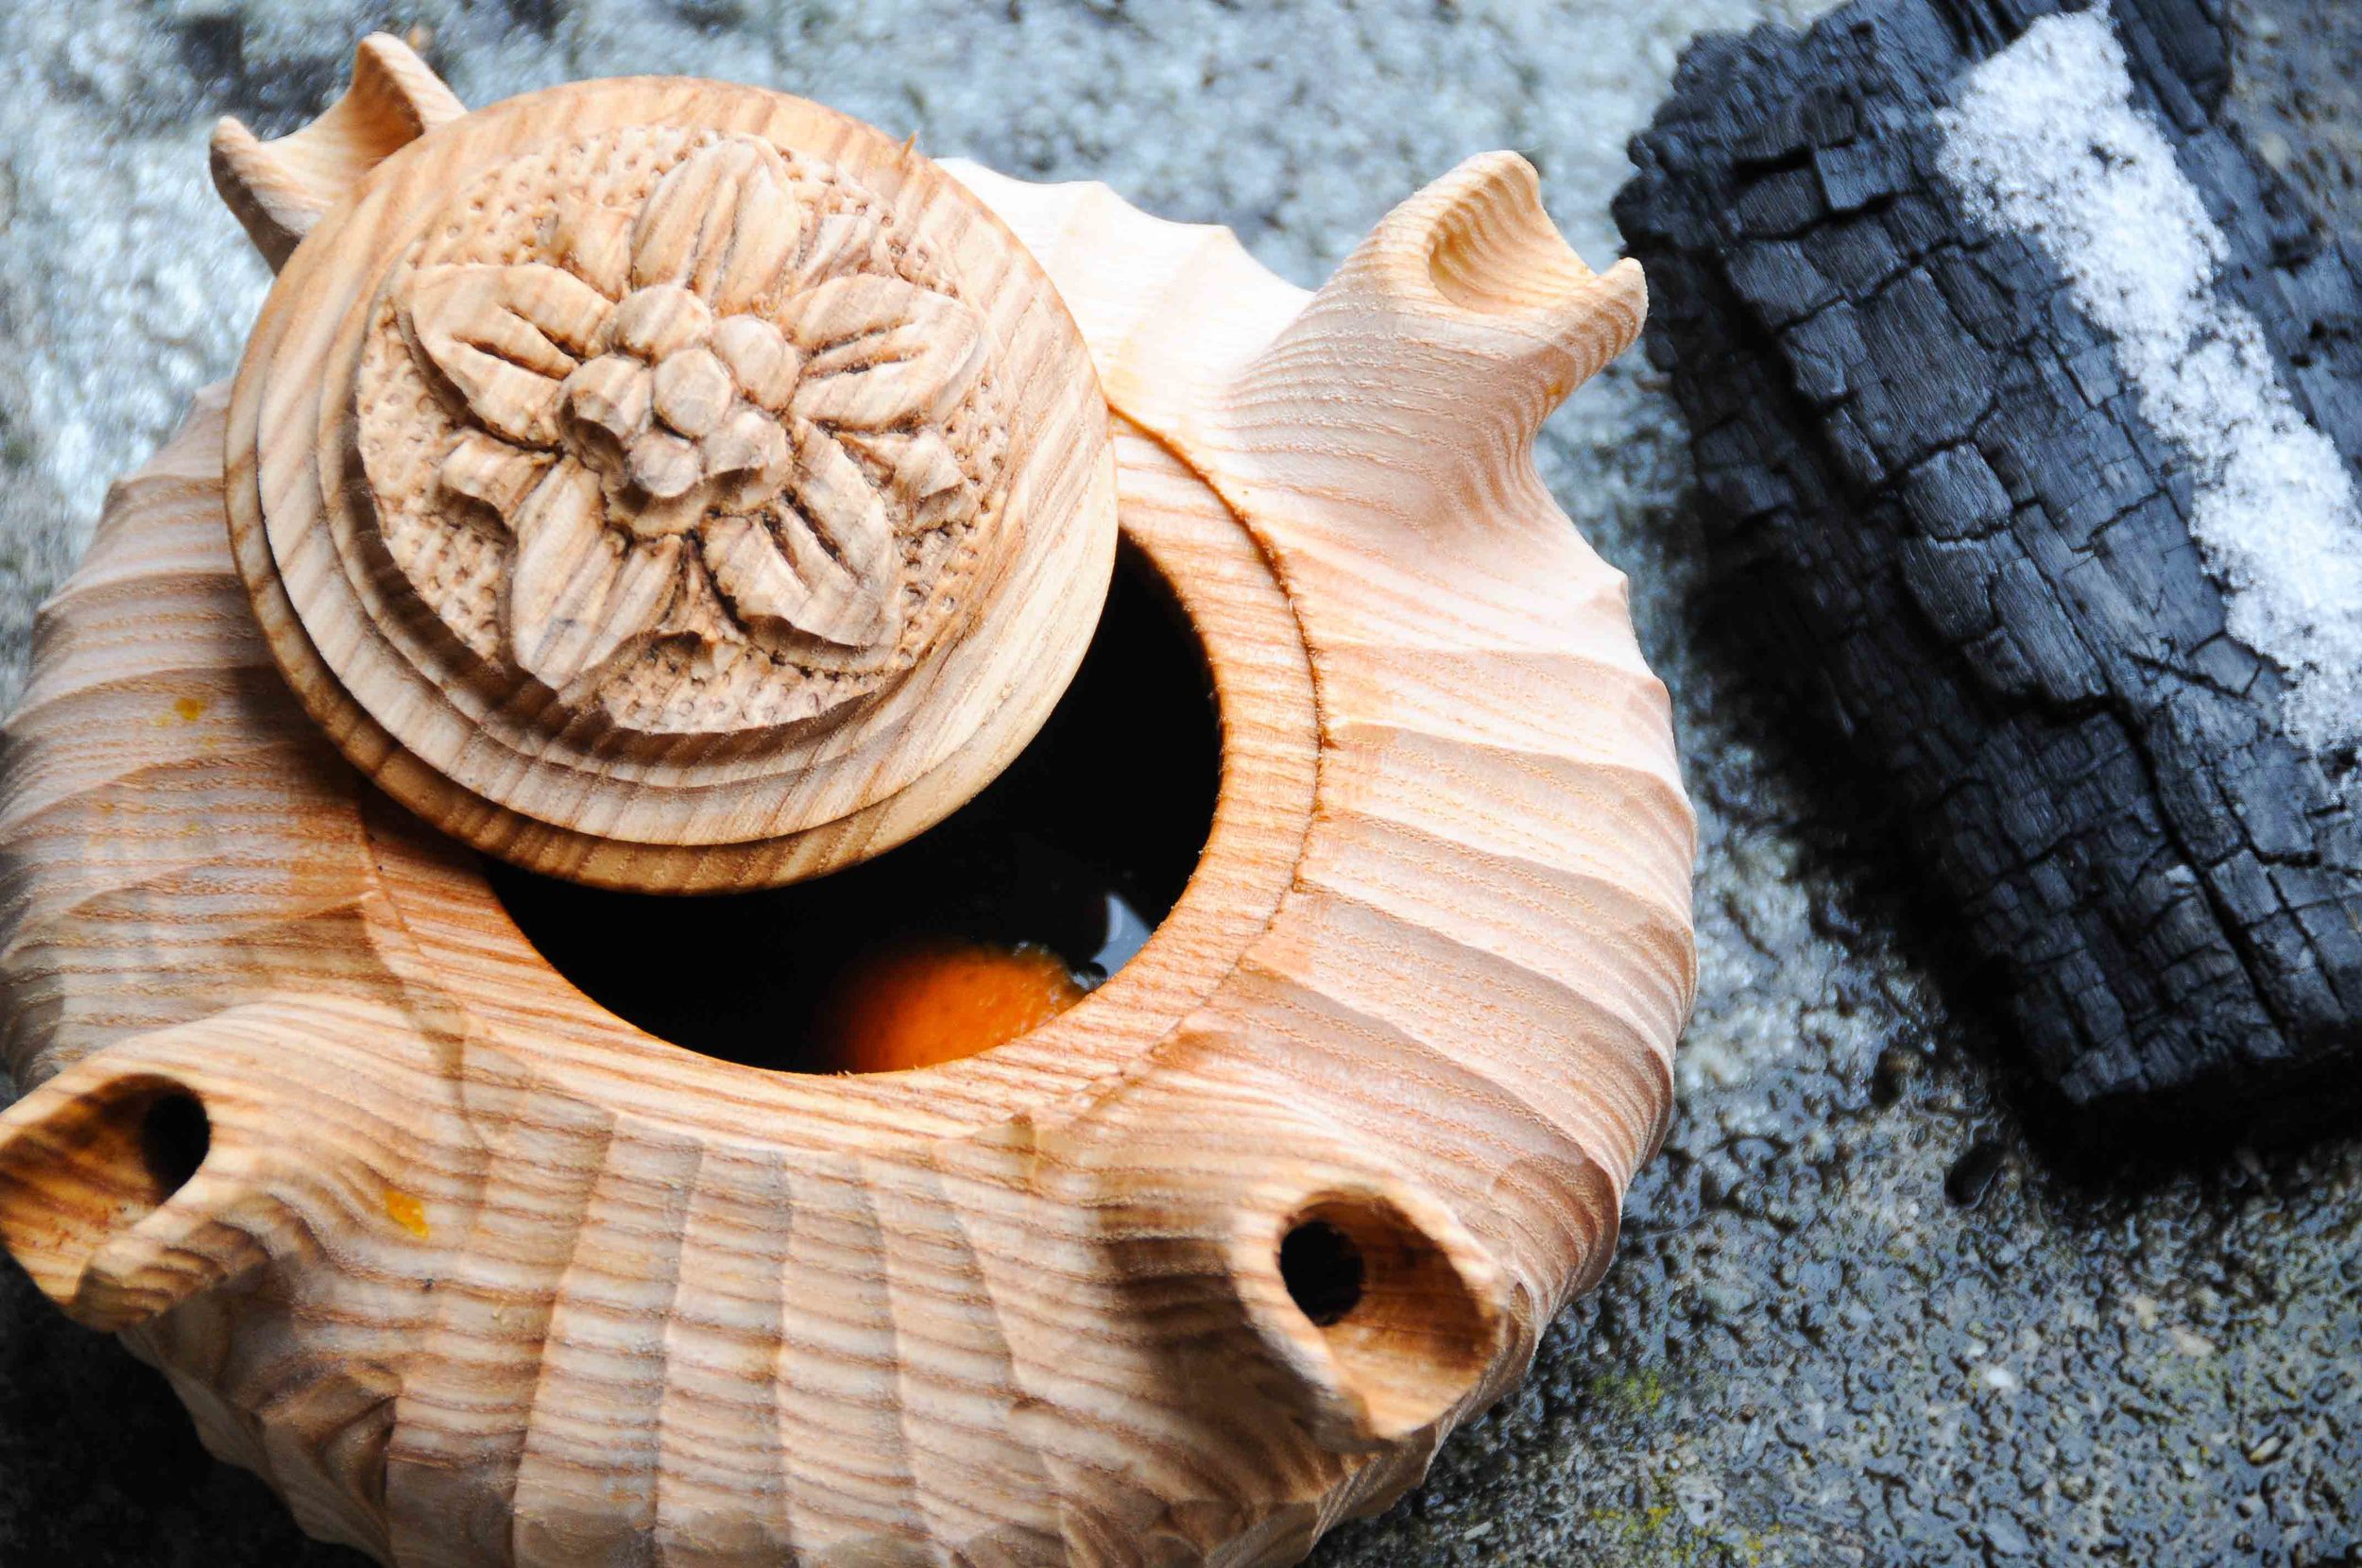
Grolle
This stuff has made an appearance on this blog before you may recall, though previously it was as ‘Grog’ not ‘Grolle’ thanks to having been consumed in the German part of Switzerland.
The wooden drinking vessel is a must in my eyes, and, as a trip to an everyday supermarket in Bourg St Maurice proved, in Alpine parts, they’re not that hard to come by.
The other must is a drinking party of at least four. The rules of the Grolle game dictate that it must be passed around from person to person, and not put down on the table until it’s finished if the year is to bring good luck. For just two people the burden of having to drink a whole tub of this stuff may become too much – so stick to four or more so as not to tempt fate!.
It would be a bit much to pretend that the below is a ‘recipe’ as such, but think of it as guidance in raiding the liquor cabinet. The more antique the liquor cabinet the better I find when it comes to concocting this sort of thing, as the sweeter, stronger, and more obscure liquors tend to work best.
So, forage for any:
Eau de Vie
Strong White Rum
Génépy
Or
Kirsch
Have on hand:
- Strong coffee
- Granulated sugar
- One orange – zest and juice
- One lemon – zest only
- Some cloves
- A cinnamon stick
- A lighter or matches
Working to an approximately two thirds/one third ratio between coffee and spirits, heat some freshly brewed coffee in a small saucepan along with two tablespoons of granulated sugar, the cloves, the cinnamon stick, the zest of the orange and lemon, as well as the juice of the orange. Stir to dissolve the sugar and let the flavours infuse over a medium heat for 5 minutes.
Now for the booze. It’s largely up to you, but I’d suggest making up a mixture of eau de vie, rum, and kirsch or génépy in approximately equal measures, (to make together approximately half the volume of the coffee).
Add the spirits first to the wooden Grolle pot, and then pour in the coffee mixture through a strainer to extract the cinnamon and cloves.
Sprinkle some sugar around the rim of the Grolle pot, and then carefully drizzle a little of the highest alcohol percentage liquor you have on hand over the sugar.
Then grab a match, and set the sugar alight. It should burn a blue flame, and will do so only briefly, but the drama is worth it!
Pass the Grolle around while it’s warm and hope it makes it from hand to hand without being put down. Best of luck, and fingers crossed for another fantastic season ski 2014-15!


