A sashimi breakfast at Tokyo’s famous Tsukiji fish market sounded like a good idea. I’d get up early, wander the stands, take some pictures, generally work up an appetite, and then sit down to eat what may arguably be some of the very freshest sashimi on earth. But, as it turns out, a morning of looking at fish, breathing-in a miasma of fish, even being splashed unexpectedly with flying bits of fish, does not an appetite to eat that very same fish make!
In stark contrast to the gleaming clean of Tokyo’s streets, buildings, parks, and trains, Tsukiji is mayhem. A mayhem organised by its own principles perhaps, but to the uninitiated, remaining outside the path of a speeding fork lift, or free from flying fish juice is a full-time concern. Smack in the middle of the most sanitised and corporate part of Tokyo, the market offers a reminder of how the cogs that turn out of sight enable the otherwise well-oiled city to run smoothly.
Processing over 2,000 tonnes of seafood every day, Tsukiji is the largest wholesale fish market in the world. Under threat of relocation for years, it seems that these threats are about to become a reality. Next year the market is reportedly moving from its historical central Tokyo position to the distant outskirts of the city.
I managed to avoid being run over, and hastily snapped some pictures before fleeing for the shower...
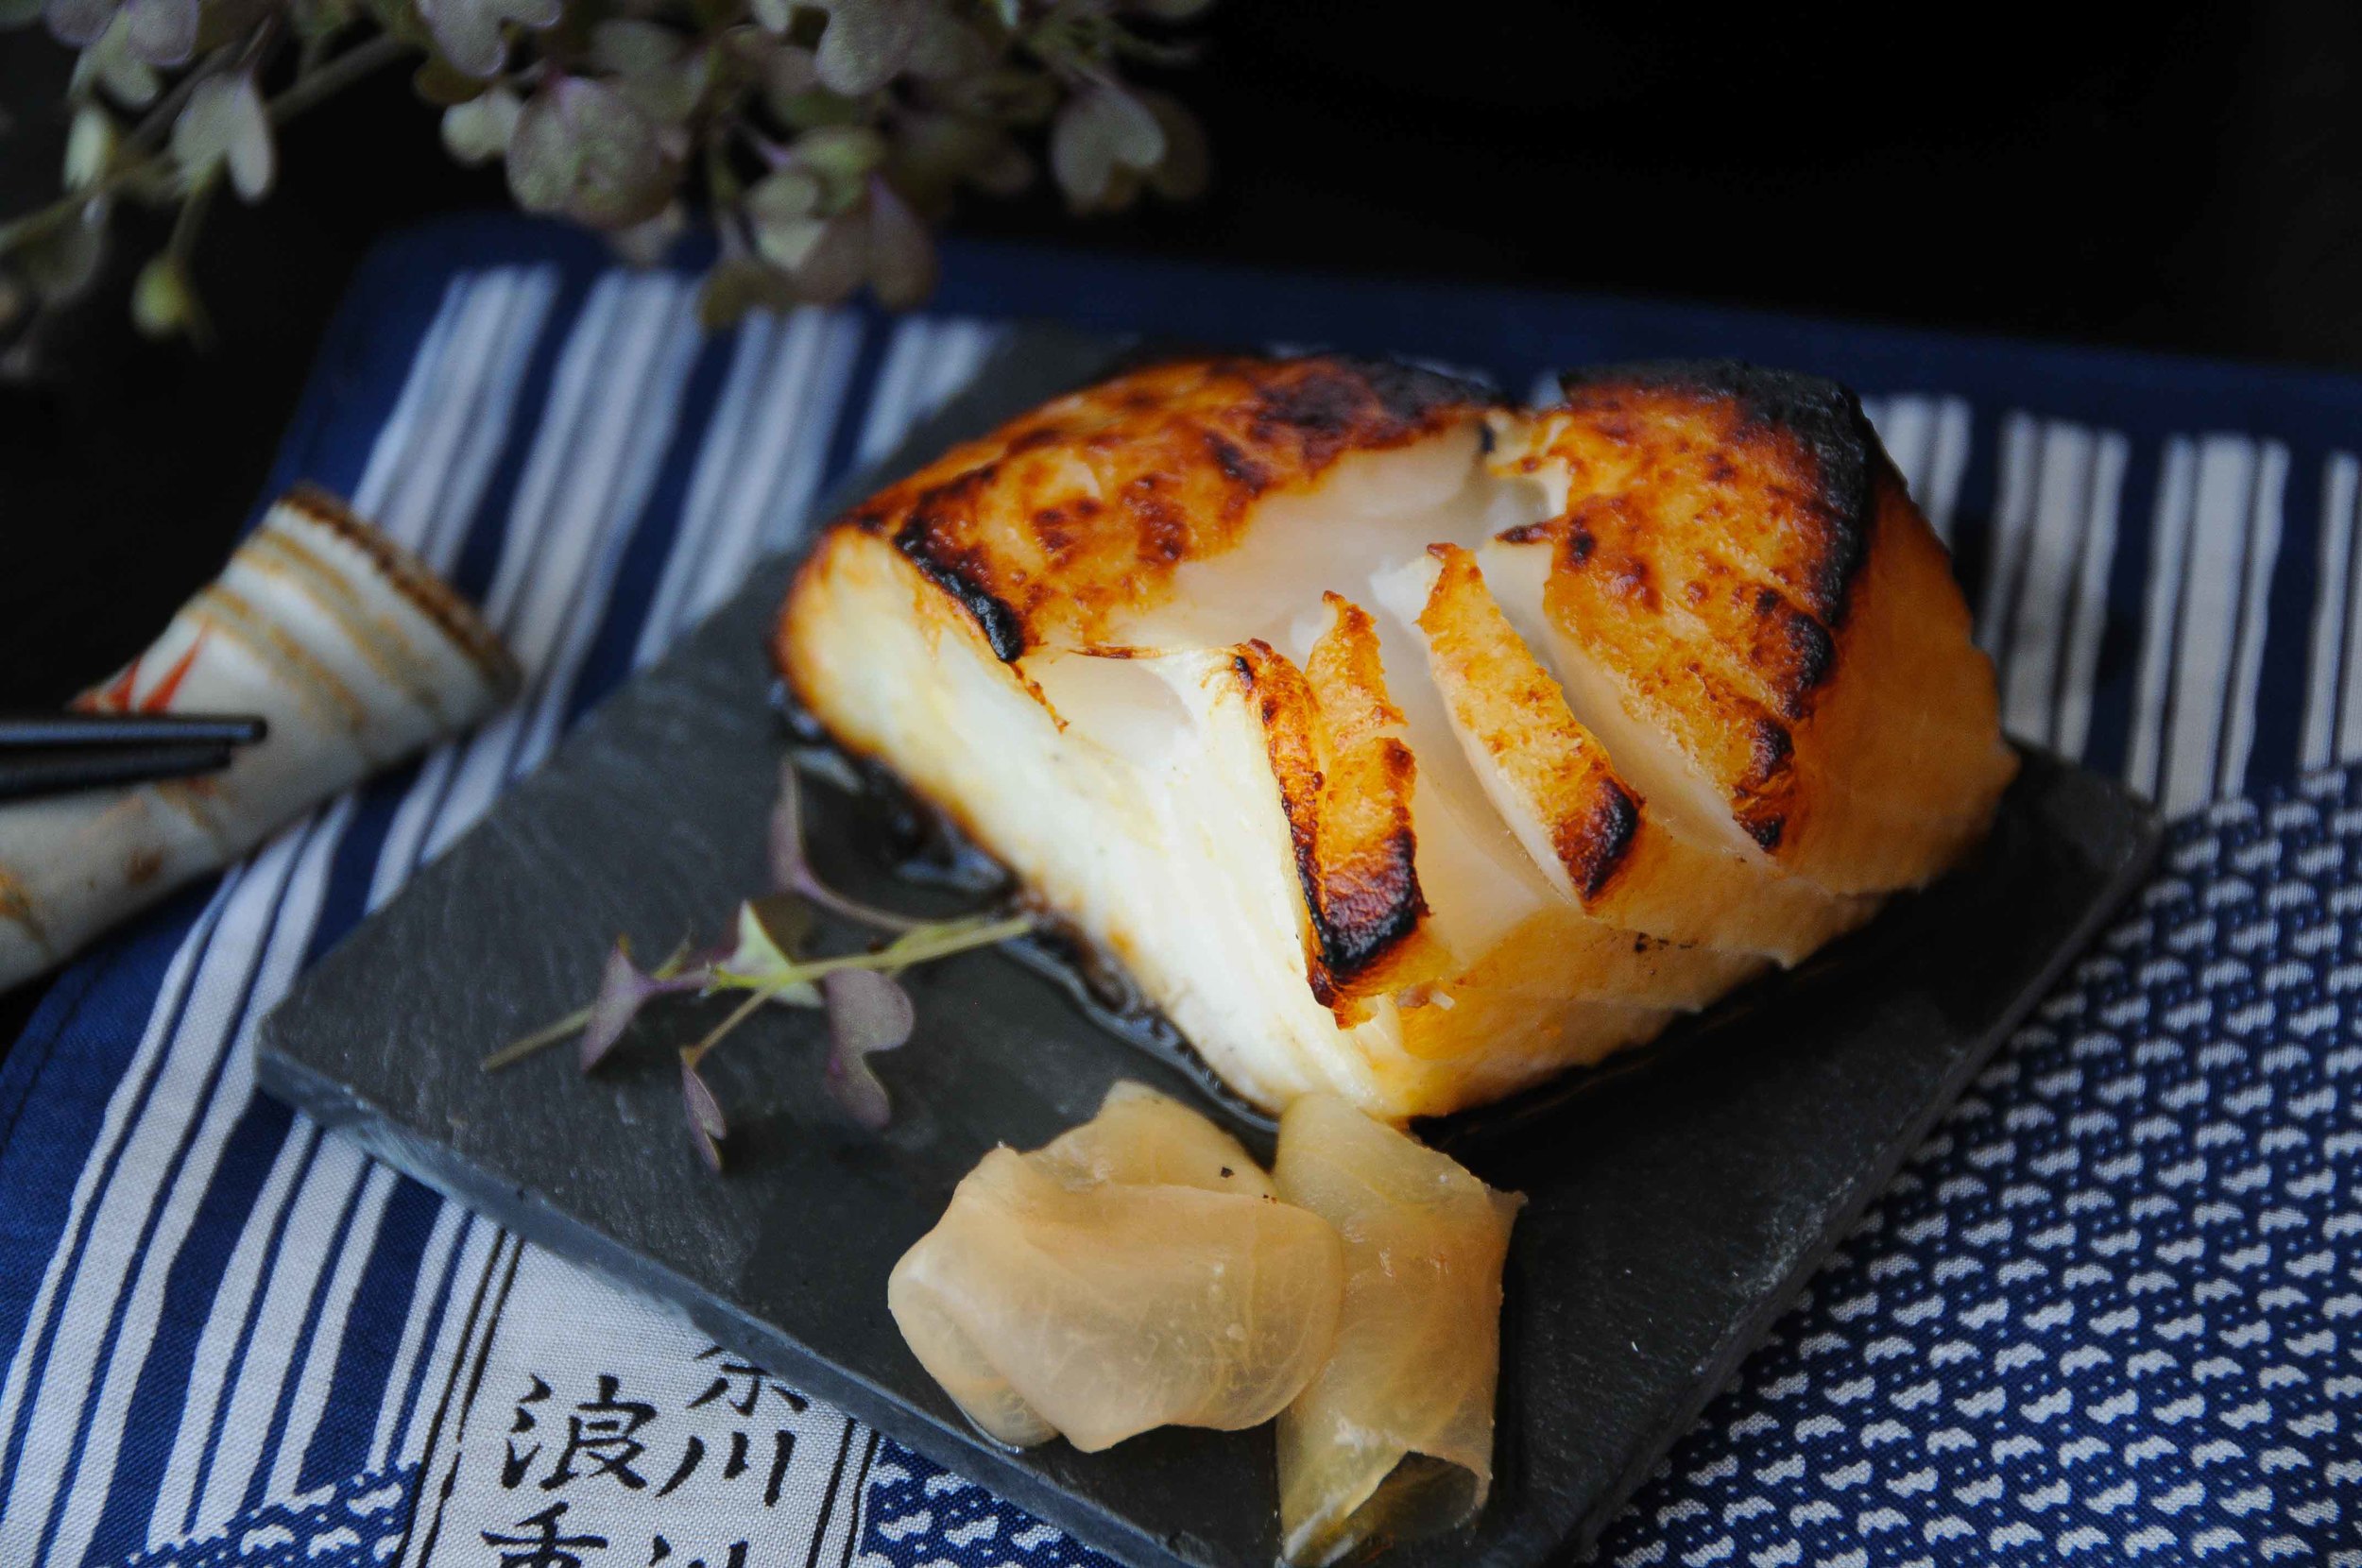
Miso-Marinated Black Cod
This is not my recipe, but a much-published one by Nobu Matsuhisa that I thought I’d try as part of this series of posts. Black cod with miso is one of my favourite things to order at Japanese restaurants – the buttery sweetness of the fish never fails to surprise me, and I’d always figured that it must be quite a process to transform the cod in such a way. So, when I came to look up the recipe and found that it uses only five ingredients and involves virtually no work, I was more than a little intrigued…
You do need to start two days in advance though, in order to marinate the fish. This is a kind of counter-intuitive move, freshness normally being key with seafood – but start with fillets as fresh as you can find, and two days in the fridge won’t present any problem.
In the meantime, the miso marinade will work its magic on the fish, and all you need to do is pop it briefly under the grill, and finish in the oven. Given this blog is all about original recipes, I wouldn’t normally re-post – but this is worth it!
Ingredients
(Serves 4)
- 4 fillets of black cod (skin-on) – approx. 150-200g each
- ¼ cup of sake
- ¼ cup of mirin
- 4 tablespoons white (shiso) miso paste
- 3 tablespoons caster sugar
Make the miso marinade 48 hours in advance by bringing the sake and mirin to boil in saucepan over high heat. Bring to boil and continue to boil for 30 seconds in order to evaporate the alcohol contained in the sake.
Next, lower the heat and add the miso paste, whisking to dissolve. Once dissolved completely, turn the heat back up, and add the sugar. Continue to whisk, in order to dissolve the sugar, and, once dissolved remove immediately from the heat.
Set the mixture aside to cool at room temperature.
Once the marinade has cooled, remove the cod fillets from the fridge and pat dry thoroughly using paper towels. Place the fillets in small individual zip-lock plastic bags, and distribute the marinade evenly between the bags. Seal each bag, removing as much air as possible before doing so, and gently massage the marinade into the fish, ensuring an even coat, through the plastic.
Now refrigerate for 48 hours until ready to cook.
Pre-heat an in-oven grill to a high setting. Remove the cod fillets from their bags and gently wipe off excess marinade using your hands. The aim is not to remove all the marinade, but just that which is genuinely excess and might otherwise burn under the grill. Arrange the fillets, skin-down on a baking tray and then place under the hot grill.
Grill for four to five minutes, or until the top of the fish is looking quite dark – brown all over, and even a little black in places.*
Remove from the grill to finish in the oven at 190°C for a further five minutes.
The flaky texture of this dish is one of the best things about it, so test done-ness by pressing gently with the back of a fork. If the ‘leaves’ of the fillet begin to separate silkily, this means it’s done!
Serve with pickled ginger. This dish is so delicious, it really doesn’t need much else.
* I have modified cooking times and temperatures from the original recipe to reflect what I found using my particular grill and oven. The best advice I can give in this regard is to use the cooking times as only indicative, and let colour and texture direct you instead. Err on the side of under-cooking in preference to over though, as a moist texture makes this dish, and while you can always pop something back in the oven for a minute more, unfortunately there is no such easy fix for over-cooking.
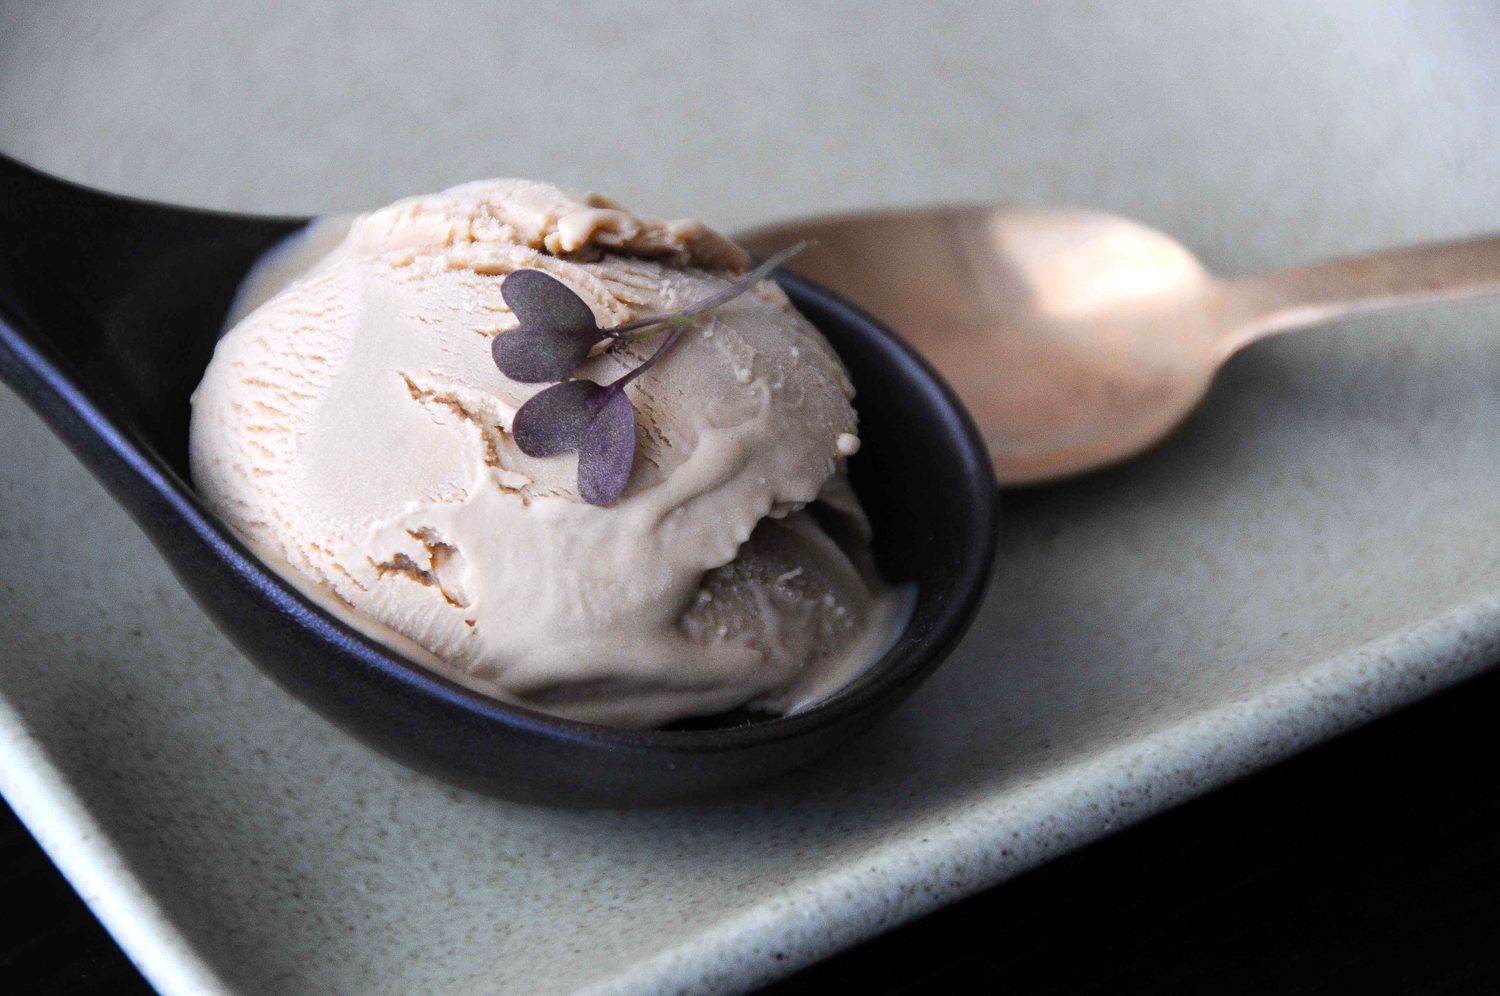
Earl Grey Ice Cream
Green tea is the ice cream that people tend to associate with Japan. Not Earl Grey. But my very last, and perhaps very best meal in Tokyo, eaten at the famous ‘No Fish, No Life’ restaurant in Shibuya, finished with a little teacup containing one large and very creamy scoop of the stuff and I thought it a minor revelation. Helpfully, this also eliminates the need to then order a tea. So it’s actually convenient. Cost effective even! And, after two greedy helpings of the most sublime fatty tuna I have ever tasted, a little cost effectiveness was called for on this particular occasion…
Matcha powder, the high quality green tea ingredient required to make green tea ice cream is, on the other hand, not so attractively priced (as I discovered while contemplating a tiny tin of the stuff at Narita airport with only 2,000yen left in my possession). Not a lot of money, but enough to buy a tiny tin of tea one would have thought? So it’s a combination of skint-ness, and a selfish preference for Earl Grey, that brings you this recipe as opposed to one for green tea ice cream instead!
Ingredients
(Serves 4)
- 125ml whole milk
- 250ml cream
- 75g caster sugar
- ¼ cup earl grey tea leaves
- ½ teaspoon vanilla essence
- 3 medium egg yolks
Infuse the milk and half the cream with the tealeaves by combining in a saucepan placed over medium heat. Stir in the sugar and continue to mix until it is completely dissolved. Remove from the heat just as bubbles begin to form at the edge of the liquid - take care not to actually let the mixture boil.
Now cover with a lid and place aside to sit at room temperature for an hour.
After an hour, the liquid will have darkened a little as the tealeaves have continued to infuse. Remove the leaves by straining through a fine mesh sieve, before returning the mixture to the saucepan and placing back over a low-medium heat. Also add the remaining 125ml of cream to the saucepan at this point.
Meanwhile whisk the egg yolks together with the vanilla essence in a large bowl.
When the cream mixture is once again beginning to bubble (but again, not quite boiling), remove from the heat and pour very slowly into the bowl containing the whisked eggs yolks. Whisk the yolk mixture vigorously as you add the warm cream in order to temper the eggs. This will ensure that the mixture does not split.
Once you have poured all of the warm cream into the bowl with the egg yolks, pour the whole mixture back into the saucepan and place again over a low-medium heat.
Stir continuously until the mixture thickens into a custard. This can take a fairly long time – up to about ten minutes – but keep on mixing. It will get there! You’ll know you have the right consistency when the custard can coat the back of a spoon.
When you’ve reached this point, remove from the heat, but continue to whisk for a further three minutes to ensure that the custard cools and does not continue to cook.
Now, pour into an airtight container and leave to cool at room temperature for half an hour. Cover and place into the fridge to chill for a few hours, or overnight.
When you are ready to churn the ice cream, follow the instructions on your ice cream maker. Churning times vary depending on the type and model of your machine. My ice cream maker will churn the small amount of ice cream stipulated by this recipe in 20-25 minutes.
Once churned, scrape into a freezer-proof, airtight container, and freeze for a minimum of 3 hours before serving. Homemade ice cream can last in the freezer for a while – up to a week or so – but I find it is best eaten quite fresh. Besides, surely something has gone wrong if any ice cream manages to remain untouched in your freezer that long!


