We are sitting on the shaded terrace of Ca’ Vignotto, the only restaurant on the Venetian island of Sant’Erasmo, about to enjoy a three-course lunch of artichokes. Originally, the courses had only numbered two – a marinated artichoke antipasto to start, followed by a penne pasta with artichoke, but the waiter remained there looking confused after we’d finished ordering. ‘You are not also having the carciofi in tecia?’ he inquired. ‘It’s what people come here for!’ And so a third course of pan-cooked artichokes was added to the already thistle-laden feast.
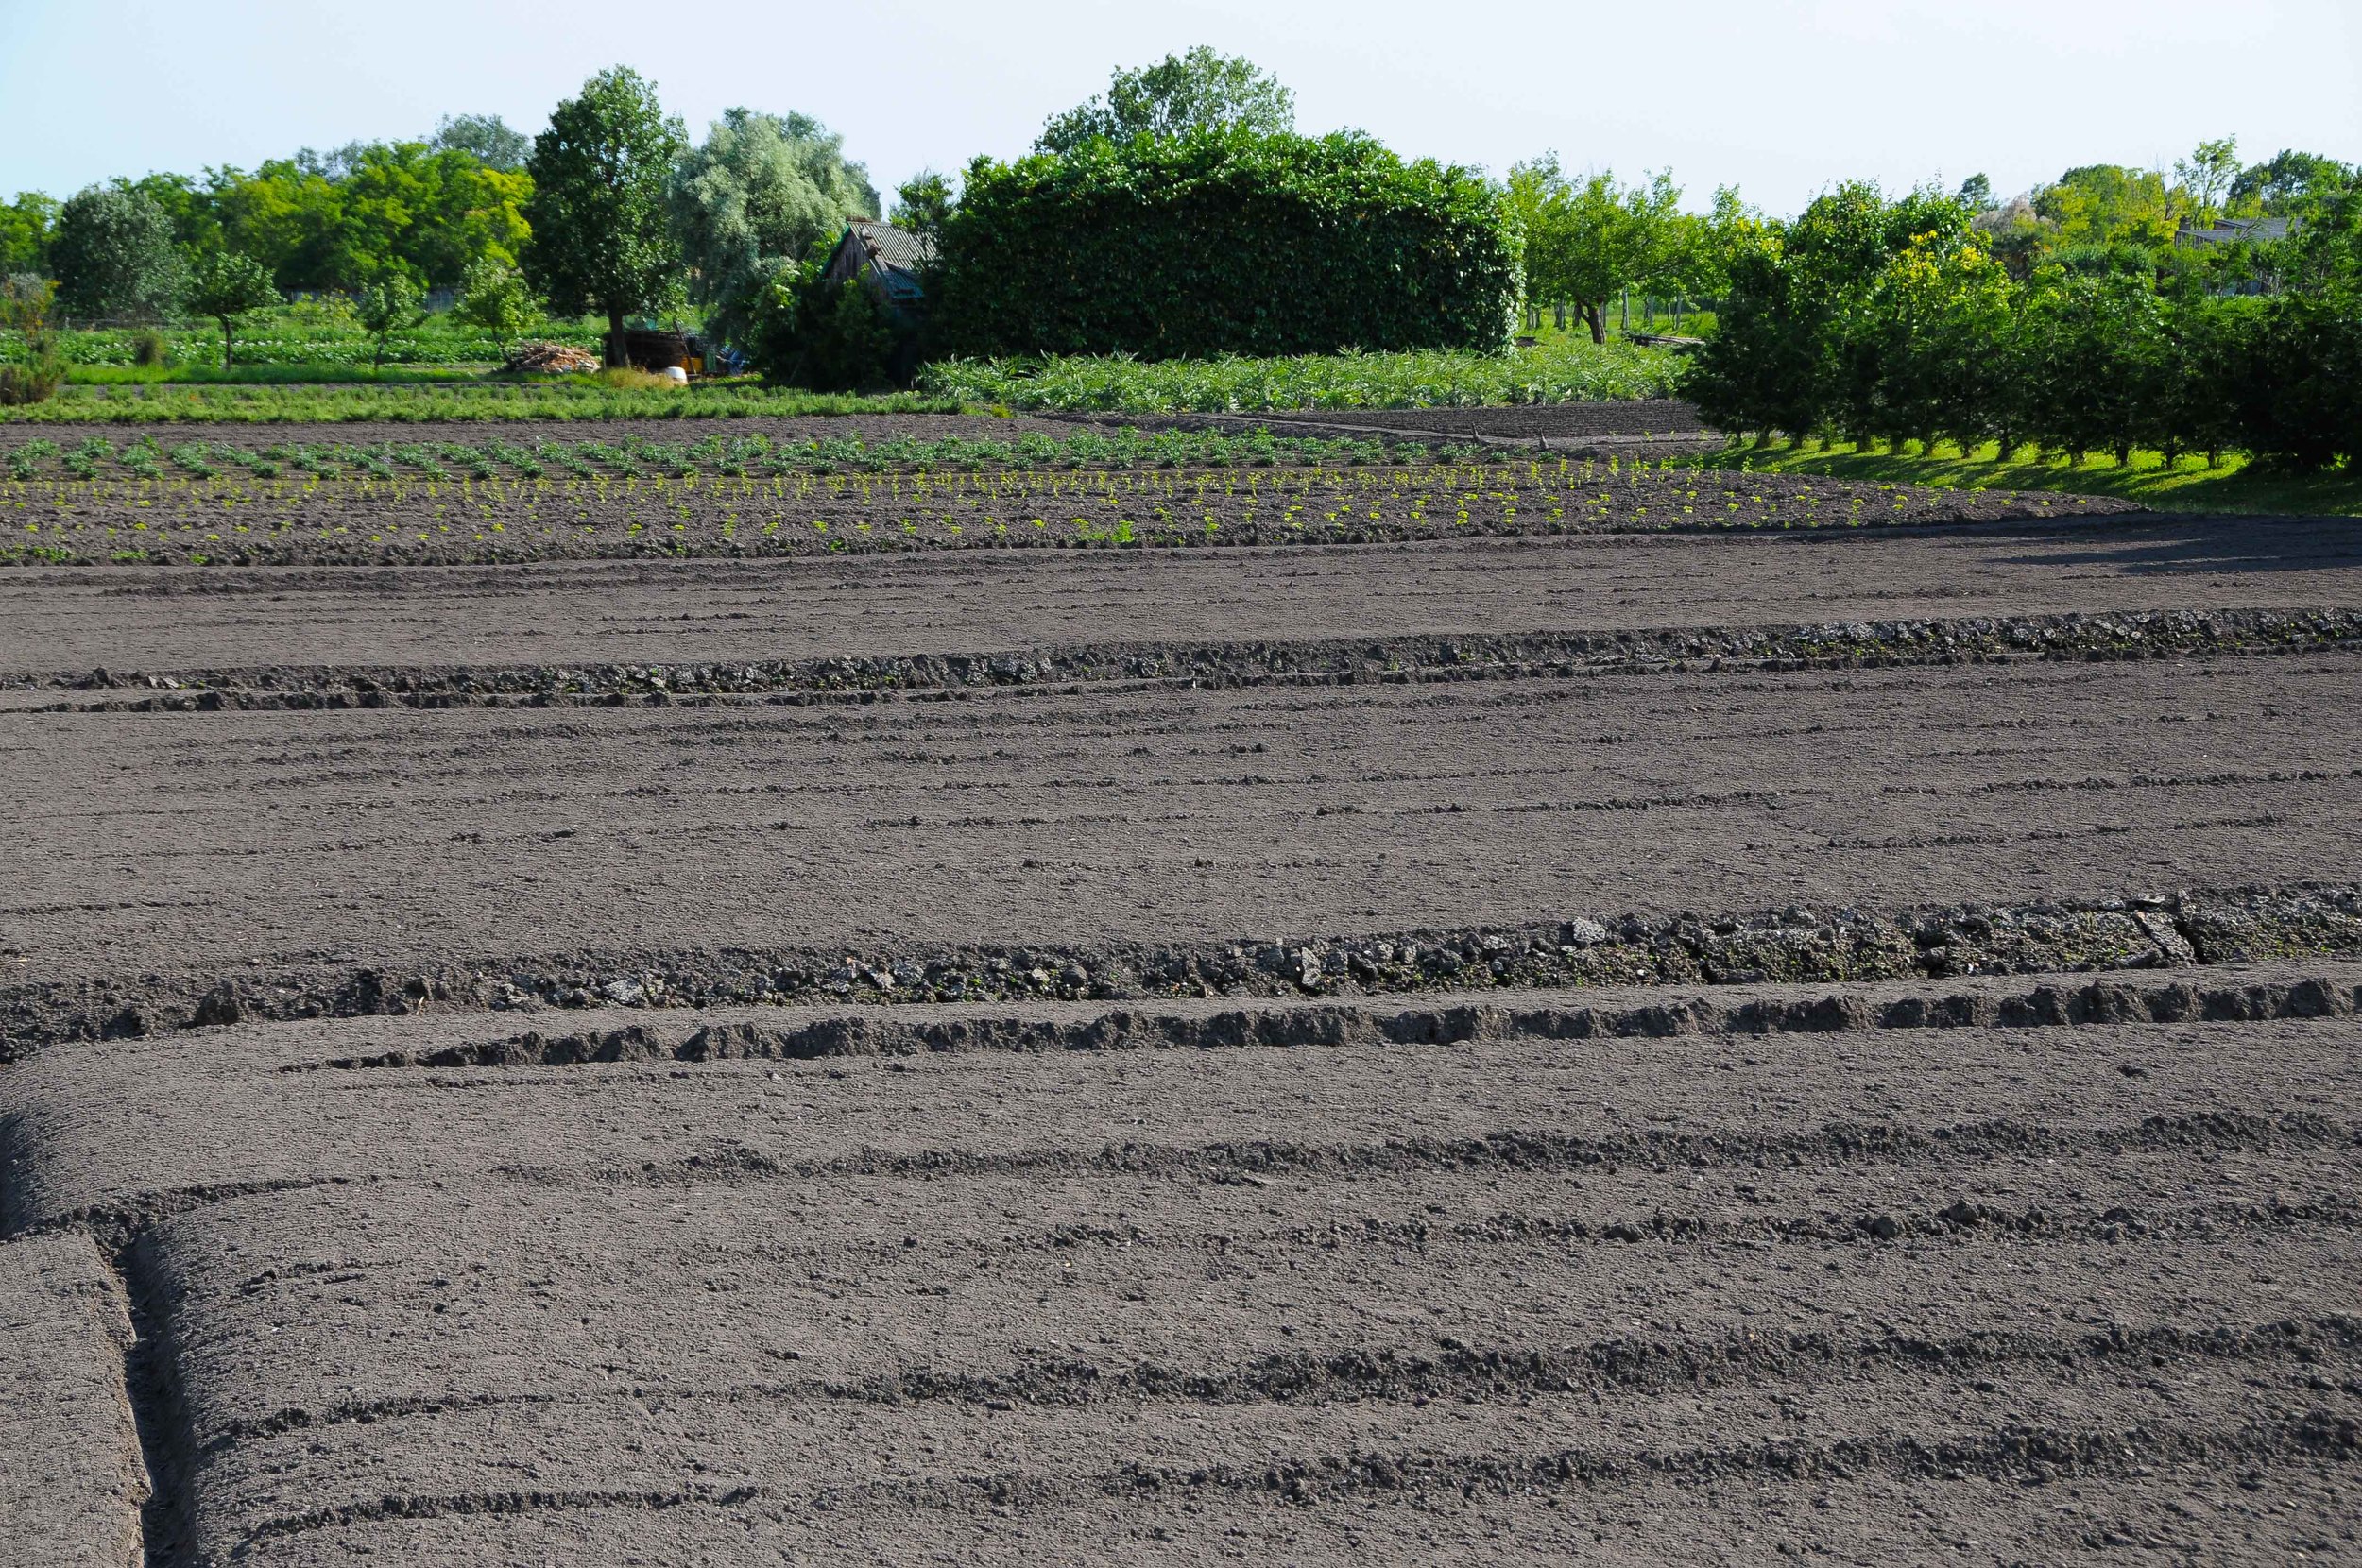
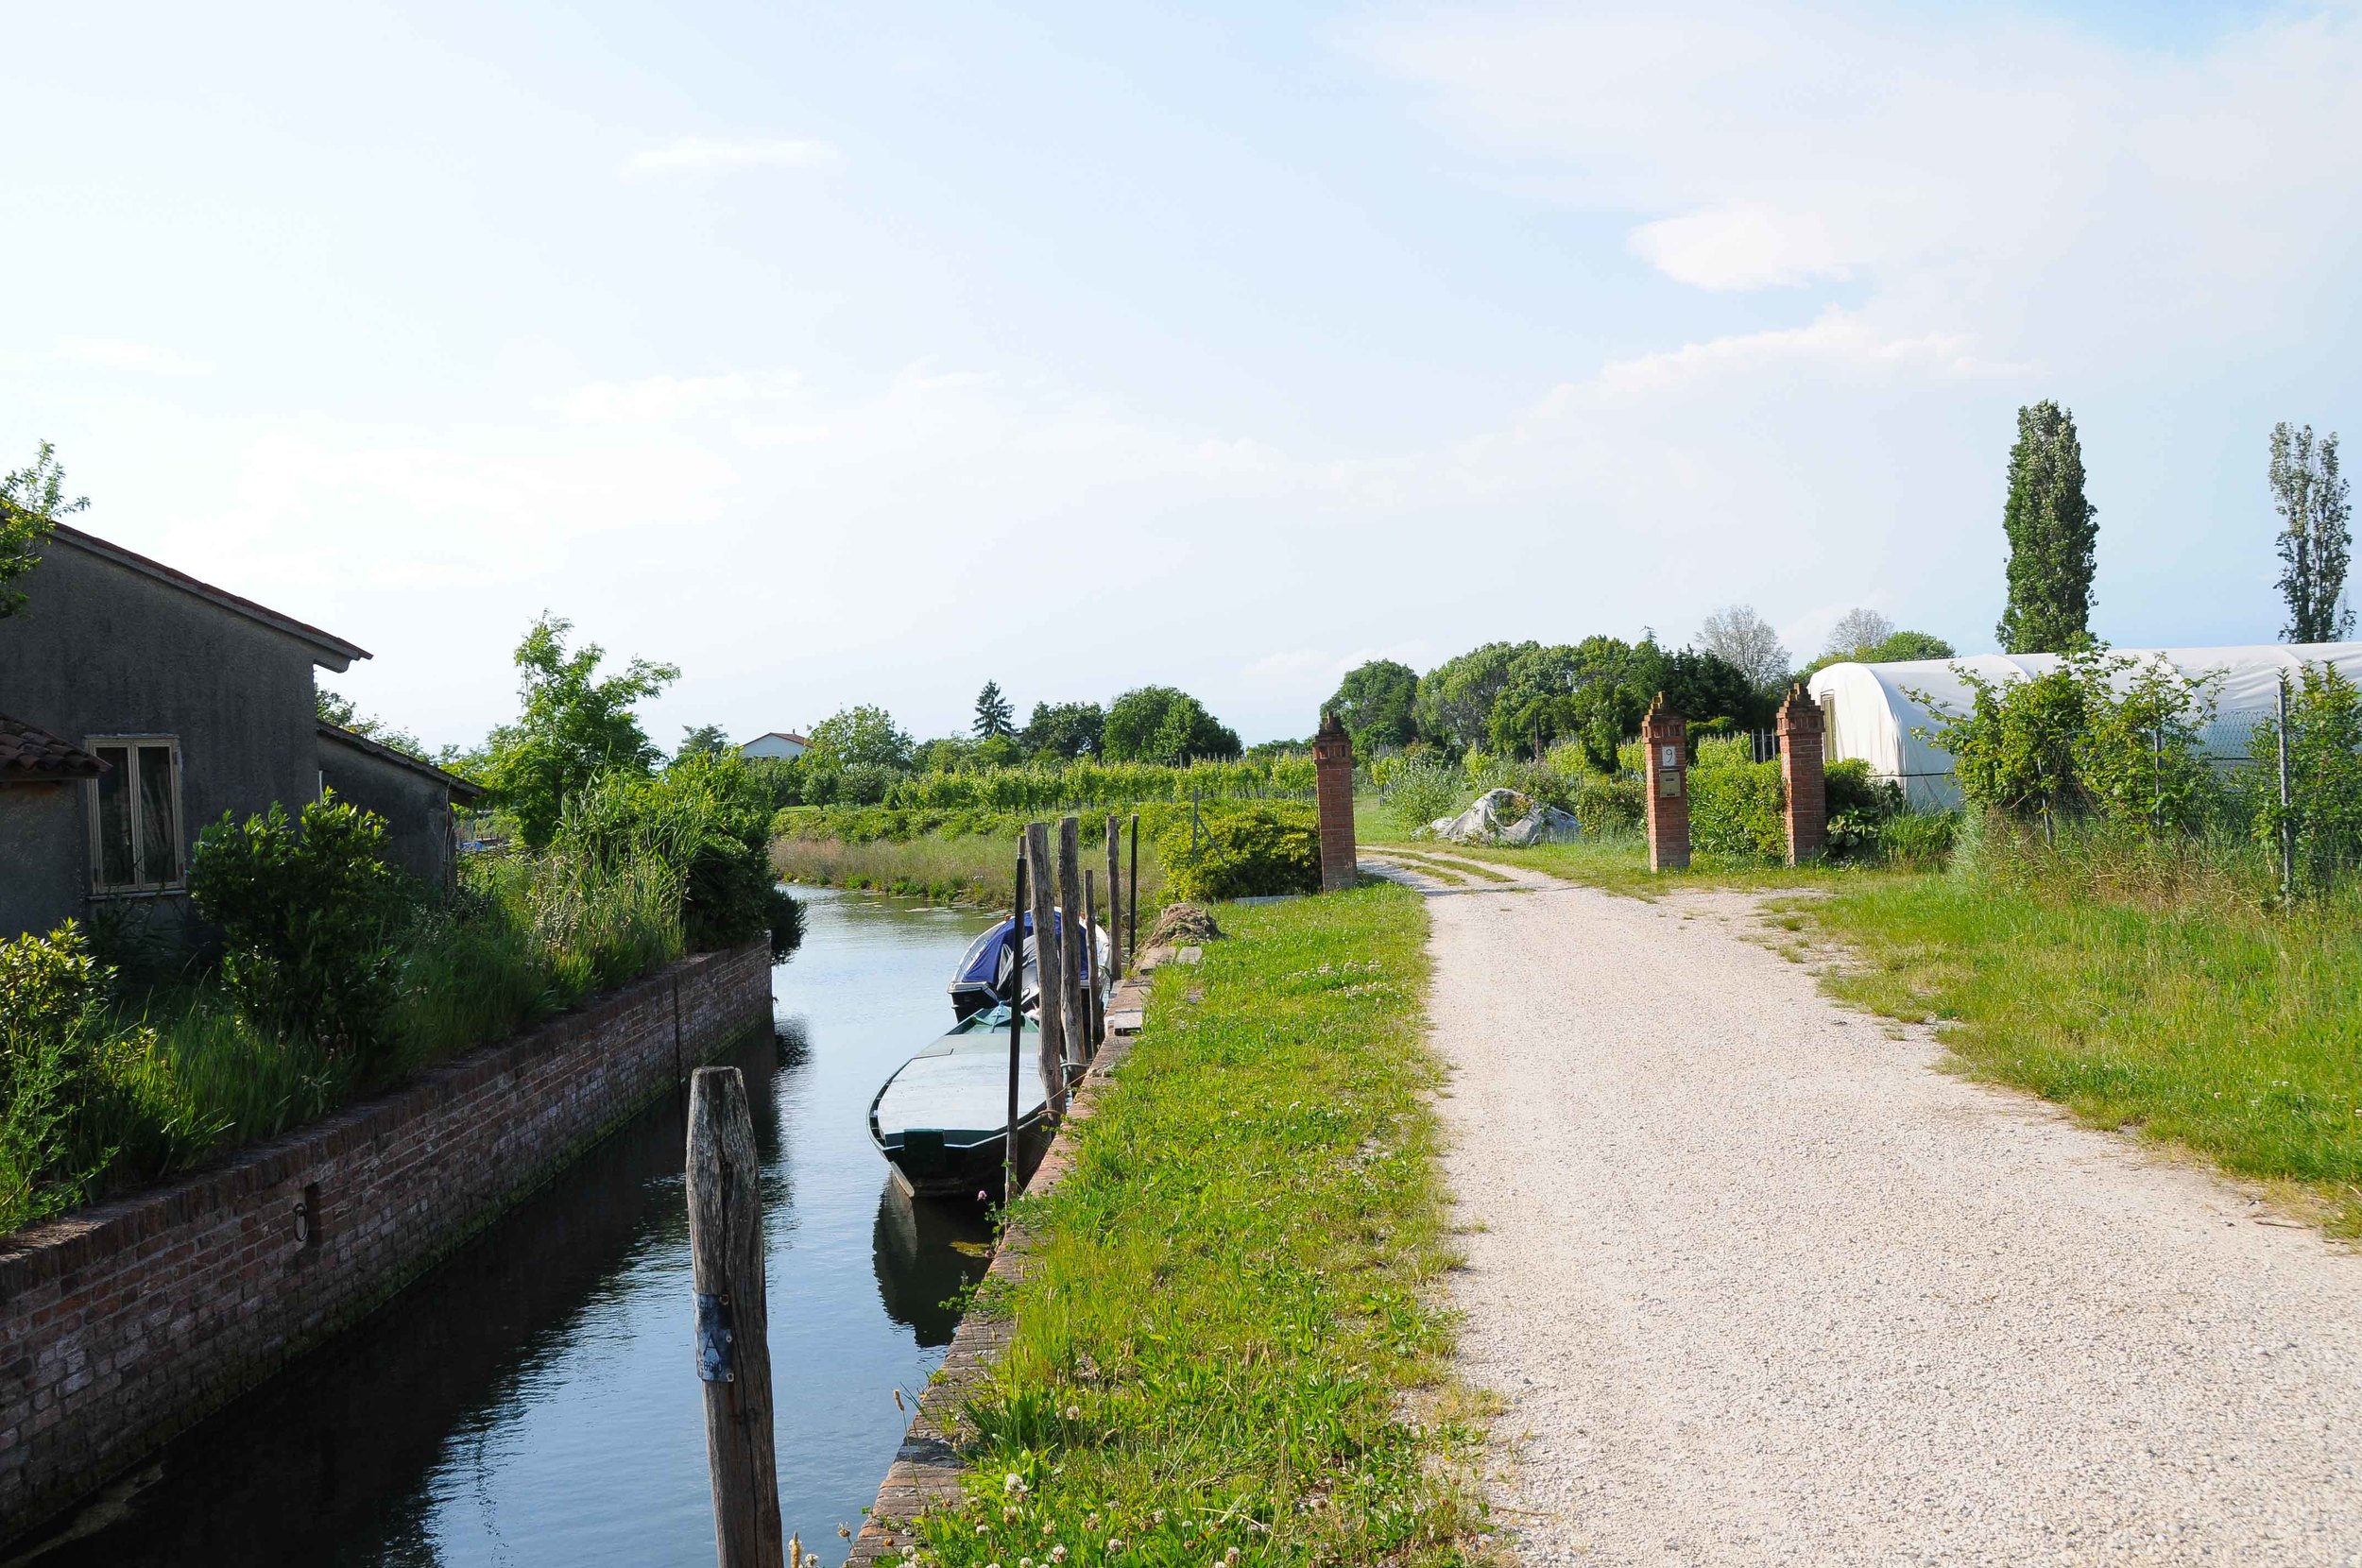
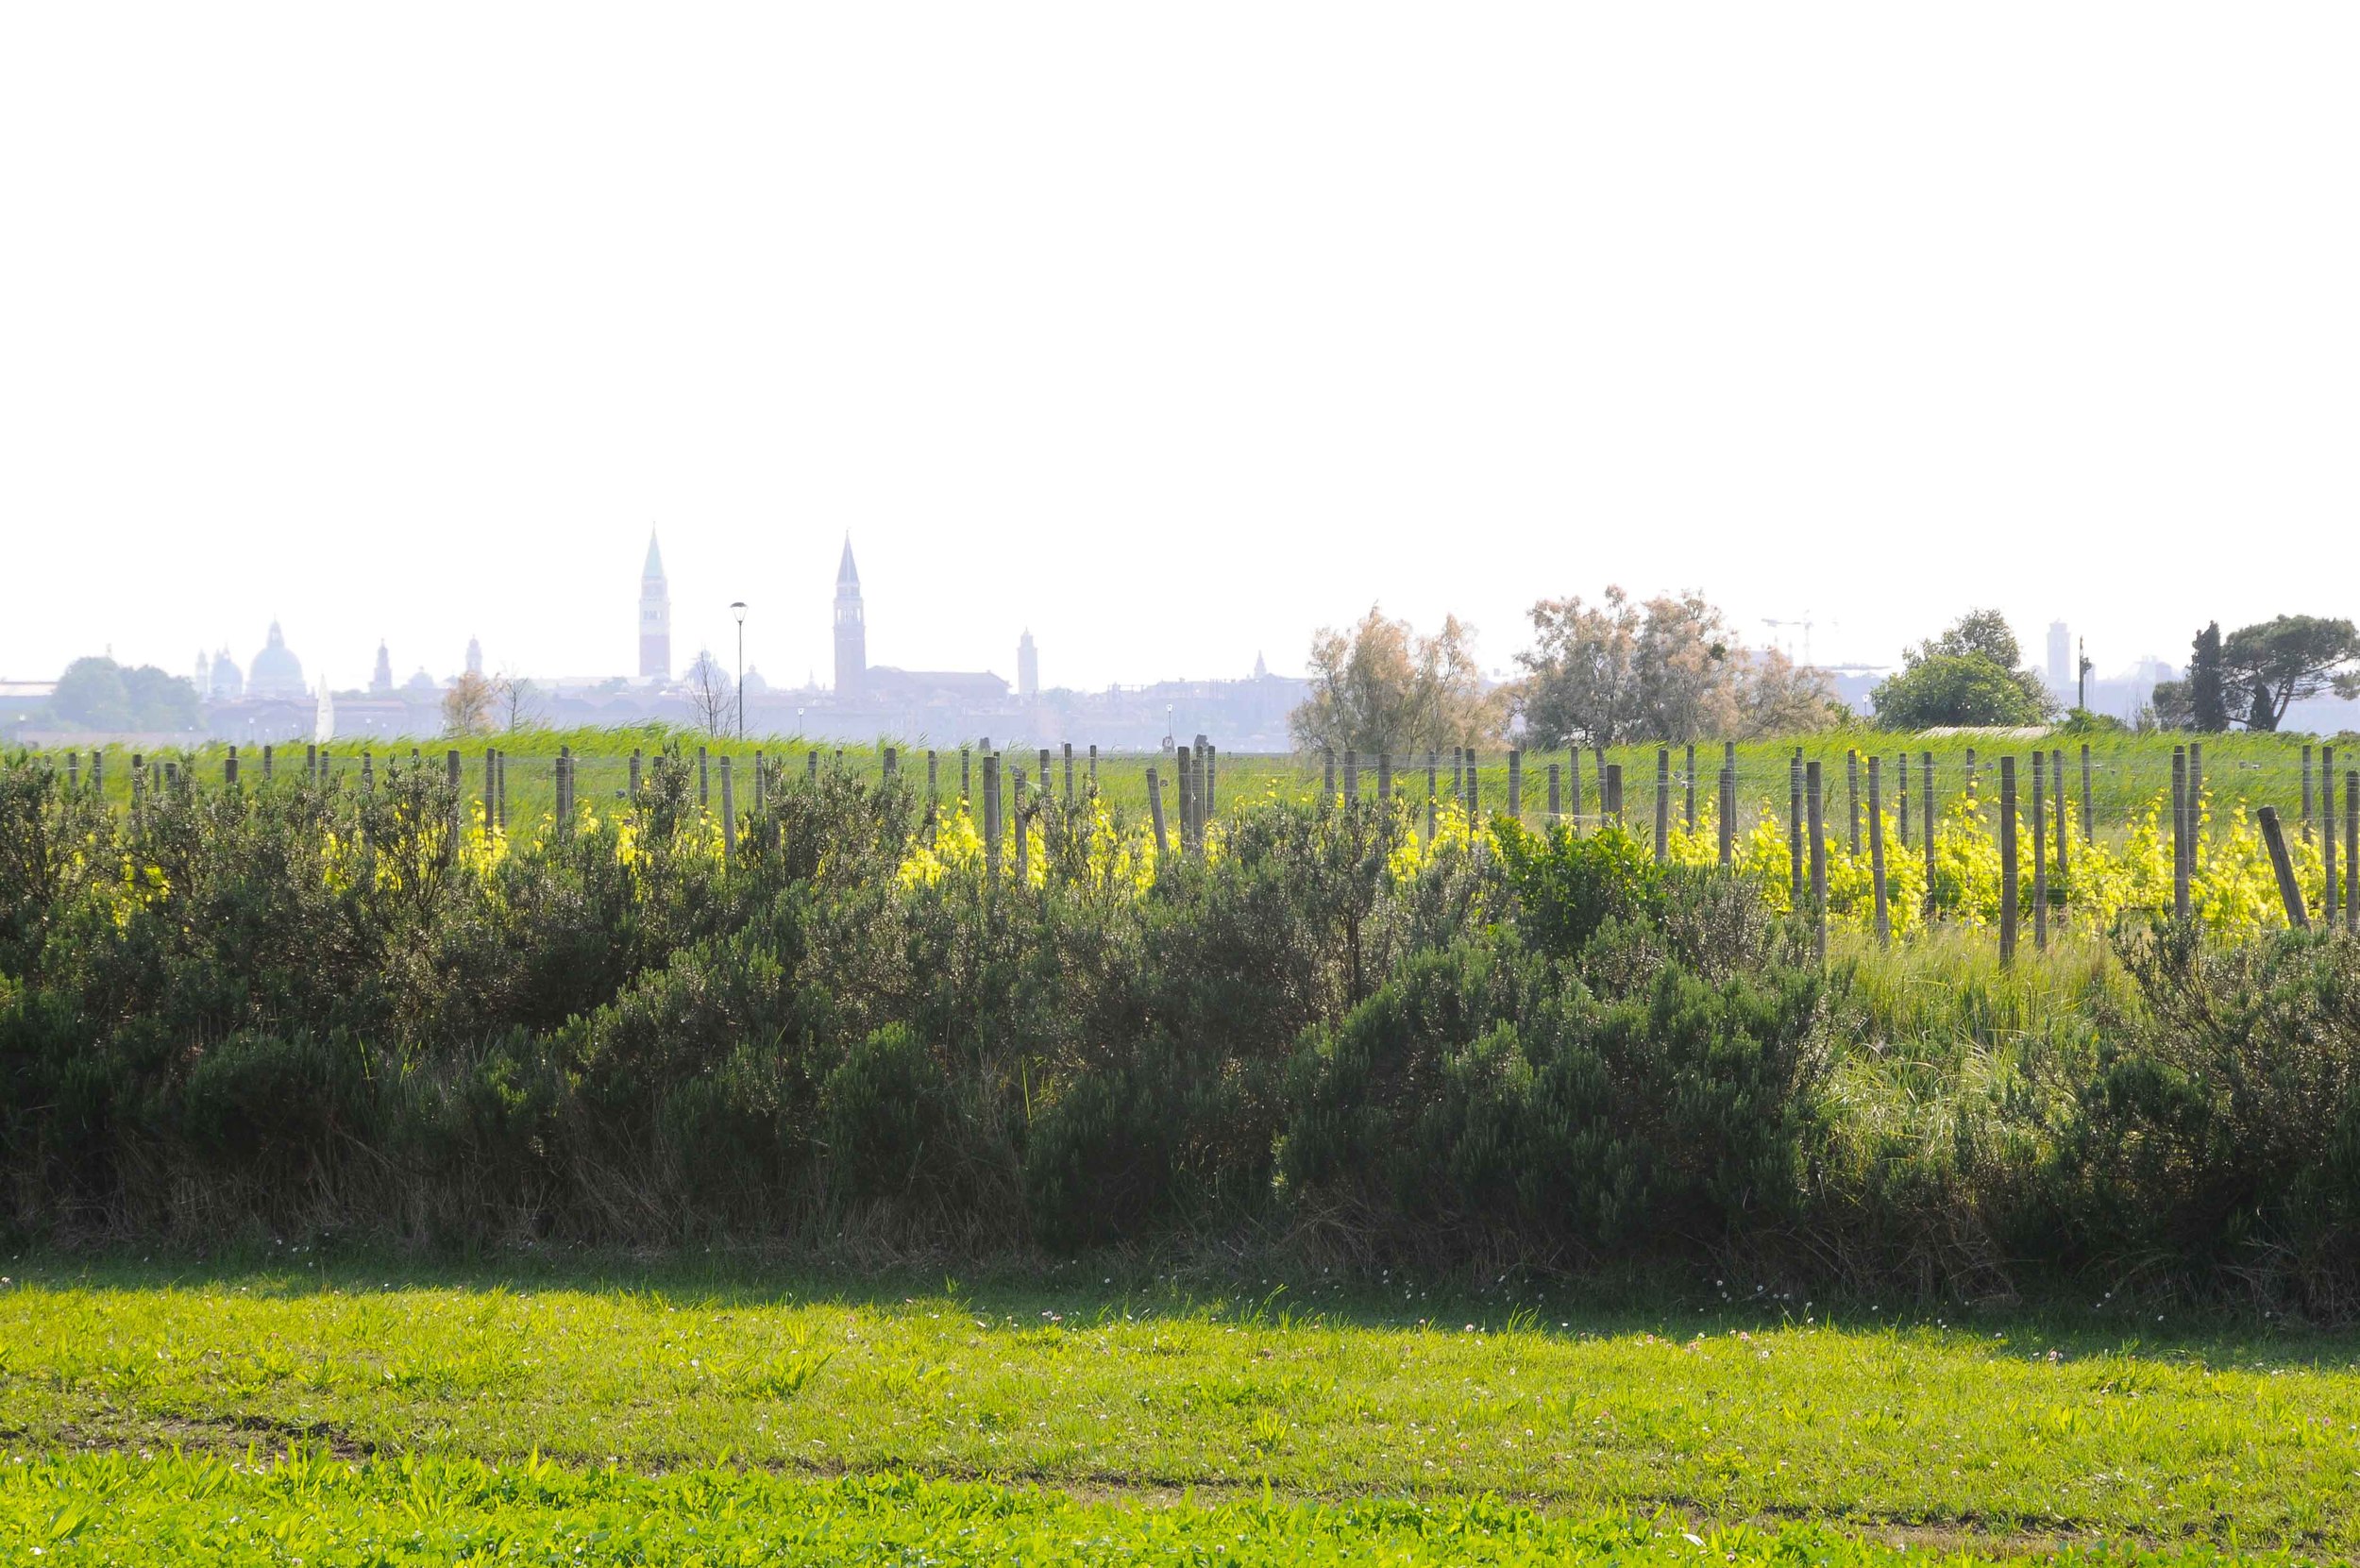
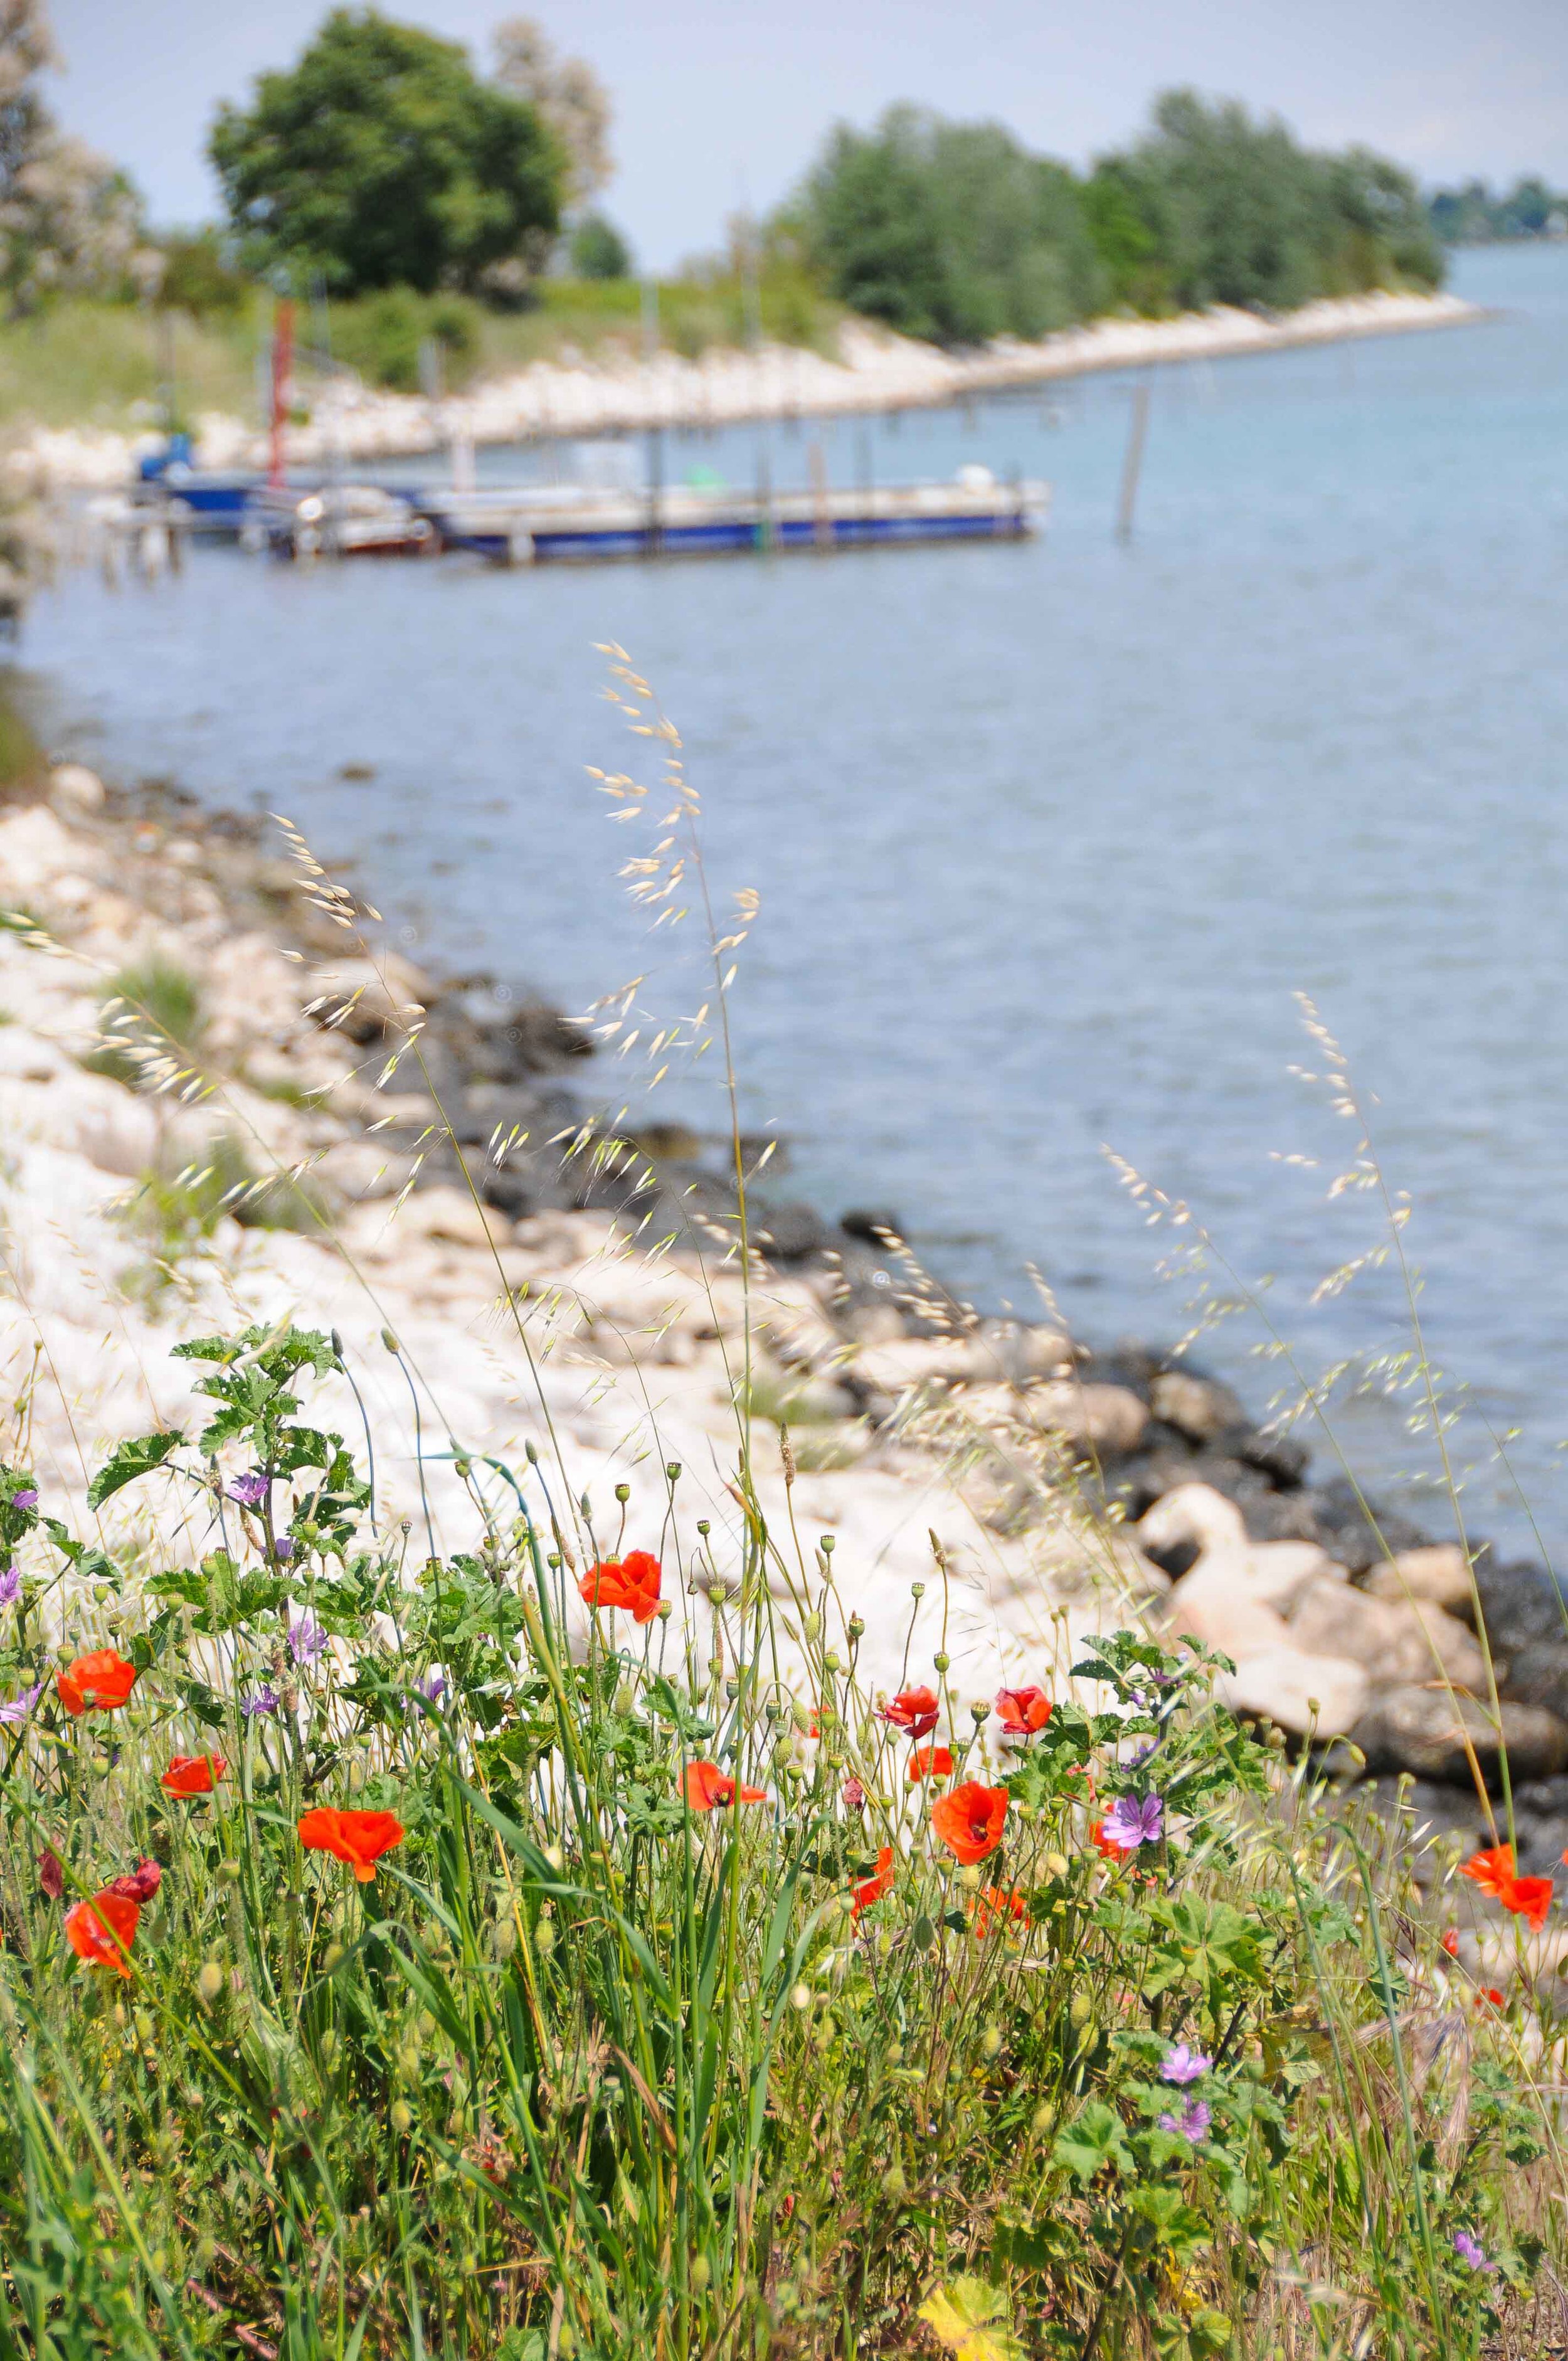
Entirely flat and low-lying, Sant’Erasmo is from shore to shore demarked into little cubic plots, and ploughed into rich furrows. Although the spires of Venice, and the roofs of its crowded palazzi are visible through the haze on the horizon, Sant’Erasmo’s peaceful fields and endless green are a world altogether apart. Trees happily outnumber inhabitants on the island, and, at this time of year, to wander the little lanes between the farms is to be treated to a feast of free fruit – loquats, mulberries, and, along the hedgerows, sweet honeysuckle in flower.
Wander further, to the island’s tiny walled cemetery, if you need further convincing that people are the rarity here. The names of only four or five families, the Vignotto’s amongst them, can be found etched into the weathered headstones. Generation after generation employed in growing produce delivered across the shallow lagoon to the busy markets of Venice at first light each morning.
Although the island is only 15 minutes from Venice by direct vaporetto, there is ordinarily no such service, and accordingly, visitors to San Erasmo are rare. Similarly, it is not normally possible to just stroll up the path to Ca’ Vignotto and sit down for lunch unannounced. But today is a festival day on the Venetian lagoon’s largest island, and so the ferries are running direct, the restaurant is to open to all comers, and the locals are out and about in order to celebrate what the island is most famous for – its artichokes!
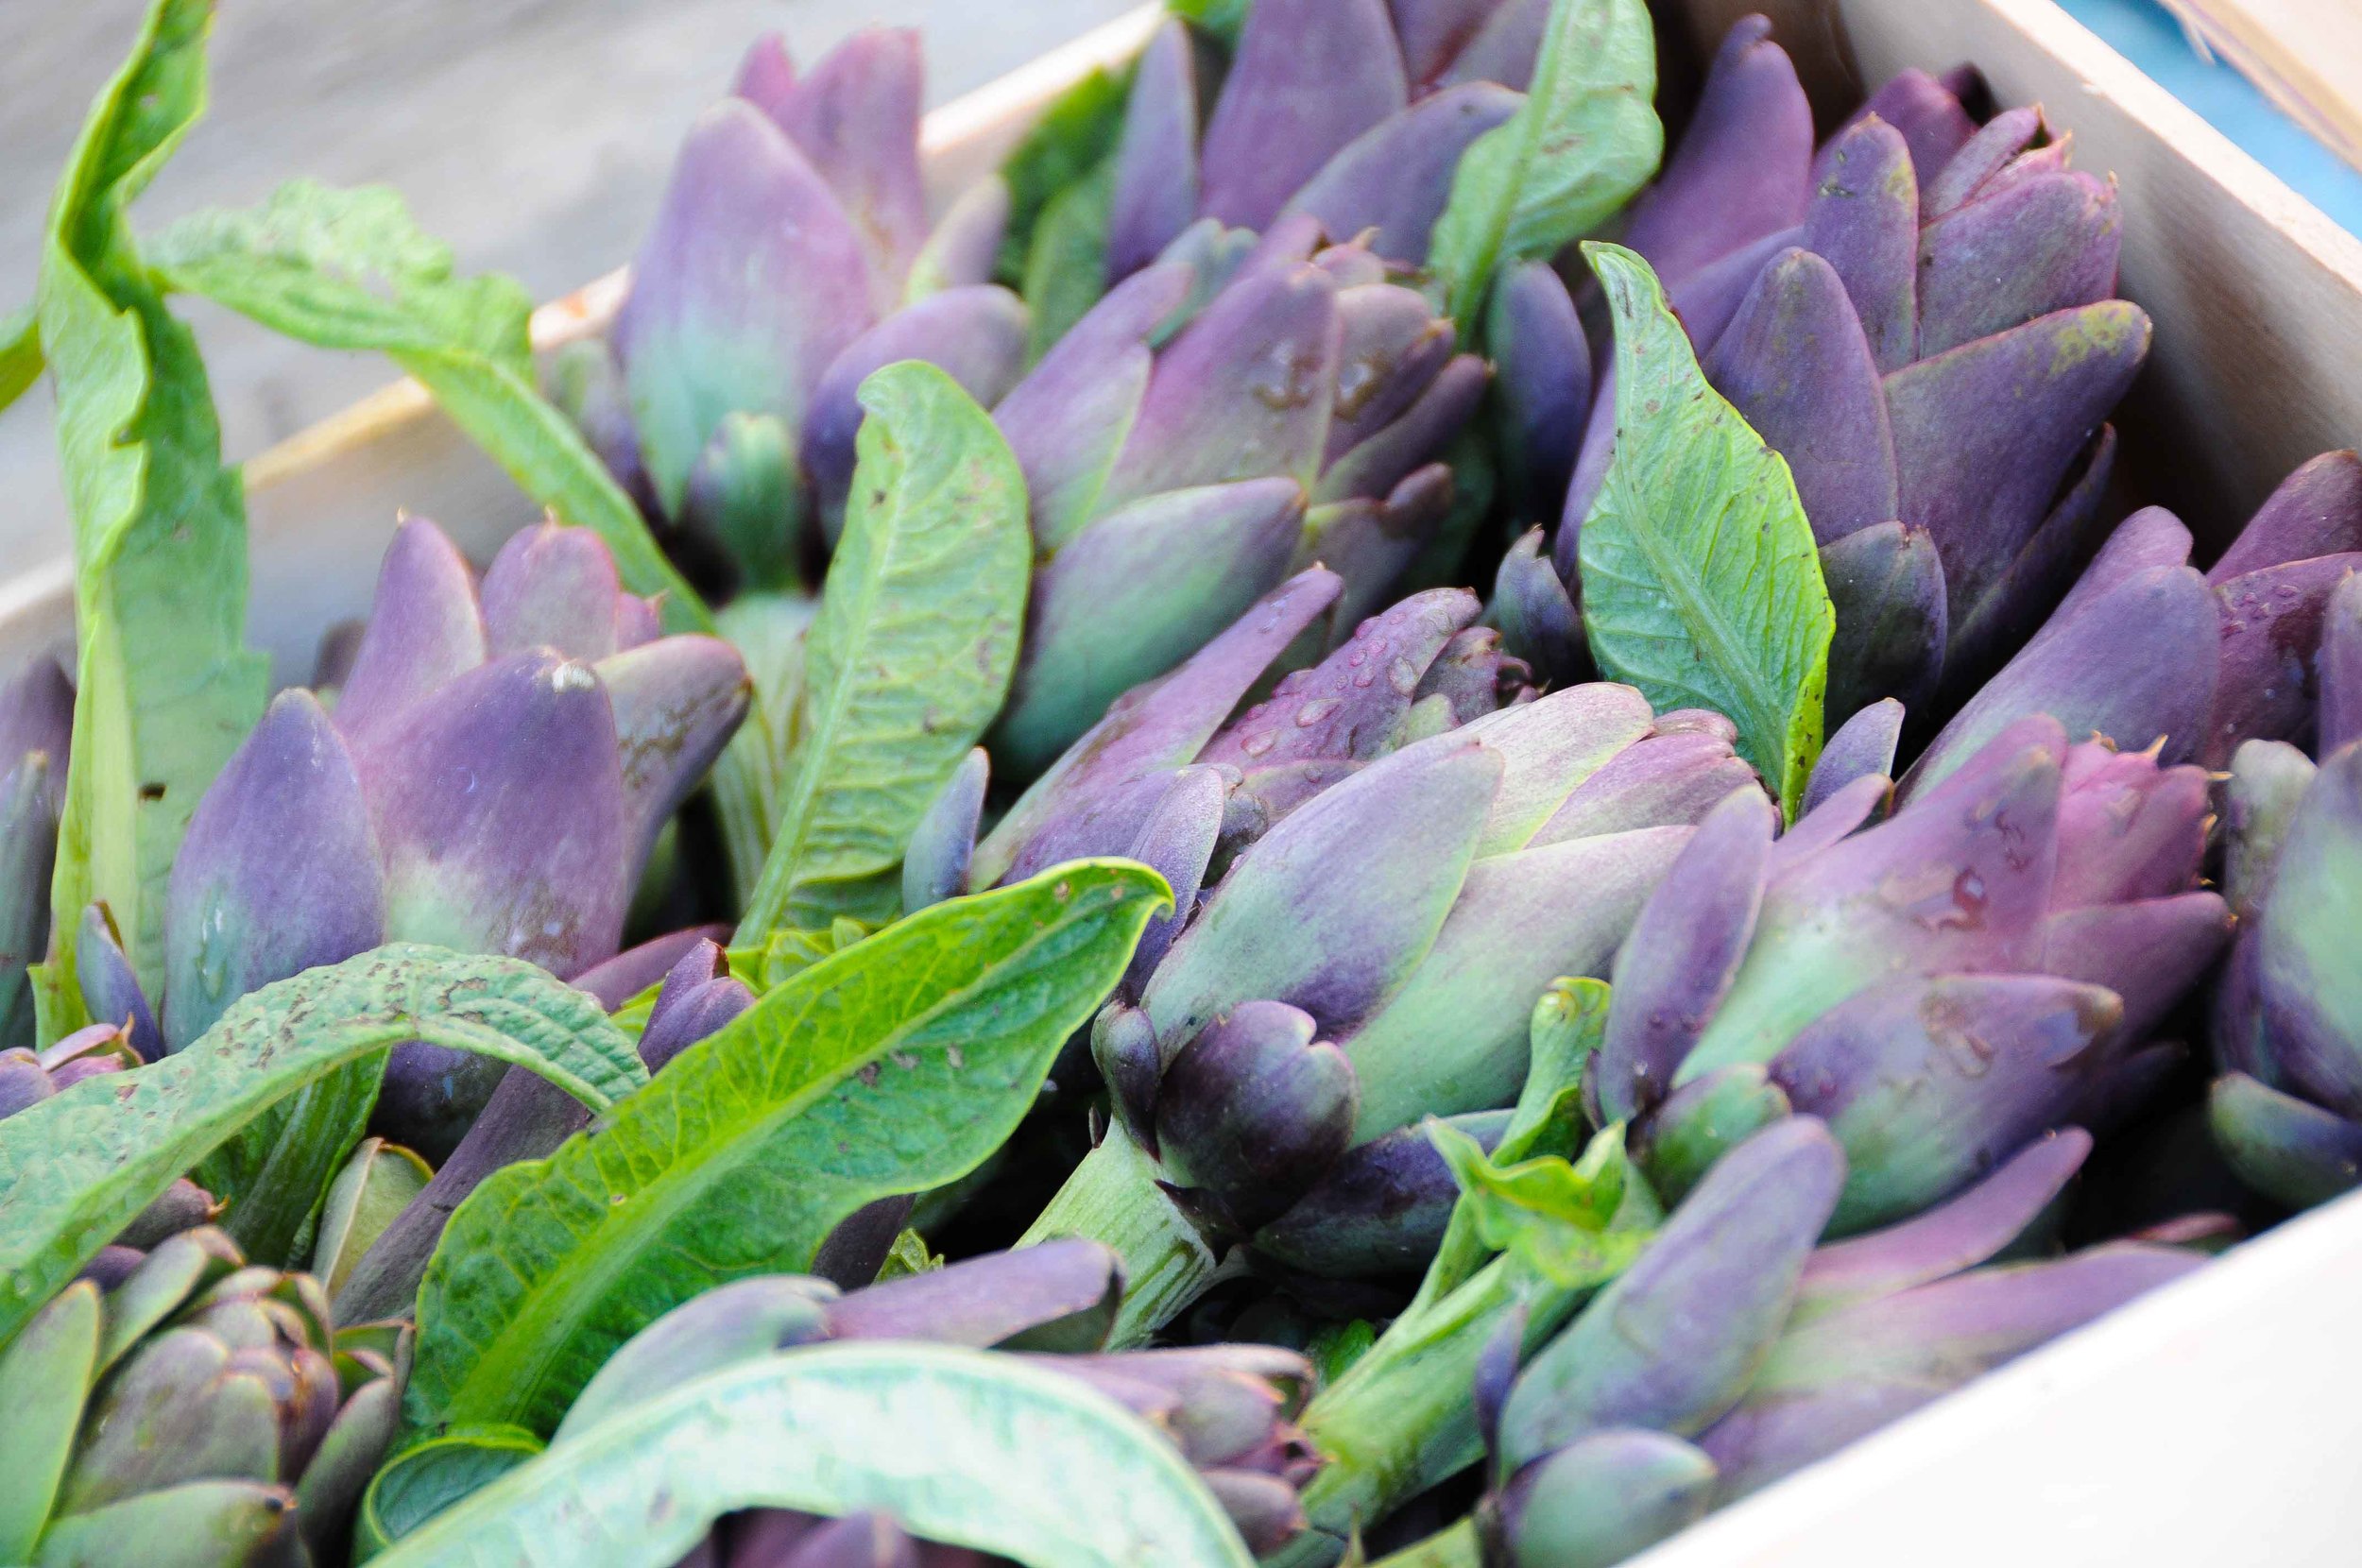
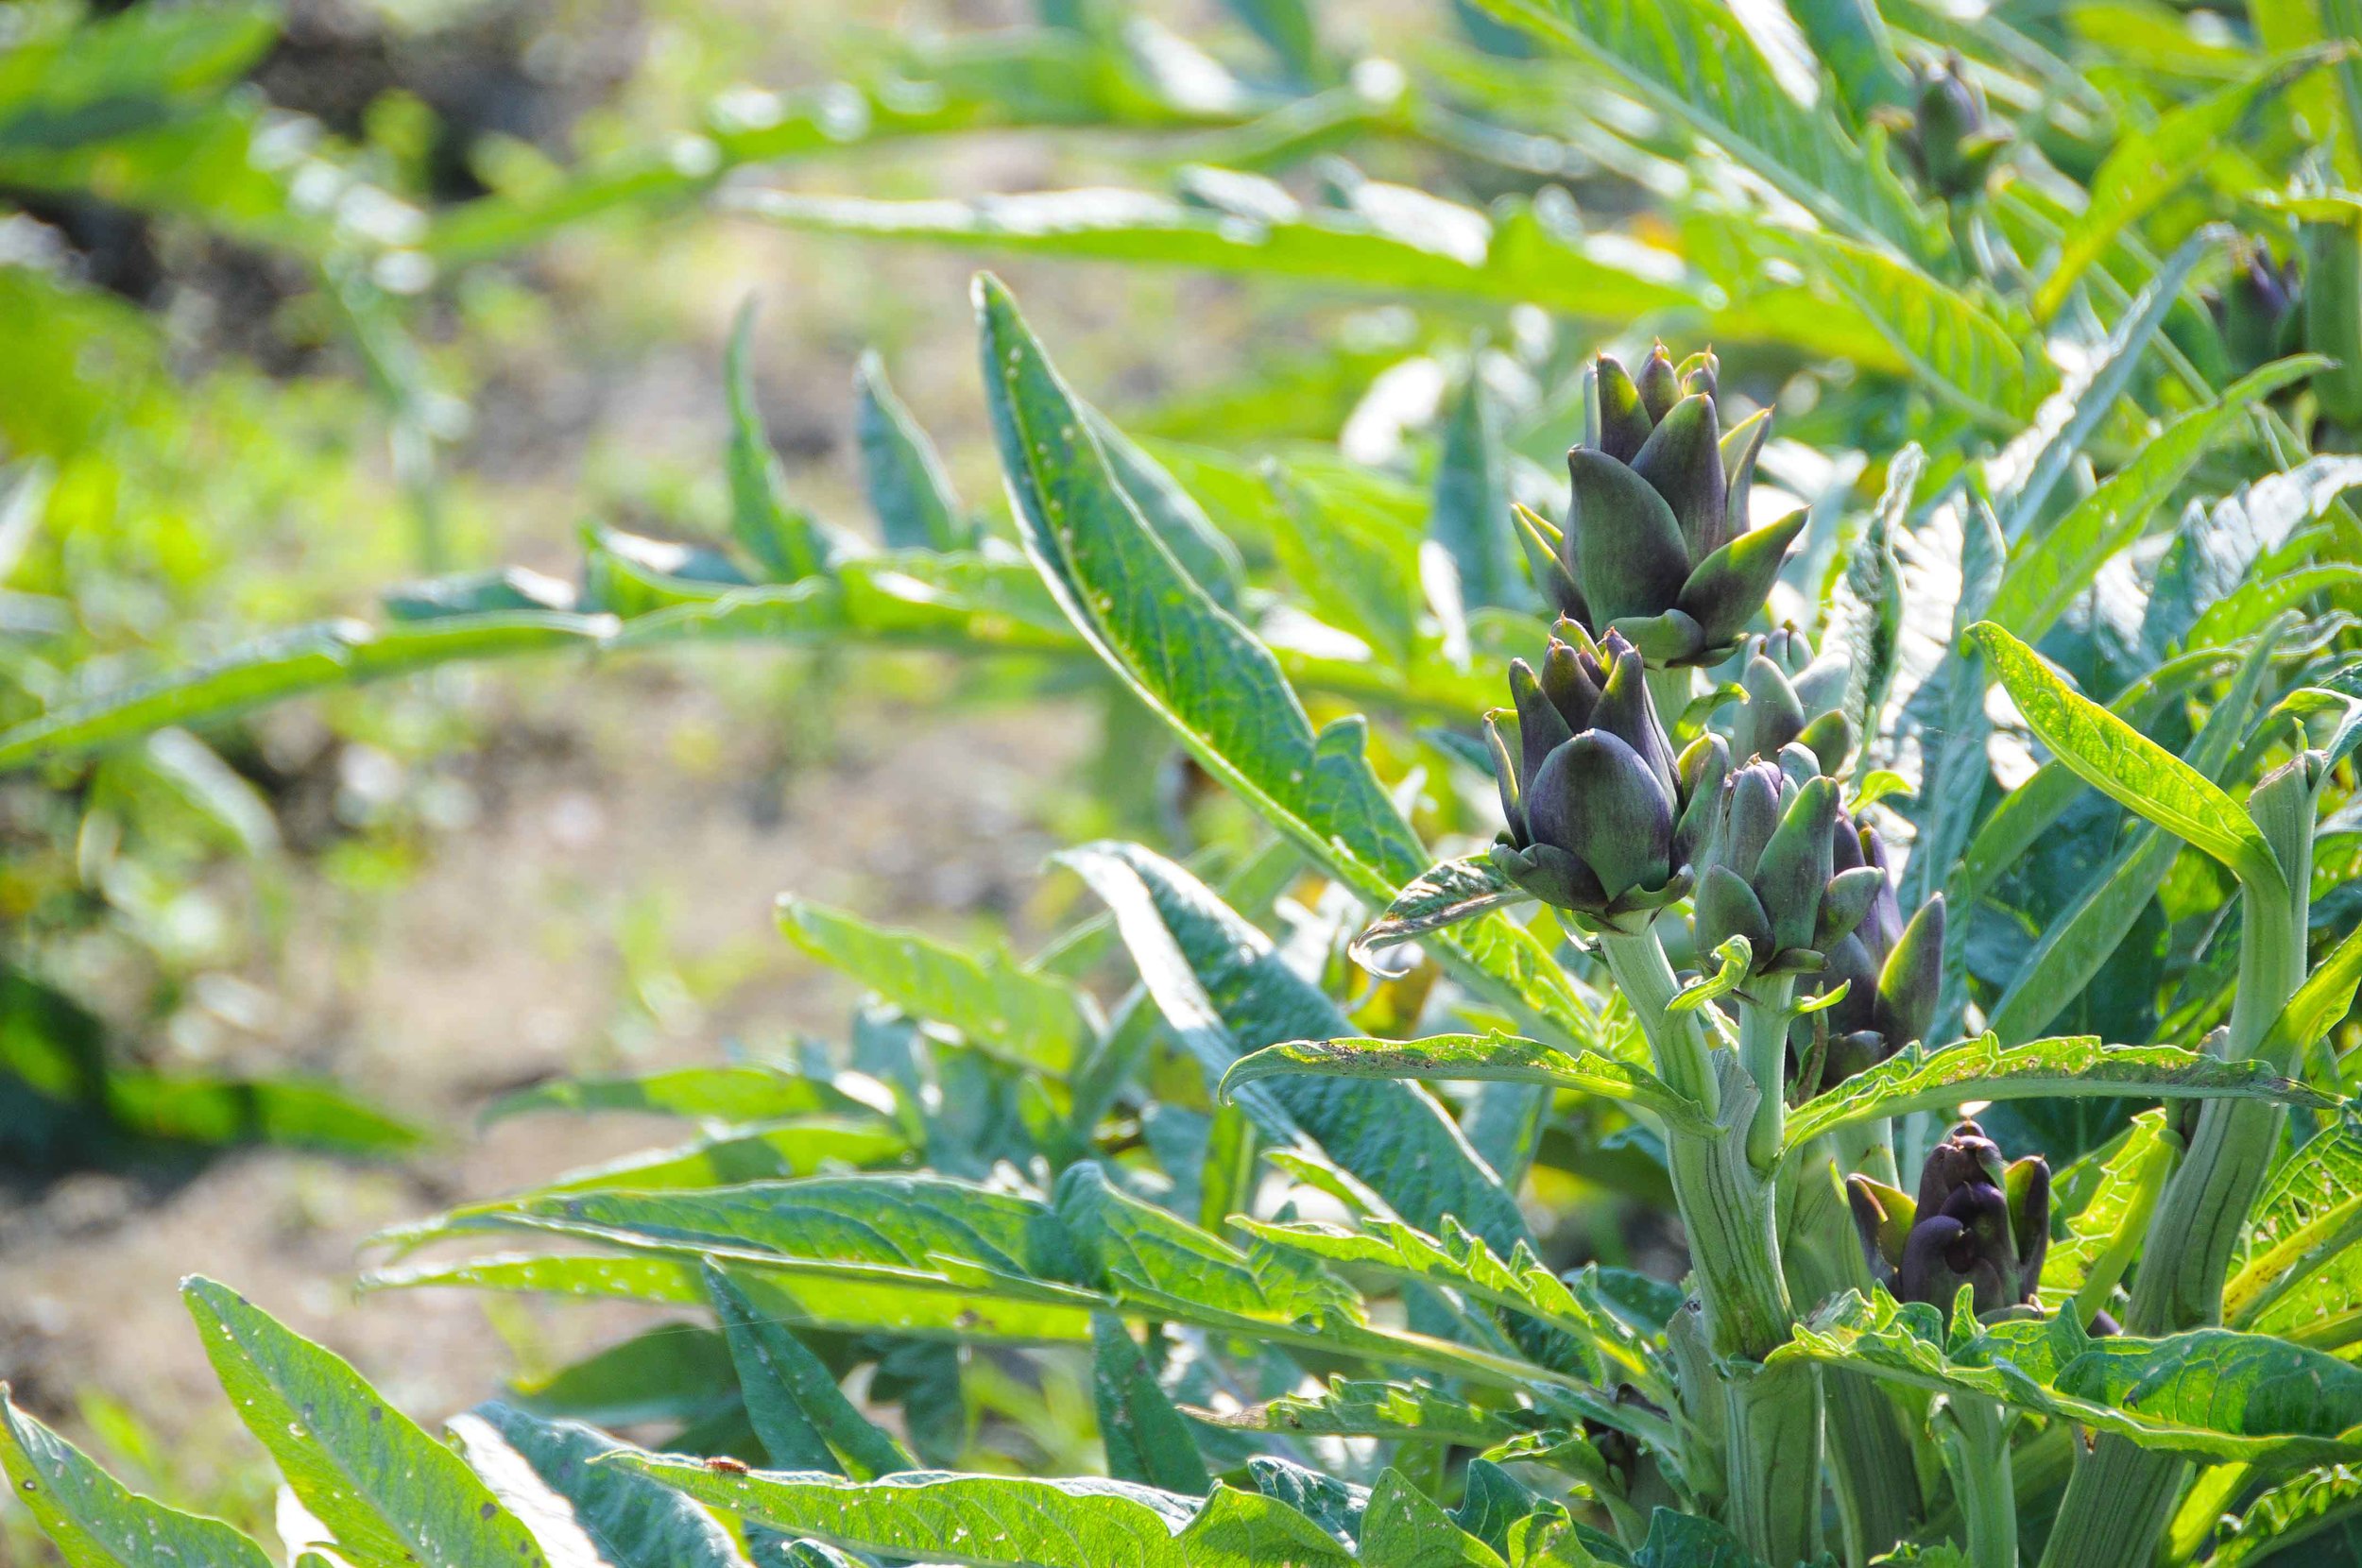
Straight off the vaporetto we are greeted by growers offering a salad of raw carciofi. Messily piled onto a plastic plate, it is covered with freshly ground black pepper and topped with a generous pile of shaved Parmesan. These artichokes are not the tough Globe variety with which we’re familiar though. Rather, they are a small and colourful type specific to the island called 'Il Violetto di San Erasmo,' available each spring, from the end of April until June. Leaves that turn outward make the Violetto quite spiny to the touch, but once the outer leaves are removed, it is possible to eat the rest raw and in just a couple of bites.
Back on the terrace at Ca’ Vigntotto the artichoke procession is reaching its pinnacle as the carciofi in tecia are served. Cooked until very tender in a stock of vegetables, it is finished with olive oil, lemon, and parsley, and perfect washed down with the last few sips left in our glasses of wine.
Getting up to leave the terrace, a sliver of the lagoon is just visible as it glints and shimmers in the distance. To reach it, you must first cross the restaurant’s deteriorating garden, with its dried-out stone fountain and bright clay-potted geraniums, then follow a short path, tiled in a series of stepping stones which lead towards the water. There are something like twenty of these stones in total, and if you care to stop and read, you’ll find on each a short proverb spelt out in mosaic. (Although, if your Italian is as fledgling as mine, it may take some effort to decipher the meaning!).
‘Se sai di non sapere sai già molto,’ suggests one – ‘If you know of what you don’t know, you already know a lot.’
Another, less encouragingly, reads: ‘Il periodo più difficile della vita è dalla nascita alla morte’ – ‘The most difficult part of life is from birth to death.’
At least on the next, it is easy to agree: ‘Chi ha abbastanza vino avrà sempre amici’ – ‘He who has enough wine, will always have friends’!
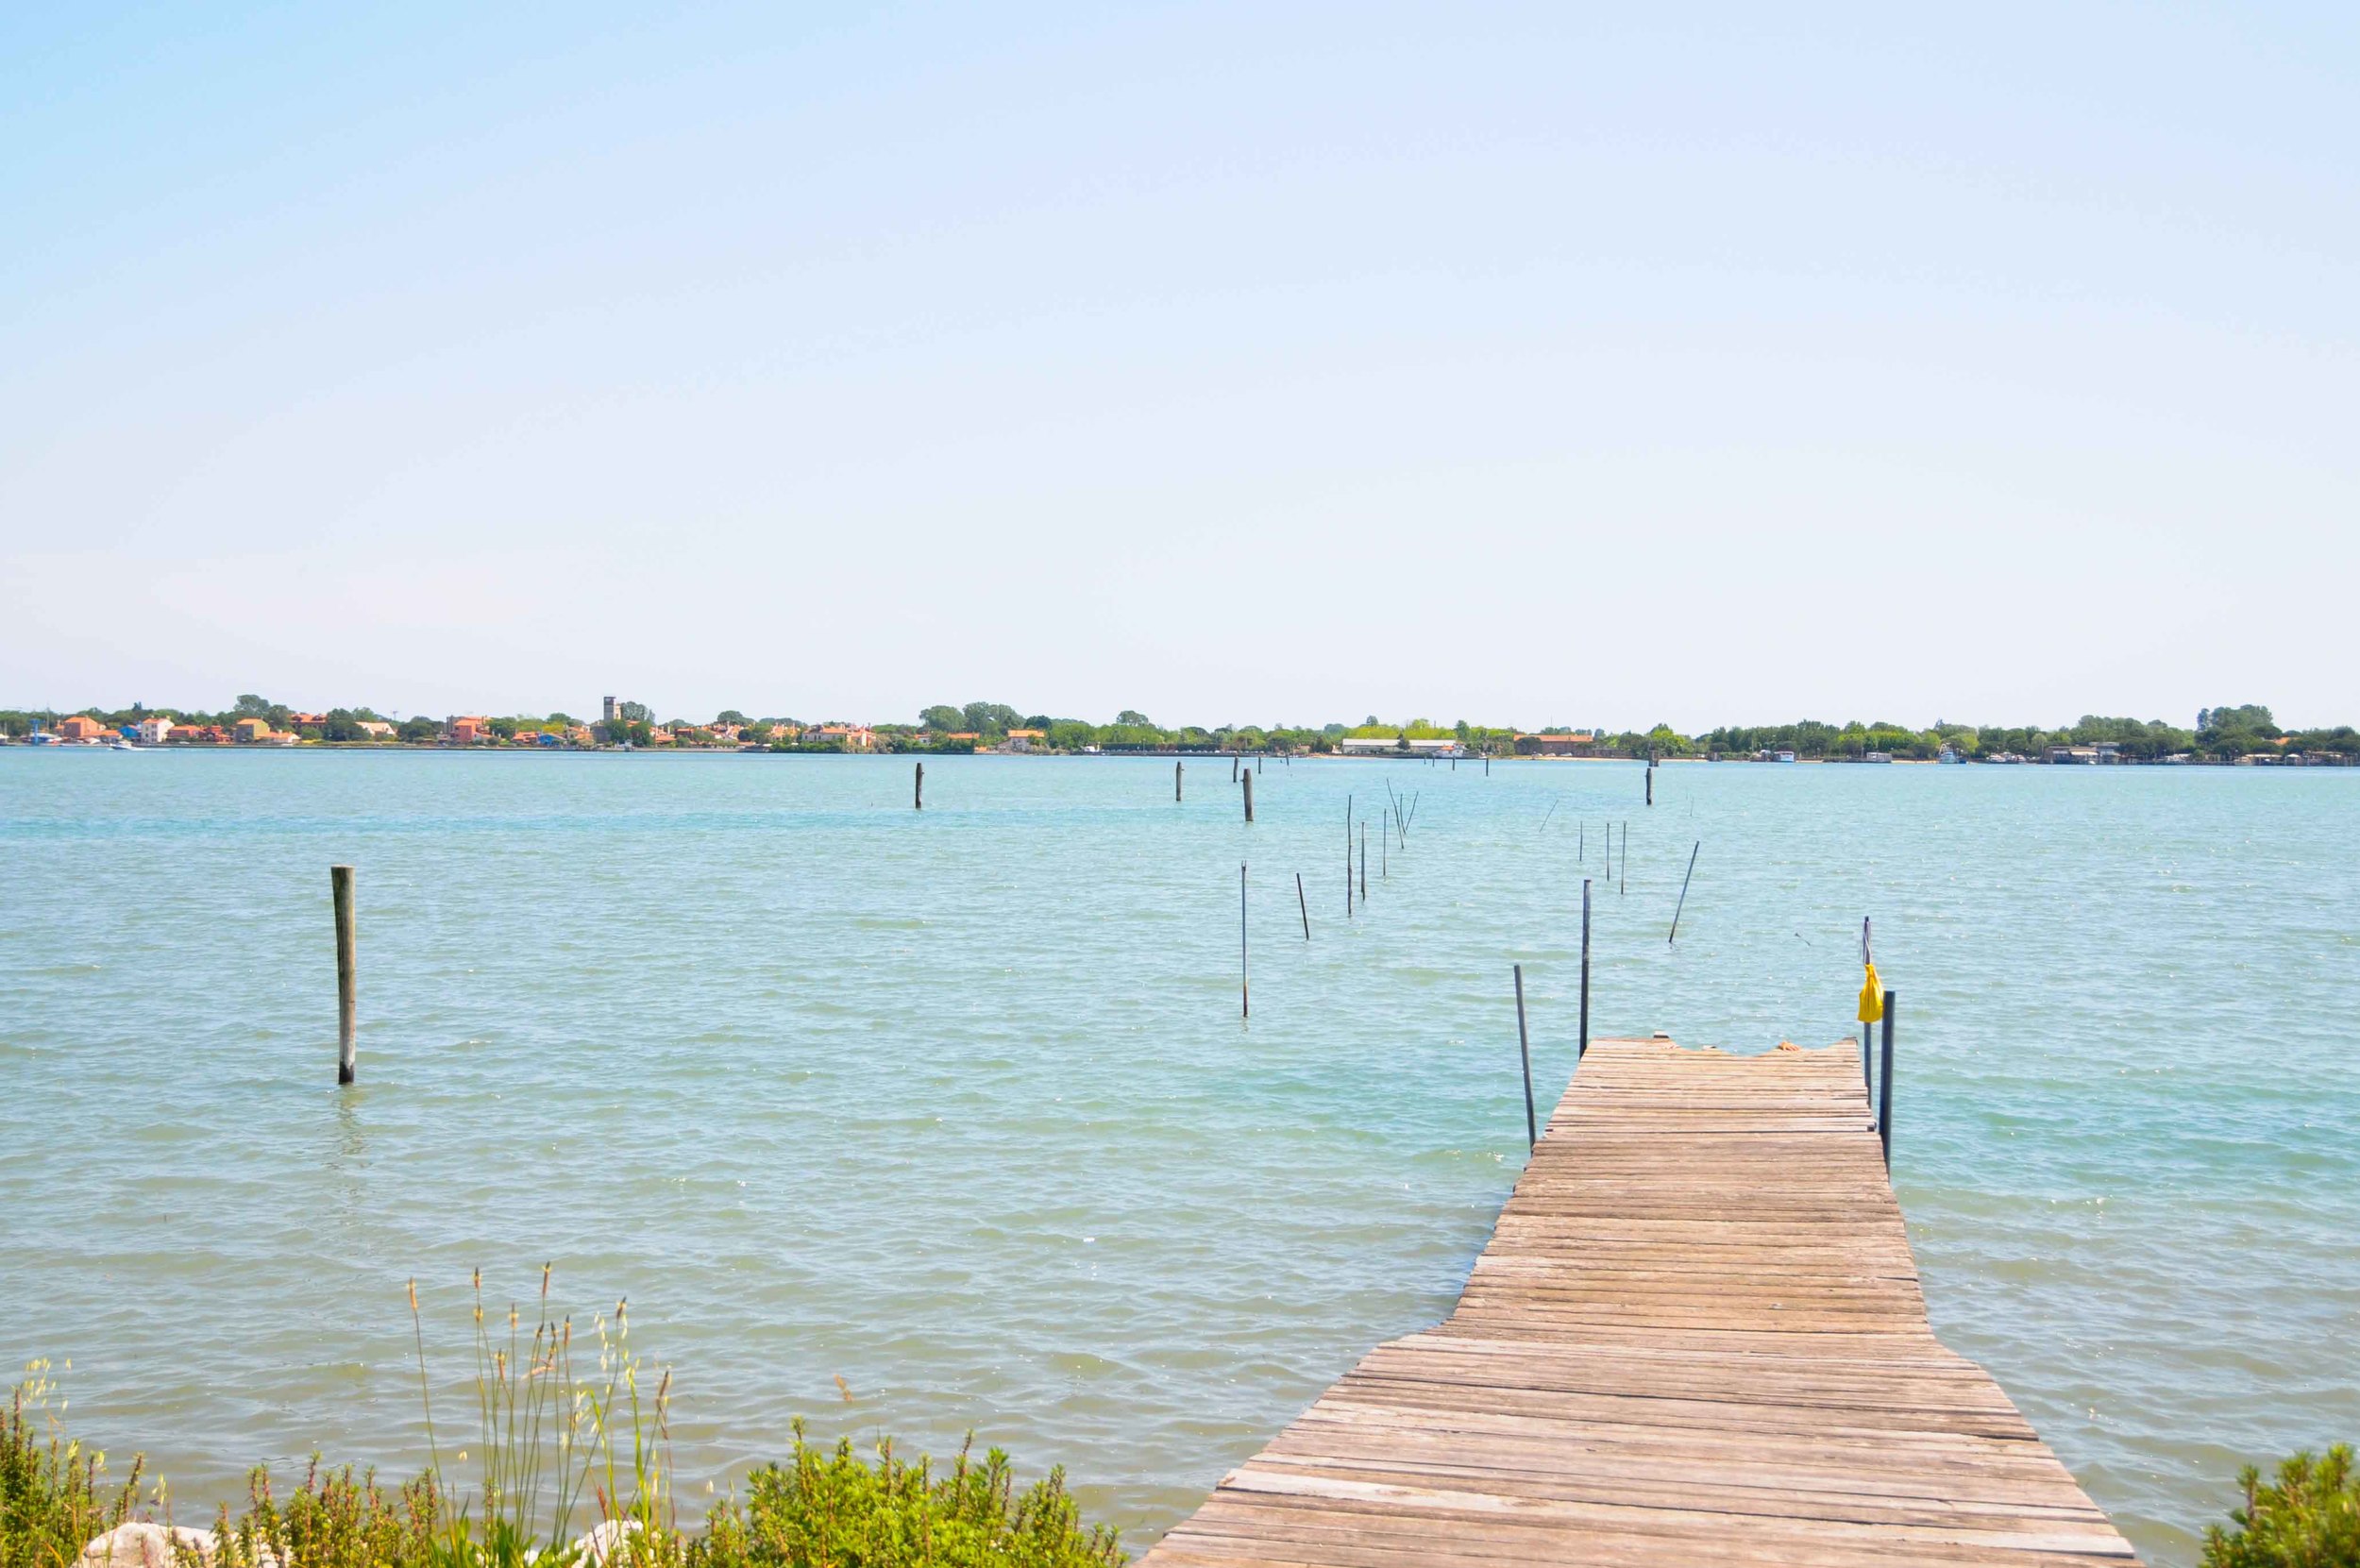
The final mosaic is positioned at the foot of a pier that extends out into the lagoon. But, with which pearl of wisdom will the long path of the proverbi end?
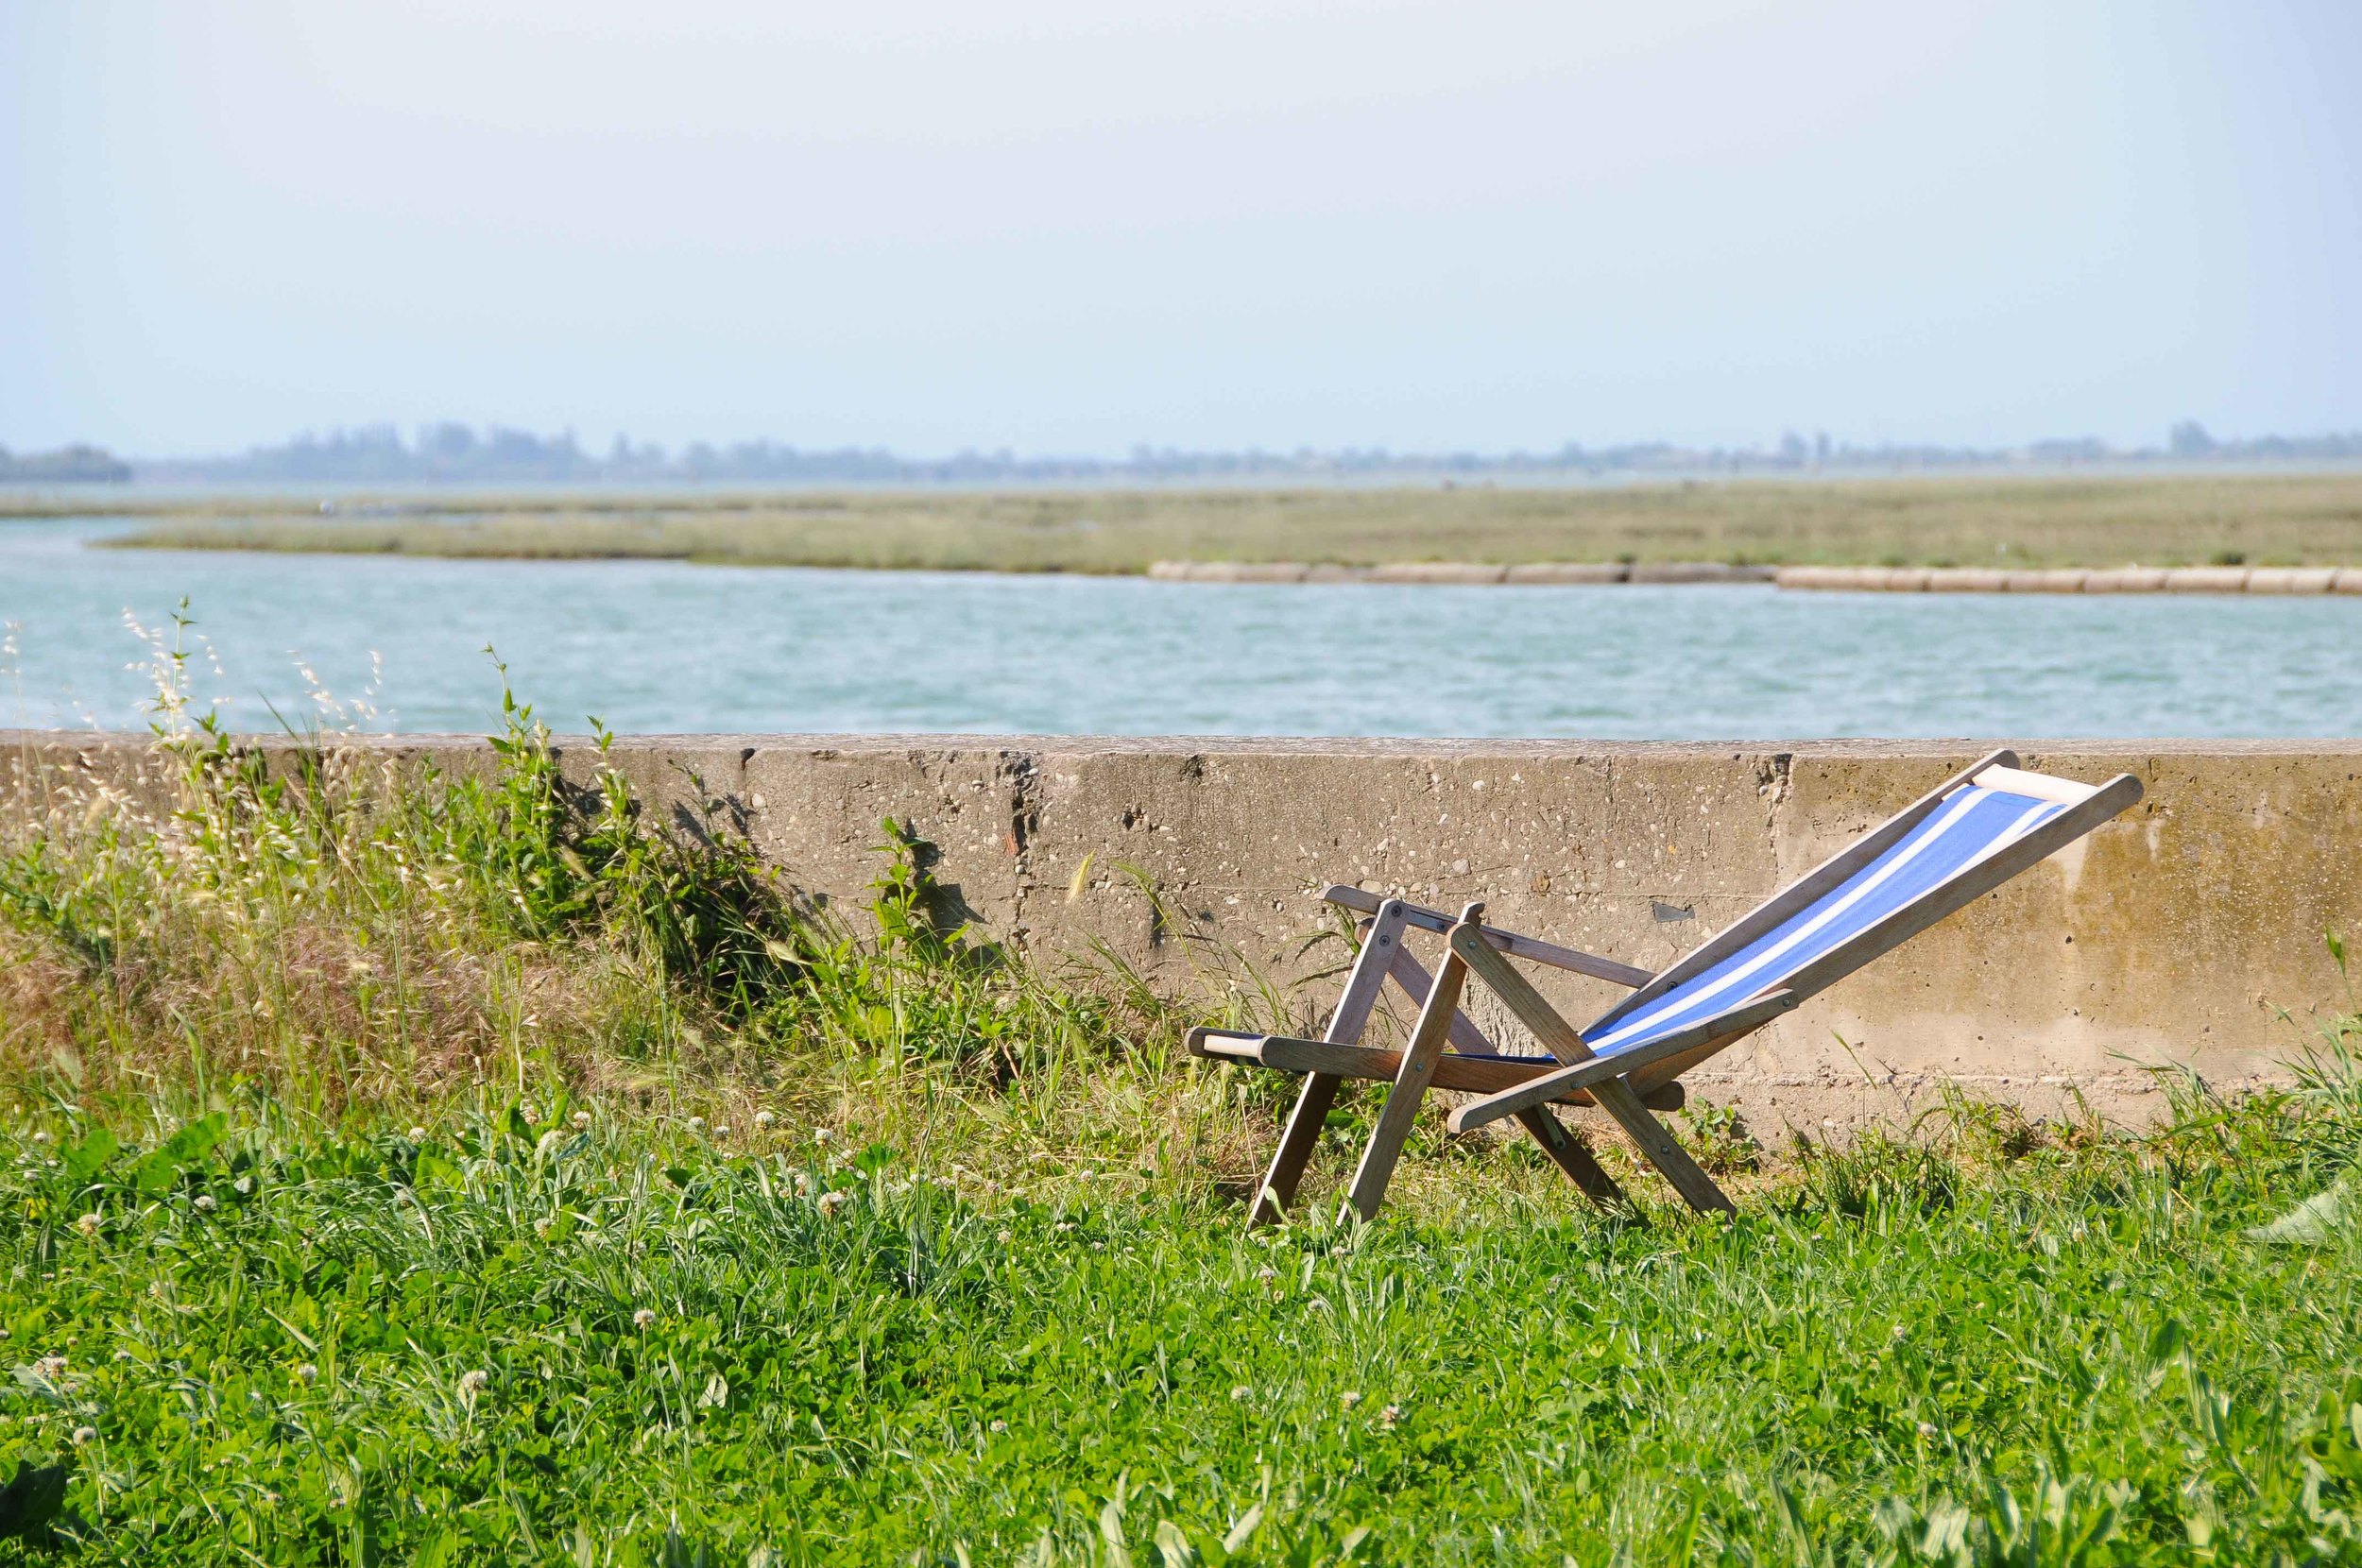
‘NON GETTARE ALCUN OGGETTO IN LAGUNA’! The best possible advice I can imagine, standing on the most verdant and unspoiled of the lagoon islands, mere minutes from Venice and it’s weekend crowds, but feeling a million miles away…
Insalata di Carciofi Crudi con Grana
This is my take on the delicious raw artichoke salad we were served stepping off the vaporetto from Venice. It’s very similar, save for my addition of rocket, (which provides some colour, as well as helping bulk the salad out a little), an emphasis on lemon, (which really helps the artichokes retain their colour, for one, but also counteracts any bitterness in the raw artichoke), and the addition of a little mint (for additional freshness). The generous amounts of cheese and black pepper still form the backbone of the dish.
It is necessary to use young, tender artichokes for this salad. Violetti di San Erasmo may not be easy to find outside of the Rialto market, but other small Italian varieties of artichoke work equally well – try Ligurian spiny artichokes for instance, or any small artichoke picked sufficiently young.
Ingredients
(Serves 4 as a side)
- 12 Violetti di San Erasmo (or a similar small artichoke variety)
- Handful of fresh baby rocket leaves
- 6 tablespoons (approx.) of good quality extra virgin olive oil
- Juice of 3 lemons
- 60g Grana Pandano cheese
- A few mint leaves – finely sliced
- Sea salt
- Freshly ground black pepper
- White baguette – (optional, to serve)
Prepare the artichokes by removing all the outer leaves until you are left with only the tender heart and inner leaves. If it seems like a pity to throw away so many of the outer leaves, you could make a soup with these by adapting a recipe I have previously written up on this blog – see 'Stuffed Artichokes.'
Next, using a small paring knife, scrape down the stalks of the artichokes, removing the tough outer layer. Now trim the stalks so that they finish approximately 1cm below the base of the artichoke.
The prepared artichokes will rapidly discolour if left exposed to air for long. To prevent this, prepare an acidulated water bath by squeezing the juice of two lemons into a medium sized bowl of water. Once you have removed the outer leaves of each artichoke, and cleaned and trimmed the stem, pop it directly into the water bath. You can even rub a little lemon juice on the artichoke directly prior to placing in the water-bath to be extra certain that it will not discolour.
Assemble the salad immediately prior to serving by first scattering the baby rocket leaves across the platter that you intend to serve on. Next, remove the artichokes from the water-bath, one by one, and chop off approximately 5mm from the pointed tip (which is often quite spiny), before proceeding to slice each lengthways and very finely. Once sliced, place directly on the serving platter, along with a touch more lemon juice.
If the artichokes you are using are not ideally tender, it may be necessary to first remove the furry choke from the centre base of each artichoke before proceeding to slice. To do this, slice the artichokes in half lengthways and remove the chokes by scooping out with a pointed teaspoon or similar.
Once you have sliced each artichoke, and assembled these on the serving platter, dress the salad with extra virgin olive oil, the sliced mint leaves, some sea salt, and a very generous helping of black pepper.
Last of all, shave the Grana Pandano finely over the entire salad, letting this form a scenic pile in the centre of the dish. Serve straight away, accompanied by some thin slices of baguette.
Insalata di Fiori di Zucchine con Burrata
You normally have to be quite lucky to find courgette (zucchini) flowers on sale in the markets, but in springtime in Venice, every baby courgette on display is sold with its flower still attached, and it is even possible to buy, from many stalls, big bunches of the flowers alone tied together with string.
Typically, Italian recipes suggest stuffing the courgette flowers with mozzarella and prosciutto, before dipping in a thin batter and deep-frying – which is delicious, and ordinarily one of my favourite things – but the fiori in the Venetian markets looked so delicate and beautiful, it suddenly struck me as a bit of a pity to always hide them under so much batter and amongst so much salt…
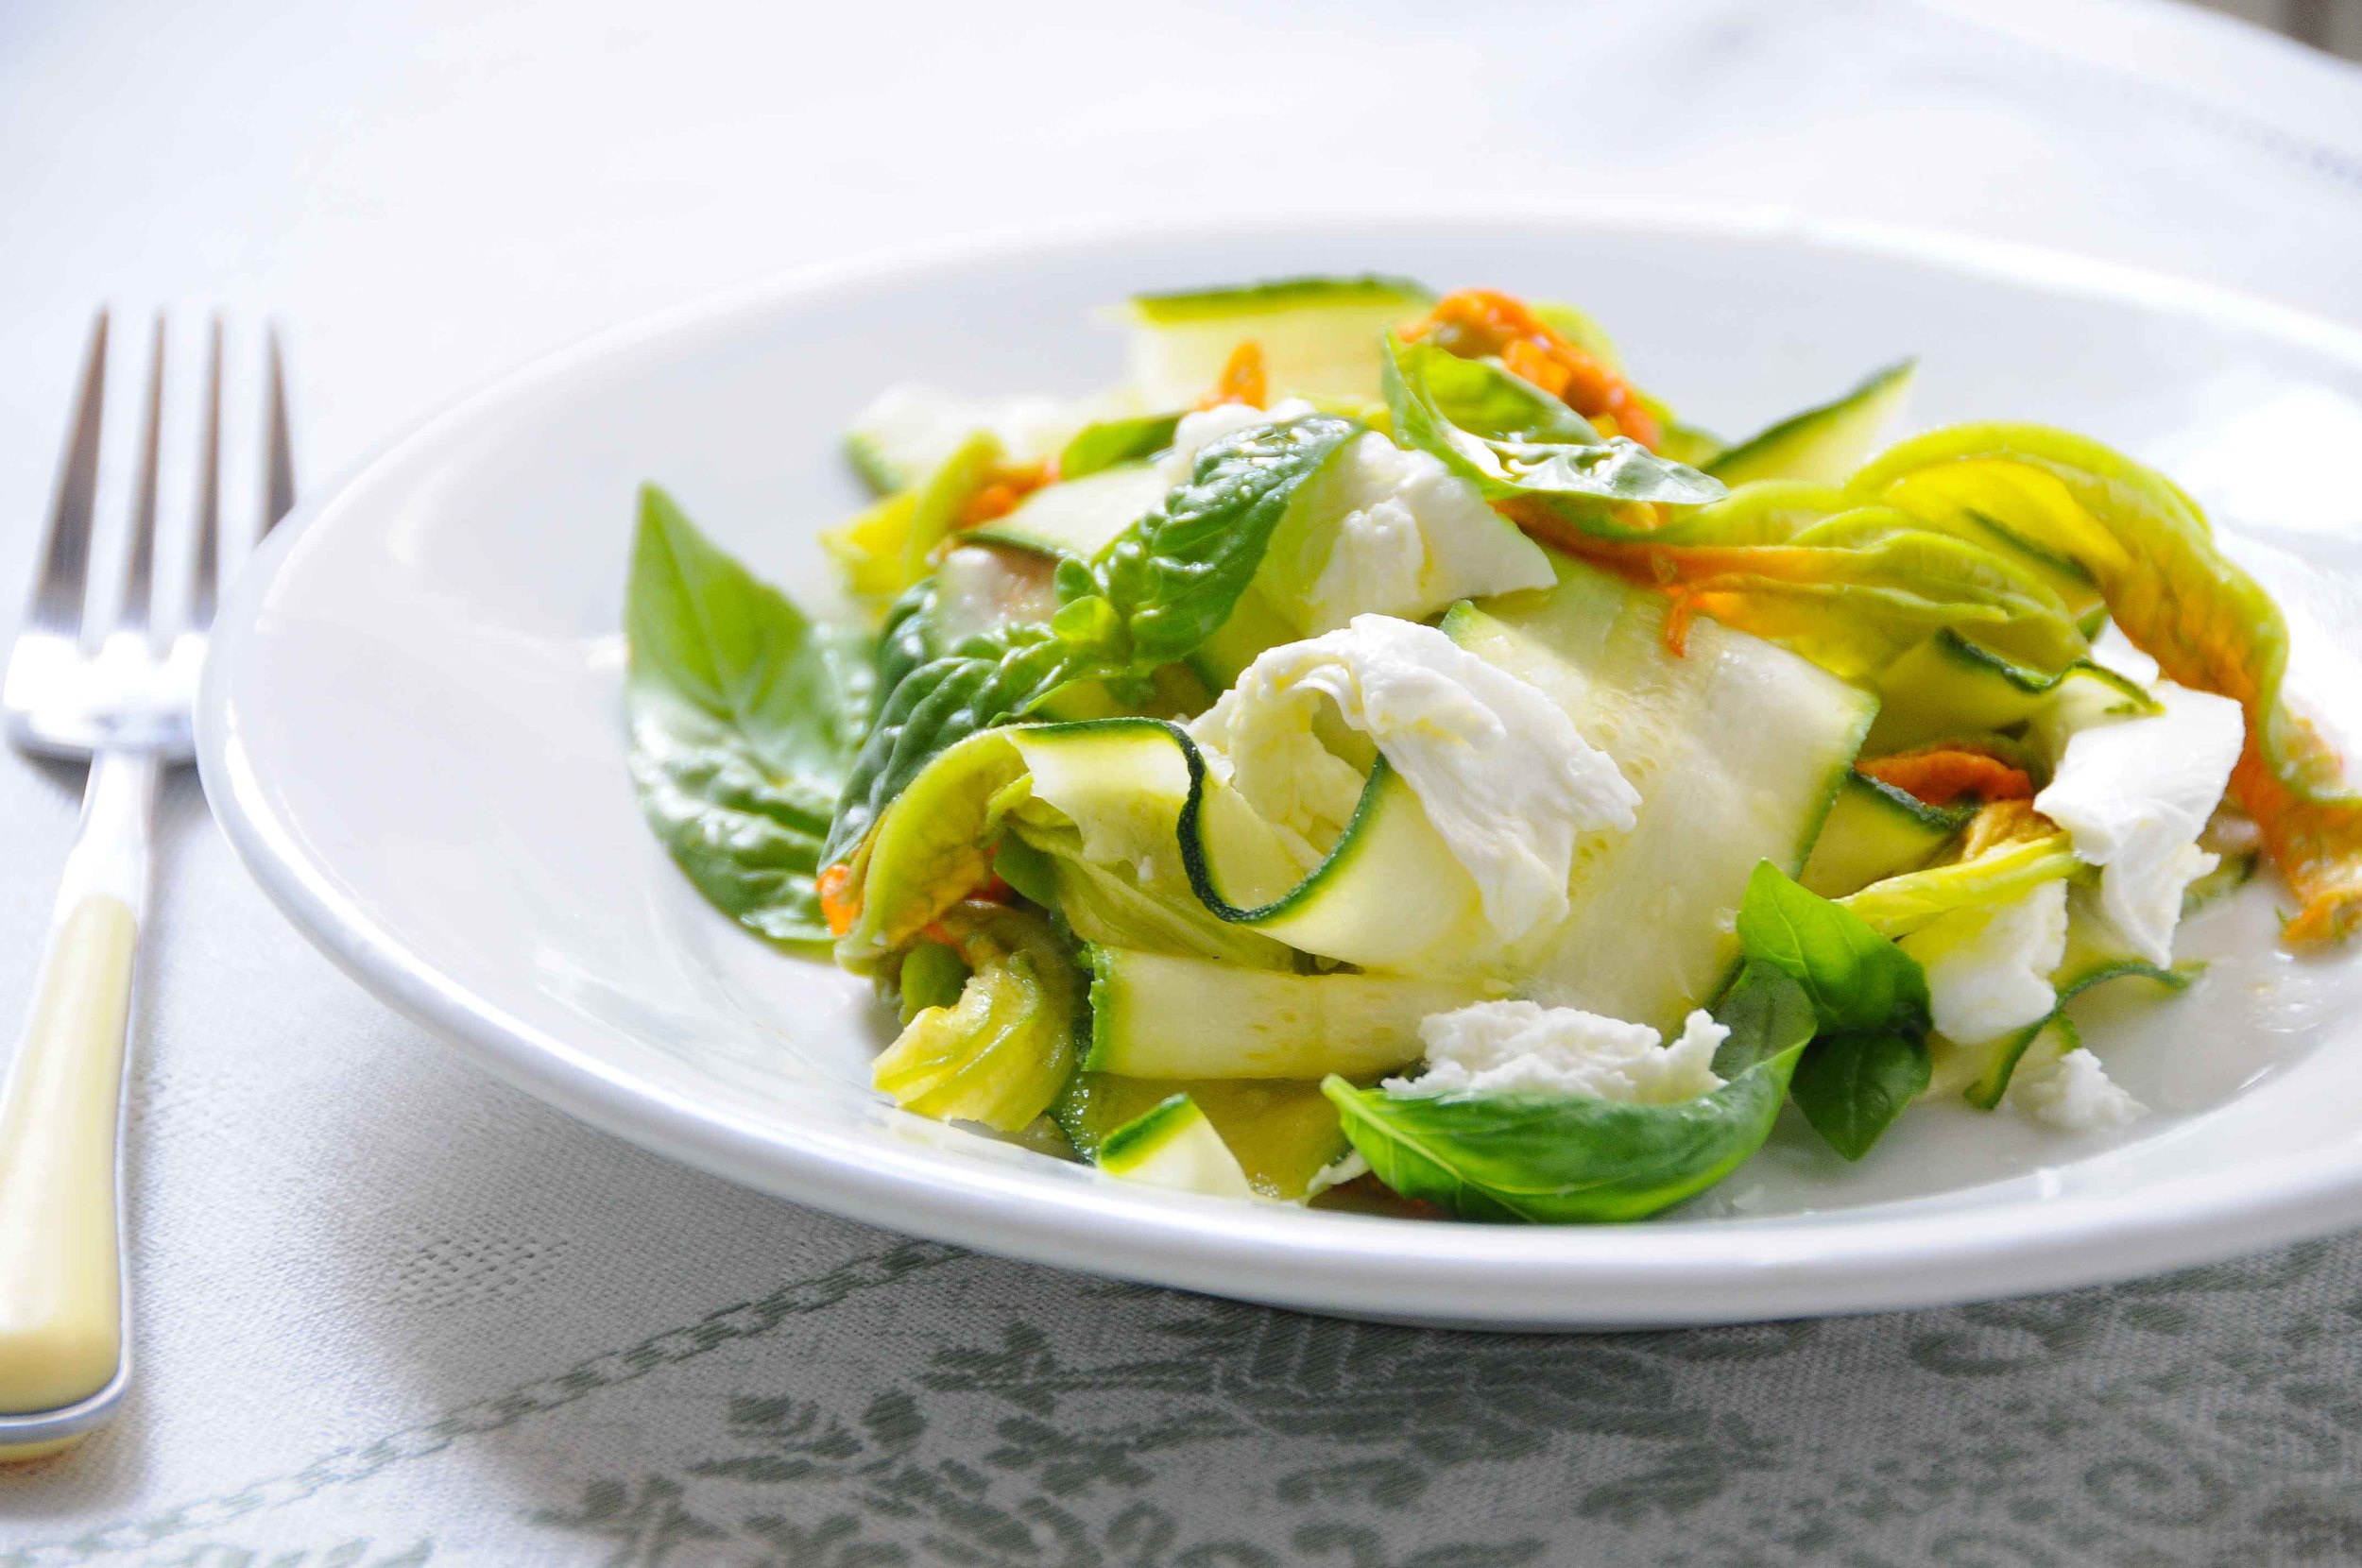
So I thought I’d try them raw. Eaten in this way, the fiori taste, perhaps unsurprisingly, a lot like courgettes themselves, only more subtly flavoured. In terms of presentation, against the striated green of the courgette ribbons, and stripes of white burrata, the bright yellow flowers look just gorgeous – kind of like a springtime garden on a plate.
If you can’t find burrata (a fresh cheese made by mixing mozzarella and cream) for this recipe, feel free to substitute fresh mozzarella di buffala – it will work perfectly too. But if you can get burrata – buy it, buy it! I could not quite get over the novelty of such ready availability during this trip and so sought to indulge at every opportunity (as the recipe following this, for an extremely inauthentic risi e bisi, further demonstrates!).
Ingredients
(Serves 4 as a starter or side)
- 6-8 fresh courgette (zucchini) flowers
- 4 young courgettes
- 1 ball of fresh burrata (or fresh mozzarella di buffala if burrata is not available)
- Small bunch of basil
- Extra virgin olive oil
- Juice of 1 large lemon
- Sea salt flakes
- Freshly ground black pepper
This salad can be assembled directly onto the platter that you intend to serve on. Given how delicate the courgette flowers are, it is best to subject them to a minimum amount of handling.
- - - -
Using a vegetable peeler, shave the courgettes lengthways onto your platter, ensuring that you do so finely as is possible. Once you have a mass of fine courgette ribbons, arrange these prettily across the platter, and dress with extra virgin olive oil, some lemon juice, sea salt, and black pepper, tossing to work the dressing through the ribbons.
Next, tear the burrata by hand into strips, and scatter these evenly across the salad.
Pick the most tender leaves from your bunch of basil and scatter these across the salad next.
Lastly, carefully tear each courgette flower in half lengthways, and remove the centre of the flower, along with the stem. Tear the petals lengthways again, if the flowers are particularly large, to form delicate yellow ribbons, and then lay these across the top of the salad.
Salt each piece of burrata individually with a few flakes, and drizzle a little extra virgin olive oil over each as well because this will really bring out the flavour of the cheese.
Lastly, finish with a quick squeeze of lemon over the top of the entire salad – this will dress the flowers lightly without weighing them down or ruining their appearance.
Serve outdoors where possible – and on sunny day – ideally with some very cold white wine!
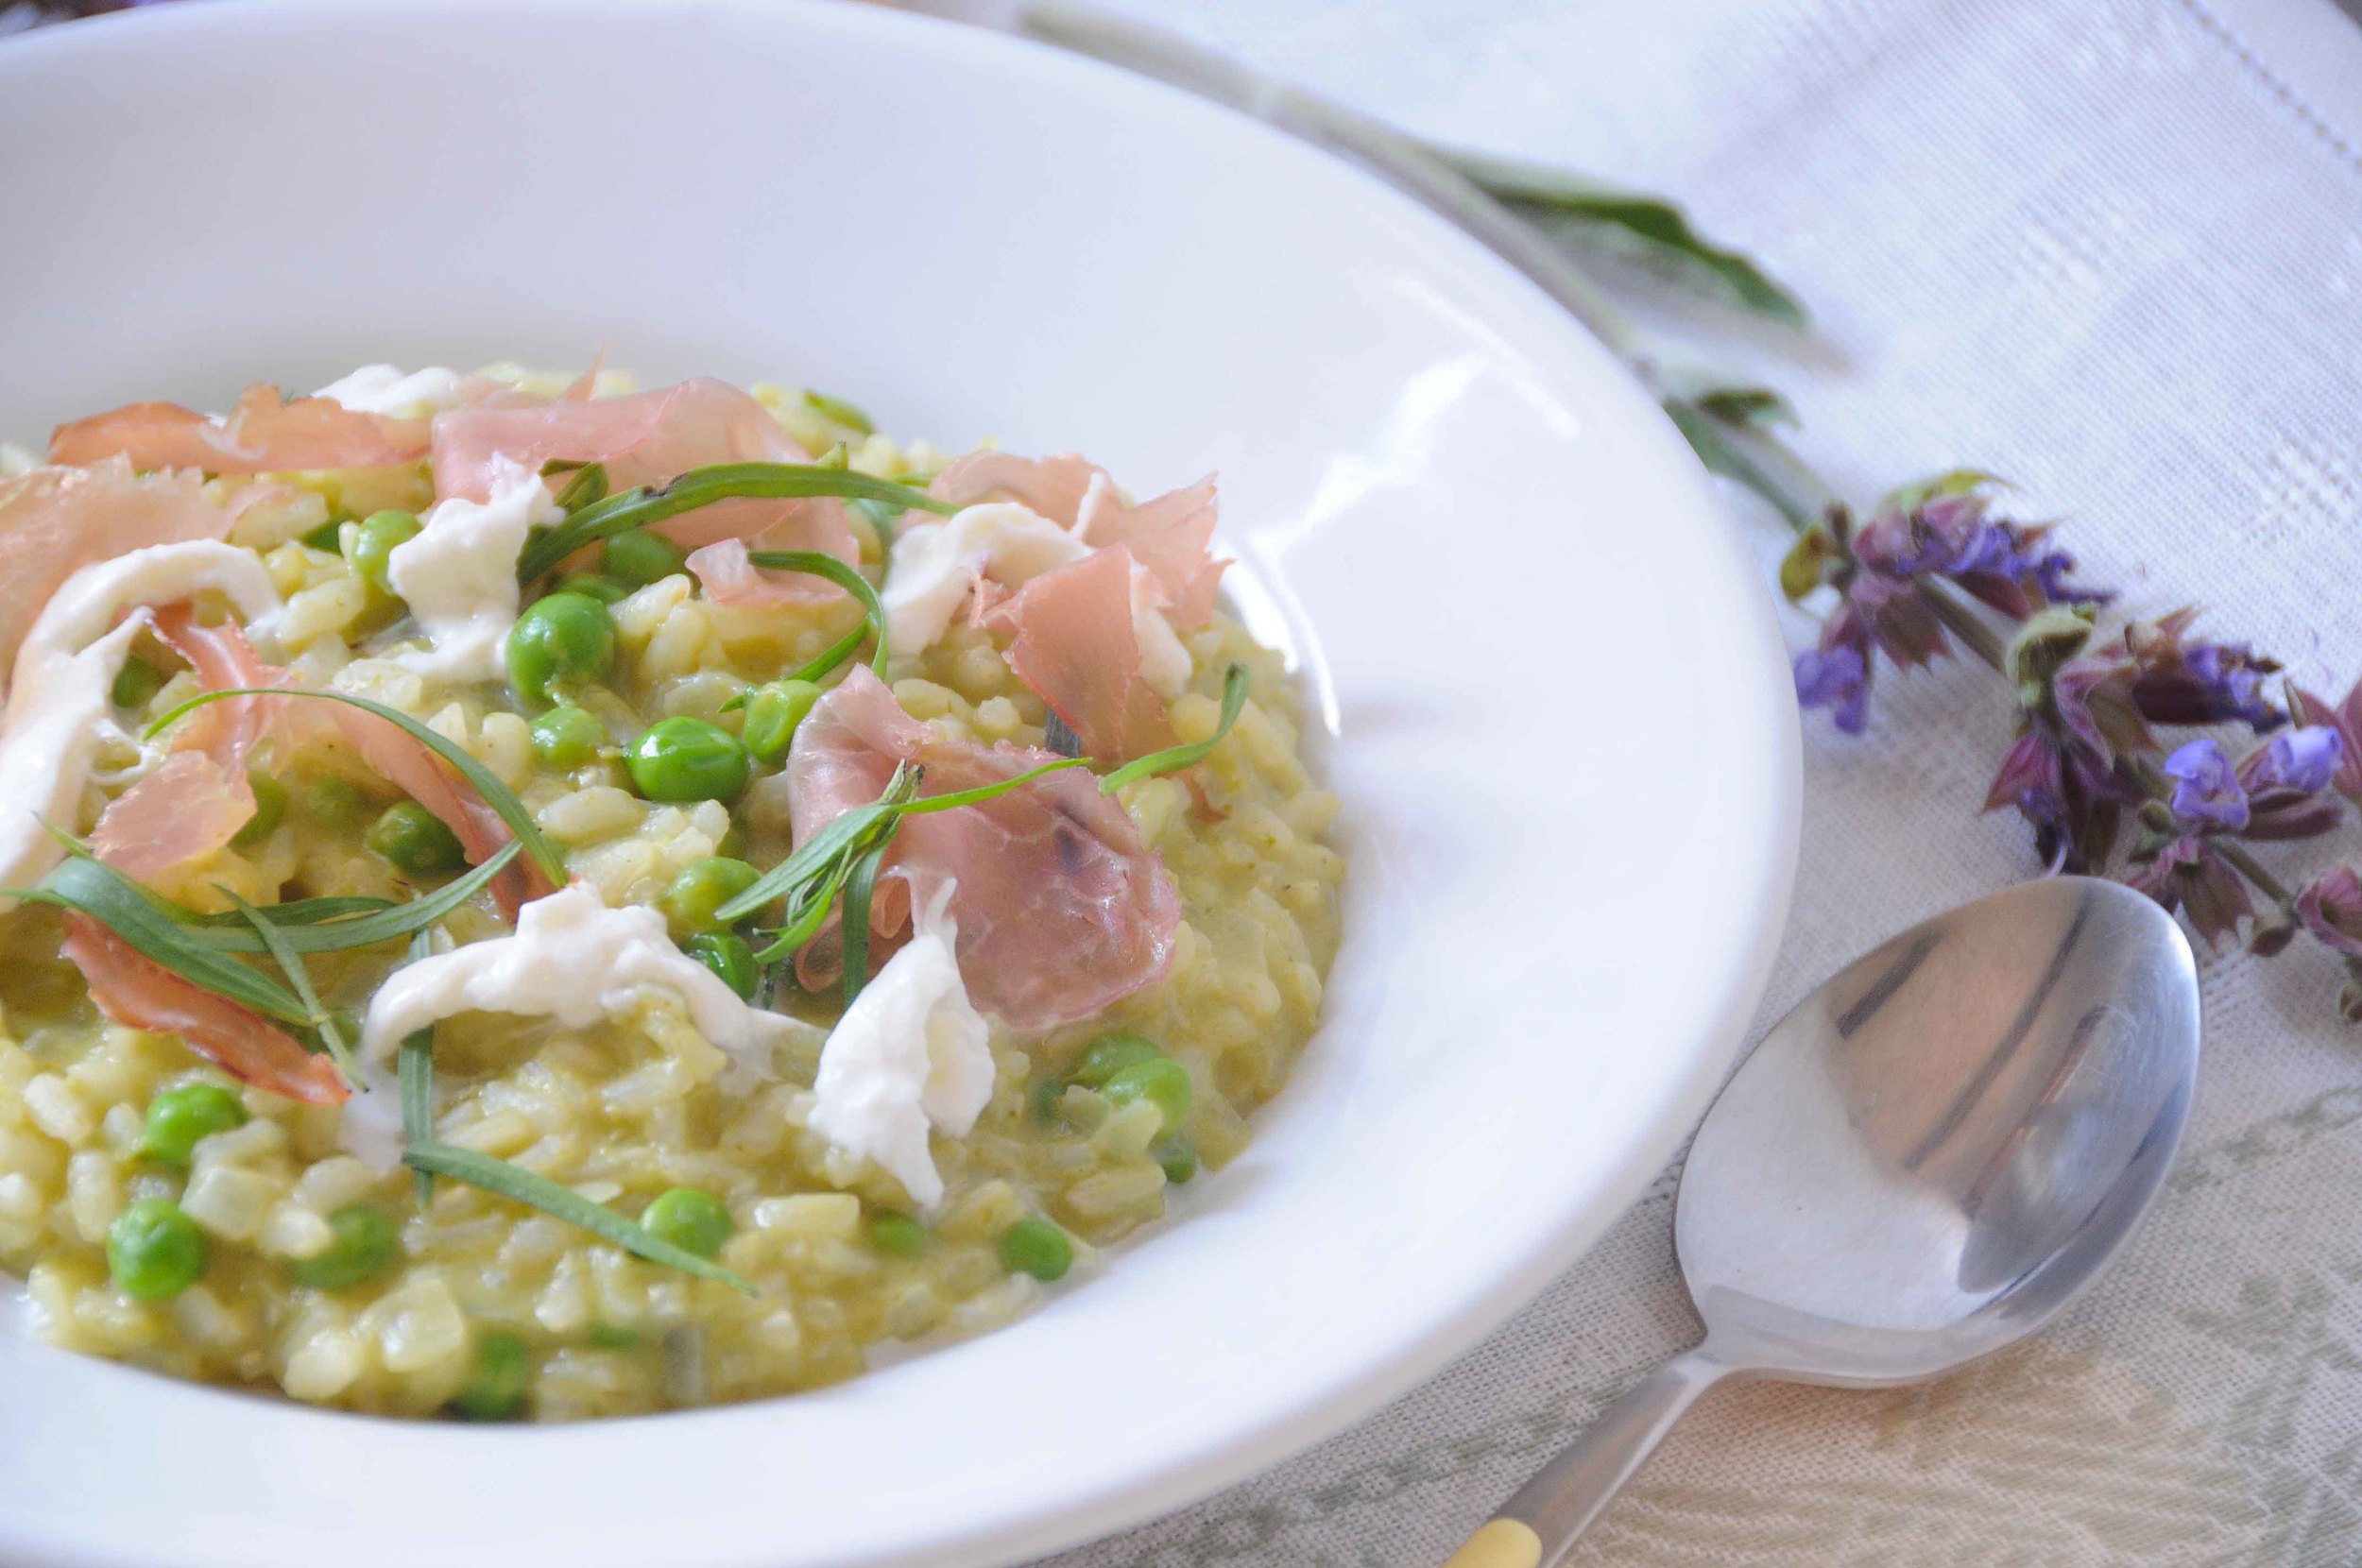
Risi e Bisi (with Proscuitto Crudo, Burrata, and Tarragon)
I love eating fresh peas raw, straight from the vegetable garden if possible, and usually even find myself chewing on the pea pod itself a little, as, despite being very fibrous, it’s in the bright green pod the strongest and freshest pea-flavour is contained. A pity then that we tend to discard the pods entirely and concentrate only on the peas inside…
And this is why I recently got very excited about the Venetian dish 'risi e bisi.' Ostensibly it’s a pretty simple combination – just rice (risi) and peas (bisi) – but cooked in a stock made from the boiled and blended fresh pea pods. The result does need to be tasted to be appreciated. Faintest green in colour, and made super-creamy in this recipe by the very indulgent (and non-traditional) addition of fresh burrata, the only problem is that it is strictly a seasonal dish (given the need for fresh peas) and I would love to be able to make it year round!
A couple of other non-traditional additions to this recipe are the tarragon and prosciutto crudo. Risi e bisi is usually flavoured with parsley, but delicate tarragon works well to keep the dish light. Pancetta, typically added at the outset, is substituted here for prosciutto crudo added at the end. Again, this is in order to keep the flavours fresh, but it also makes it easy to convert this to a vegetarian dish. Just leave off the prosciutto and replace with fresh pea shoots and a little finely grated lemon zest if you’d prefer.
Ingredients
(Serves 4)
- 220g Carnaroli rice
- 450g fresh peas in their pods
- 1 large onion – finely chopped
- 2 tablespoons of olive oil (+ extra for drizzling)
- 50g butter
- 150ml white wine
- ½ cube of vegetable stock
- 1.2 litres of water
- Sea salt
- White pepper
- ½ lemon – juice only
- 40g parmesan cheese – finely grated
- 1 ball of fresh burrata (or mozzarella di buffala if burrata is not available)
- 4 slices prosciutto crudo – torn by hand into thin strips (optional – leave out for a vegetarian version)
- A few sprigs of fresh tarragon – leaves picked
Begin by shelling the peas, placing the pods in one bowl and the peas themselves in another.
Make the stock by bringing 1.2 litres of water to boil in a large saucepan and adding the pea pods only. Boil these for approximately 30 minutes, before removing the saucepan from the heat and blending the mixture carefully using a stick blender. After several passes with the blender you should have a green stock that will nonetheless still contain the most stubbornly fibrous bits of the pea pods.
Remove the fibrous portions from the stock by draining the contents of the saucepan through a fine mesh sieve. Discard what is left behind in the sieve, and return the stock to the original saucepan. Crumble one vegetable stock cube into the broth, stir to dissolve, and place the pot back on the stovetop over a low heat to keep warm.
Meanwhile, finely chop the onion and warm the 2 tablespoons of olive oil and 50g of butter together in a heavy-based casserole pan over medium heat. Once the butter is completely melted, add the onion and reduce the heat to low.
Cook the onion slowly until soft, but without colouring it – approximately 10 minutes or so, stirring occasionally to stop any sticking.
When the onions are soft and translucent, turn the heat up a little and add the risotto rice. Stir, combining it with the onion, and cook for a further 2 minutes or until the rice begins to look translucent at the edges. Now slosh in the wine and stir vigorously until all the wine is absorbed, (a further minute or two).
Now you can begin to add the warm stock, ladle, by ladle, stirring with a wooden spoon as you go, not letting the risotto dry out.
To get a beautiful creamy texture, you need to coax the starch from the fat little grains of the risotto rice, and this is achieved via stirring as the liquid is absorbed – so don’t skimp on the stirring! If you are not keen on the idea of being stationed by the pan for the next 30 minutes though, my advice would be to keep the risotto on the wet side using plenty of stock.
About two-thirds of the way through the cooking time, at roughly the 20 minute point, add the fresh peas, and continue to stir.
When all the stock is absorbed, do a quick taste check – is the rice still a touch hard in the middle? If so, keep adding stock or water until it is cooked through – still with some bite is good, but grainy and uncooked is not so good. The texture of the risotto should be loose and creamy at this point, soupy almost, and no longer really rice-like.
Also check the seasoning. Depending on the amount of salt contained in the stock cube, the risotto may be salty enough, if not, add salt now, keeping in mind that there is salty parmesan still to be added. A little white pepper may also be added at this point.
When the rice is fully cooked, turn off the heat and immediately add the burrata by tearing this into strips by hand. Also add the lemon juice, and the parmesan cheese, stirring everything together.
Now swiftly pop a lid on the pan and let it stand for a minute. The Italians have a special verb for this step – ‘mantecare,’ which as far as I can tell, is only used for cooking, and means ‘to allow to mingle and become creamy’! Excellent word.
Post-manteca, the risotto should have taken on a heavenly texture courtesy of the melted burrata. It will be very creamy, but also form fine strings, in the style of pizza-cheese, when lifted with a spoon.
To serve, ladle into warmed dishes and scatter picked tarragon leaves, along with hand-torn strips of prosciutto crudo on top. Finish with a thin drizzle of extra virgin olive oil, and serve immediately.
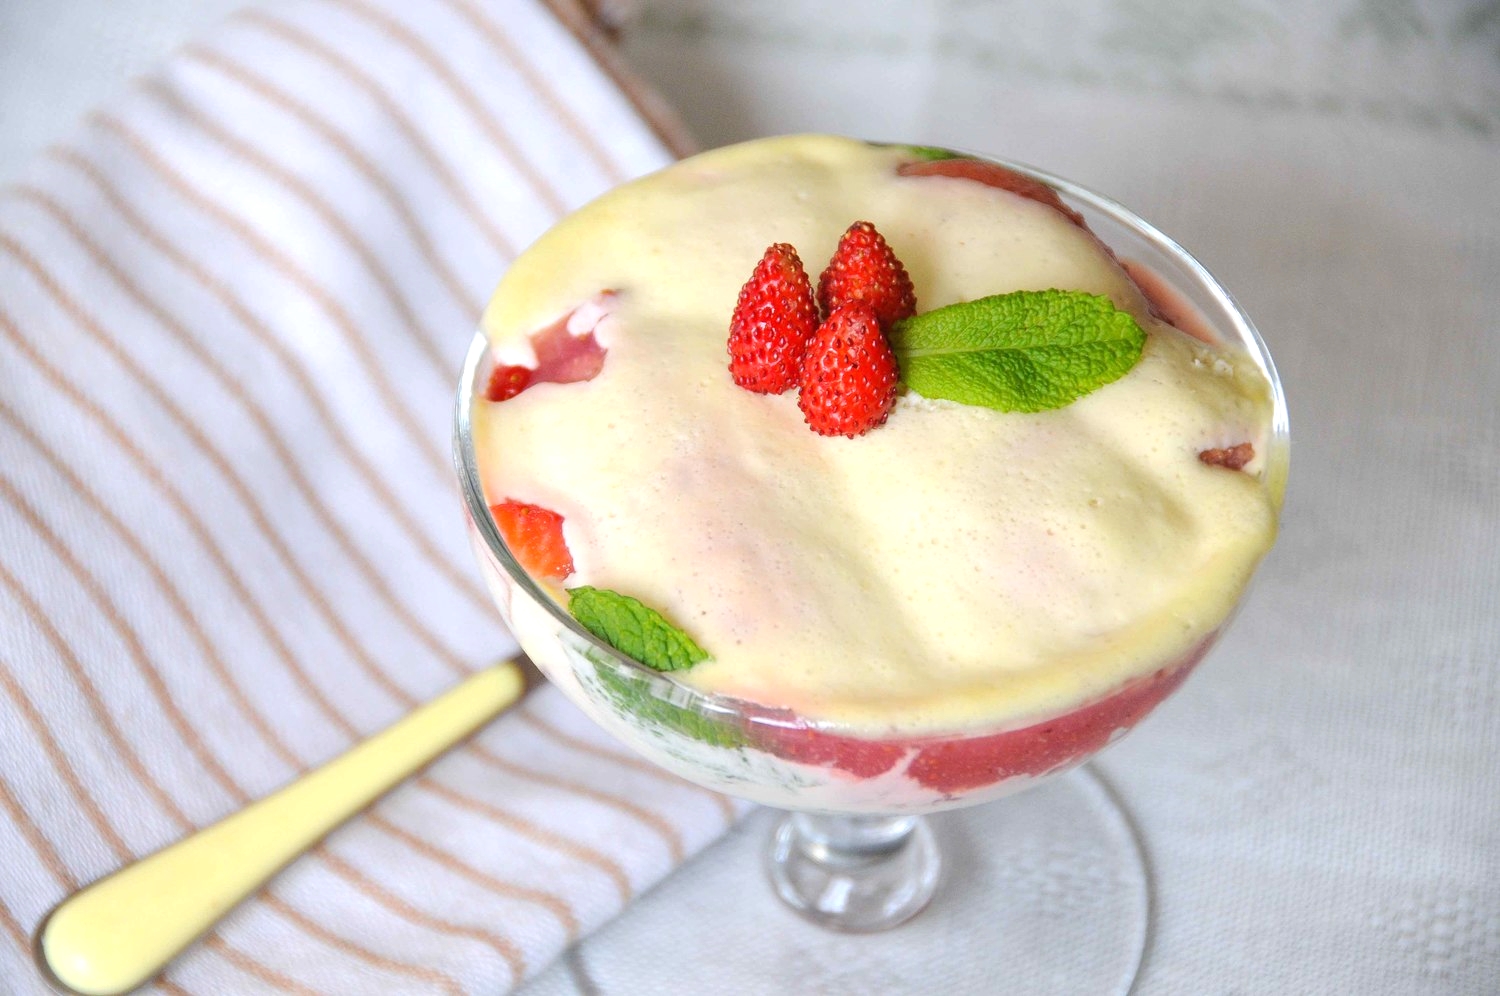
Tiramisu di Fragole e Fragoline di Bosco
After a meal of such fresh (if not exactly healthy dishes, due to our friend burrata), an equally fresh dessert is in order. Substituting the coffee in tiramisu for a mixture of strawberries and Limoncello, keeps things in the springtime sprit…
This recipe is for a very loose and light tiramisu, and uses half/half whipped cream to mascarpone to achieve this. For this reason, it works best made in individual glass cups. Made in a big tray and sliced, the serves may not hold together overly well.
The mint and strawberry combination is not necessarily the most obvious – but unless you have an extreme mint aversion, I’d urge you to try it. The mint really works to freshen and enliven against the sweetness of the strawberries and richness of the mascarpone cream. One point worth noting though is that it is best to use only the delicate mint leaves from the tips of the stem, these have the most subtle flavour, and can be used whole in the dish. This also adds to the presentation where the whole green leaves can be glimpsed through the glass of the serving dishes.
Lastly, fragoline di bosco (wild or forest strawberries) are a pretty decoration for the tops of the tiramisu if you can find them, but not to worry if these are unavailable as a halved strawberry and little mint leaf on top will look lovely also.
Ingredients
(Serves 4)
- 300g fresh strawberries
- 100ml Limoncello
- Juice of 1 lemon
- Large packet of Savoiardi biscuits (or sponge/lady finger biscuits)
- 3 large eggs – separated
- 100g caster sugar
- 125g mascarpone
- 125g double cream
- Small bunch of mint – small leaves picked from the tips
- Handful of wild strawberries (fragoline di bosco) – to decorate
Prepare this dish the evening before you intend to serve
- - - -
To begin, hull the strawberries, discarding their green tops. Next, dice half of the strawberries into small cubes, sprinkle them with a little lemon juice (2 teaspoons or so), and place aside in a bowl.
Roughly chop the other half of the strawberries and then place these in a narrow container or tall beaker along with the Limoncello, and the remaining lemon juice. Using a stick blender, liquidise the strawberry and lemon mixture, until smooth, then set this aside for later use.
Next, lay out three large mixing bowls.
In the first bowl, beat the egg whites using an electric mixer until these are very aerated, and form soft peaks.
In the second bowl, whip the cream, also to soft-peak stage.
In the final bowl, whisk the egg yolks and sugar together until creamy. Then mix the mascarpone through this until fully combined.
Now, lightly fold the cream into the egg and mascarpone mixture using a rubber spatula.
Next, fold the egg whites into this mixture as well, taking care not to over-mix, so as to retain the air that was whipped in.
In a clean, shallow dish, pour in the liquidised strawberry mixture to roughly half the depth of one Savoiard biscuit.
Briefly measure up your biscuits relative to your serving glasses. If you are using a champagne coupe (as pictured), you may need to cut the Savoiardi into different lengths – one very short length to sit where the stem meets the bowl, two identical longer lengths to form the second layer, and three lengths longer still to form the widest layer at the top. Experiment a little with the first you assemble before going ahead and cutting all the biscuits. Err on the longer side and you can easily pinch off a little bit of the biscuit post-soaking if need be.
To assemble, place a small dollop of the egg, cream, and mascarpone mix, (one heaped teaspoon sized for a champagne coupe), and place this in the bottom of the glass.
Lay the short, base section of Savoiard biscuit in the strawberry liquid, leave for 30 seconds or so to soak, and then flip this over to soak the other half. I like for the biscuit to be quite wet, but not so sodden that it falls apart when you handle it. A bit of trial and error should quickly establish the right amount of soaking time for the size of the biscuits you are using.
Now, place the first, short section of biscuit at the point where the glass stem meets the bowl. Add a little bit of the egg, mascarpone, and cream mix directly on top to cover this.
Pop a couple of small mint leaves – picked from the very tip of the stem – atop the mascarpone mixture, before proceeding to soak biscuits for the next layer.
Once you have a complete second layer, cover this with another dollop of the egg, mascarpone and cream mix, along with a few more small mint leaves. Then continue on to construct the third layer, before carefully spooning a covering layer of mixture on top.
Repeat this same procedure until you have four serves, then place in the fridge to set overnight. Given that the strawberry mixture is not absorbed into the Savoiardi as readily as the traditional coffee mixture, an overnight period in during which the liquid can properly absorb in the fridge is desirable.
To serve, carefully top each coupe with a trio of wild strawberries, positioned stem-side-down (as pictured). Or, if you are unable to find these, cut a small regular strawberry in half lengthways, and use this to decorate, along with another little mint leaf.
- - - -
Long though it stayed, and glorious as it was, the sunny spring weather could never last, and, on the last evening of my stay in Venice, the spell was finally broken...


